13 Things You Need to Know Before You Buy the Kreg Jig
Here is everything you need for beginners who want to use the Kreg Jig. Before you buy, look at the 13 things you need to know before buying!
(This post contains affiliate links. If you shop from my blog, I may be compensated for clicks or purchases that you make. Read my disclaimer page for more information.)
At the bottom of this post, I am sharing my favorite tools for making DIY projects easier! Don’t miss it!
Are you thinking of investing in the Kreg Jig? Sure it’s used throughout handyman magazines, online tutorials, and Pinterest.
But is it right for you?
Choosing to invest in tools is a risk and finding the right tools for your space is difficult. Thankfully, it choosing just became easier. Even for someone who only has the weekend to devote to DIY projects (like us). Here are 13 things you need to know about the Kreg Jig before you buy it!
13 Things You Need to Know Before You Buy the Kreg Jig
1. Your To-Do List is going to grow
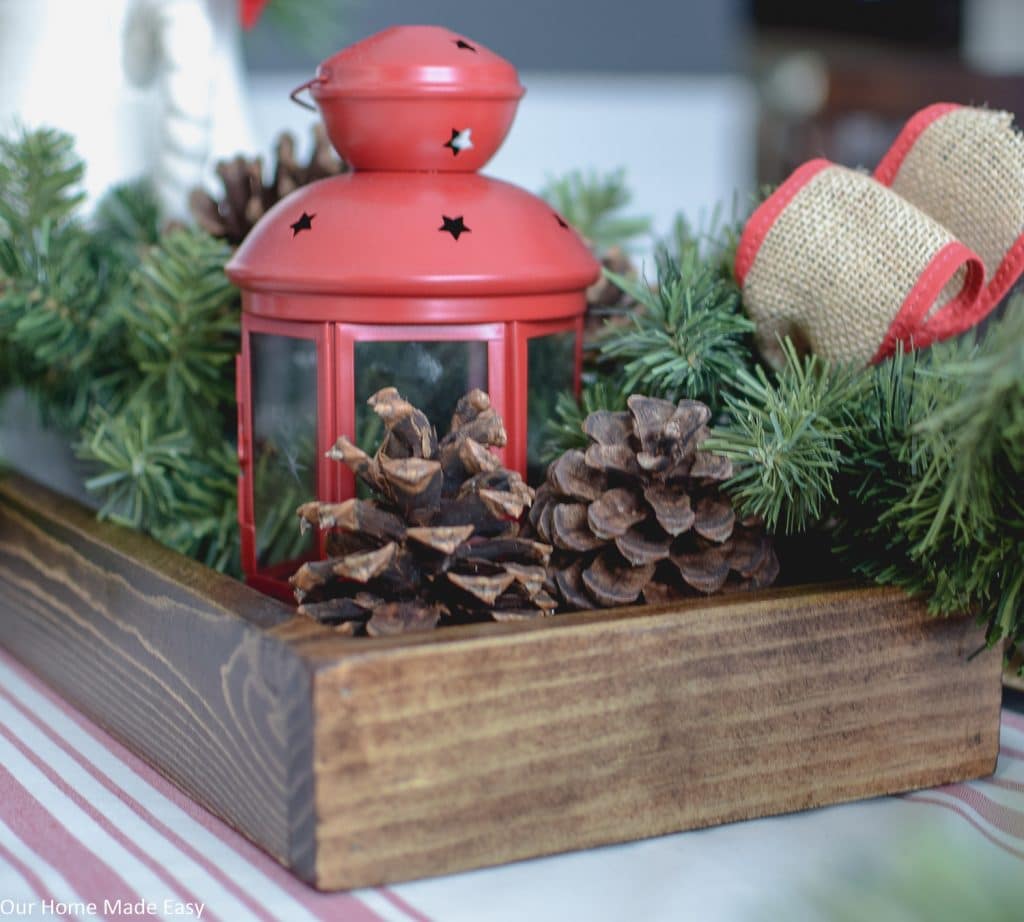
Sorry, you guys, but this is inevitable. Once Jordan surprised me with a $10 wood tray, I figured out that the entire world of Kreg Jig facilitated projects was now an option. Hallelujah! I don’t think Jordan knew what hit him. 😉 P.S. — I’m still waiting on a few projects…. just saying….
2. You’ll be surprised at how easy it is to use
When you look at the Kreg Jig for the first time, it is confusing. Wait, how does this bit of plastic help me build all the Pinterest projects? And why didn’t anyone think of this sooner?
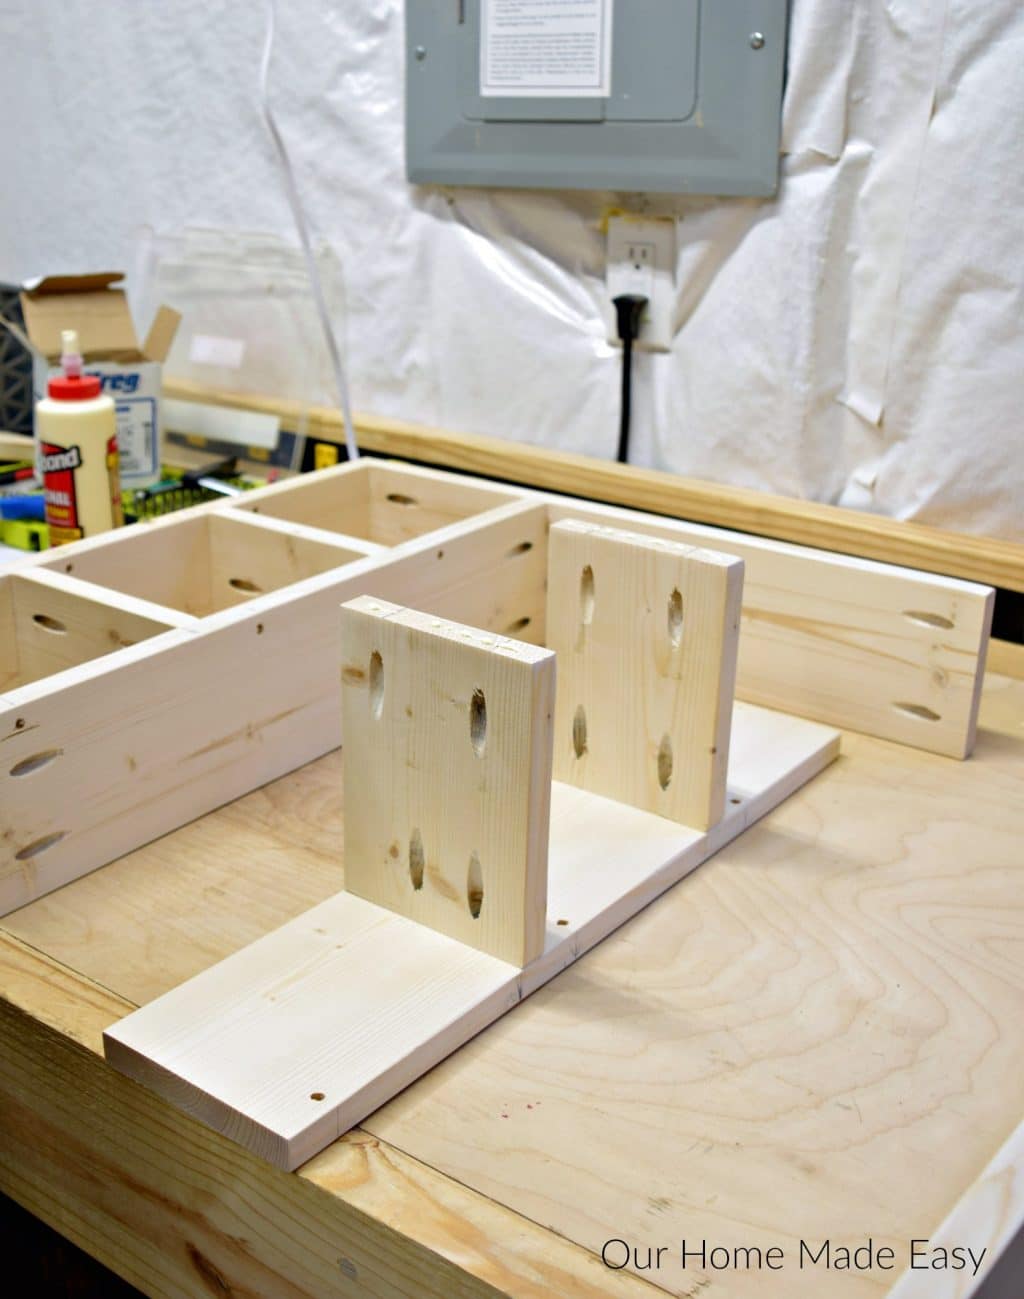
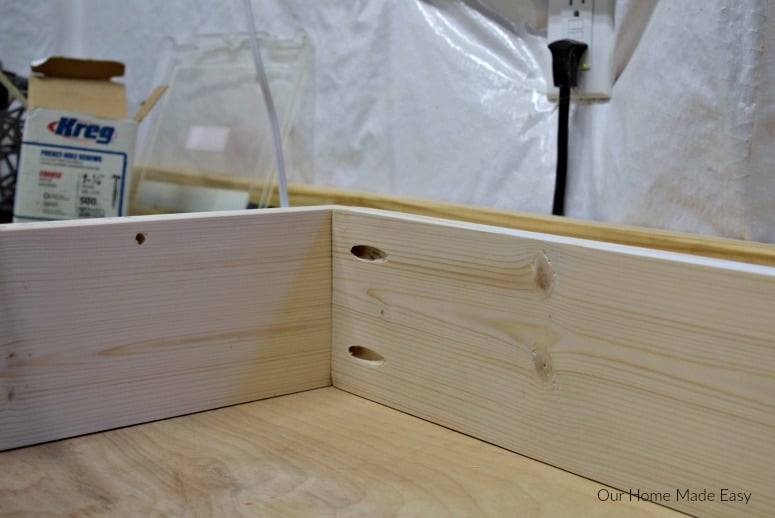
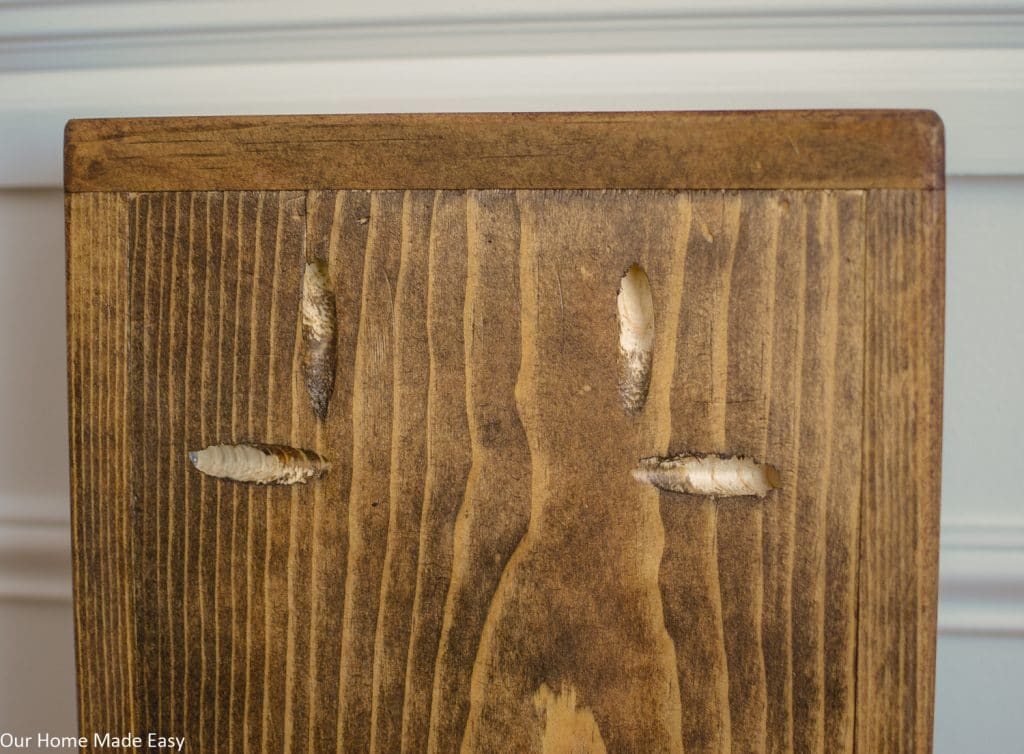
But once you watch a few tutorials (reason #6 below), you’ll quickly learn how to create pocket holes and learn how easy it is to build something quickly!
3. You’re going to be looking for more projects
Once you build your first Kreg Jig project, you’ll want to do more and more. It’s almost addicting. Since boards are only a few dollars apiece, almost anything can be built for less than $20!
- Related: Quick & Easy $8 Wood Tray
4. It’s not just for arts & crafts
When you think of DIY projects, it’s not just cute coffee mug holders or little pumpkins. The Kreg Tool Pinterest page is full of house building tutorials. You can easily build anything from bathroom sinks to Outdoor Coolers to Dining Room tables! How many tools are that versatile AND create cute little projects?
Last year one of our friends borrowed the Kreg Jig for a weekend so that he could build a set of pedestals for underneath their front load washer & dryer. It saved them more than $450 and they could customize the look to their own decor. Pretty nice!
Are you finding it’s my favorite DIY tool for making our life easier?
5. You’re going to save so much money
Like the washer & dryer pedestals, when you can build things yourself(and easily) you save so much money on to-dos around the house. While you do need to buy Kreg screws for your projects, the cost is pretty minimal aside from the type of wood you select.
Jordan built a Rae Dunn inspired coffee mug holder for less than $20. On Etsy, similar items cost more than a hundred dollars before shipping. EEEKK! After just 2 projects, the Kreg had more than paid for itself. I love good value + high quality + projects that don’t take too long to complete.
Check out our Kreg jig Projects here!
6. You’ll be overwhelmed with tutorials
If you’re nervous about using the Kreg, there is an official YouTube channel devoted to the tool! It’s awesome to be inspired by others and learn tips & tricks to make your own projects so much easier. While we are nerdy engineers, we don’t always like being the first to buy new projects. For Jordan, it was helpful to see a few projects to make himself comfortable.
We aren’t pros and we enjoy seeing better ways to create new projects….
7. You’ll be surprised with how low of an investment it really is!
I bought the Kreg Jig before it came as a clamp set 2+ years ago for Jordan on our anniversary. I think I sent around $100. Last year I picked up the DIY set (see reason # 1 above 😉 ).
We’ve spent quite a bit of money on tools we’ve used one time for one specific project. And I really don’t like it! But, since this tool creates great stuff for me and keeps Jordan innovating, I don’t mind investing a few dollars to get so much potential.
Like I mentioned above, you’ll need to use Kreg Screws for your projects. So I can’t say that you buy the tool and never spend money again. Jordan picks up the screws in bulk so the price per is relatively low.
8. You might just start a DIY blog with your mad new skills
I say this totally tongue-in-cheek, but hey you may want to show off your work! It’s super gratifying documenting steps to build and then helping others who are just learning. A few months in and you’ll be a pro. Don’t want to blog? Create an Instagram account devoted to your projects and projects in progress!
Create a Blog in 20 minutes and for $3.95 per month here!
9. No Math Required
I know you might be thinking, but Brittany, I think I can handle the pocket holes, but what about the angles and math? I feel you. I’m okay with numbers, but sometimes on the fly still takes work. Thankfully, that’s not an issue with the pocket holes. You only need to know the real thickness of the board. I had to double check this with Jordan because it seemed so simple. He agreed, “Measure the thickness of the wood and start drilling.”
Check out our Kreg jig Projects here!
10. It’s usable on most boards (even 2 x 4s!)
When you look at the Kreg Jig tool, you might think it’s only for small boards. But it’s not. You can use it on 2″ x 4″ boards easily. The total thickness of the boards for a standard Kreg Jig is 1.5″ thick.
11. You’ll find that you want the entire Kreg System for new projects
Remember that DIY project set I mentioned above? We bought that and numerous other Kreg tools. They all work really well and we’ve been extremely satisfied with each item. We haven’t used the shelf pin system yet— only because it’s is a project that we really need to plan… (I have so many ideas for it!)
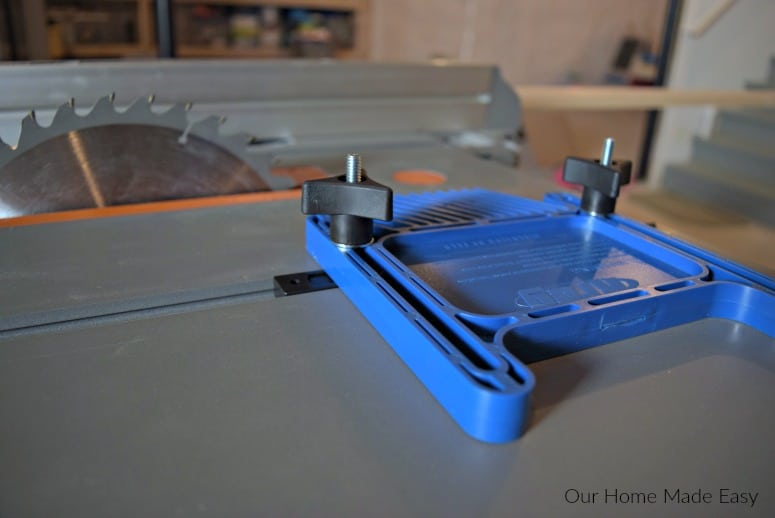
Kreg Rip Cut | Shelf Pin Set | Kreg Clamps | Toolbox of Screws | Kreg DIY Kit | Kreg Featherboard (as seen above)
12. It’s going to save you time
Since you aren’t figuring out geometric angles and complicated equipment, you can simply start building. Since the Kreg Jig is such a popular tool, you can quickly find help (from tutorials in #6) from online boards, Handyman magazines, and Pinterest.
The biggest time saver is simply the ability to have the confidence to start your project and actually finish it. You won’t be spending 10’s of hours wondering if it’s all going to work.
13. You’ll wonder why you waited so long to buy one
Once you start building your first project, you’re going to wonder why waited so long to buy the Kreg Jig for your DIY projects. It makes the little time you have to devote to projects, super easy to finish.
There aren’t many tools that have such a strong following, and it’s for a great reason. I love to share our easiest tools so that you can start and build real projects, in minimal time!
If you’re on the fence about purchasing a Kreg Jig, just do it! It’s perfect for weekend DIY-ers. I love how easy it is to complete a project in an afternoon’s time. Jordan loves how it saves him money by allowing him to create projects that I would’ve otherwise purchased. 🙂
If you can clamp 2 boards together, you can build with Kreg. Have fun and tag me in your first projects!
Love a great DIY project? Be sure to grab your list of my favorite weekend warrior projects below!


To those people waiting to buy a kreg jig, go get one and start enjoying what you love to do, building things. I felt the same way about using the jig, unsure and with a great deal of intrepidation. I bought the single hole jig and did a few practice holes and to my surprise it was an easy tool to use. I have made three side tables since I acquired the kreg jig and I’m on my way to making more. This is the easiest way to join wood pieces together for a great look. Enjoy people!!
We agree Dan! It’s our go to tool for just about everything.
Great article. I learned wood joinery from my grandfather who was a finish carpenter/cabinet maker long before tools like Kreg were available. But a friend of mine was an early adopter of the Kreg system and showed me how much EASIER joinery was using the system. I’ve been using it ever since. One word of caution. The tool is relatively easy to use (and gets easier the more you use it), but it’s not magic. Watch those tutorial videos on YouTube and practice with some scrap wood BEFORE launching into a huge, important project. I promise you’ll become proficient much faster, you’ll discover which clamps and other accessories in the Kreg system are more important to acquire early, you’ll avoid a lot of unnecessary frustration and you’ll be posting pictures of your projects a lot quicker.