How to Decorate Your Front Porch in 5 Easy Steps
Hi there friends! You may be wondering what is going on this week that I have an extra post. Well…. last week I posted our front porch looking a little jazzed up more than usual (okay, maybe 150x the usual). And I immediately received a few questions on how/what/where. I’m over here this morning answering your questions on how any busy family can quickly decorate their front porch too for super cheap (after all that is why I blog…. for the easy things)!
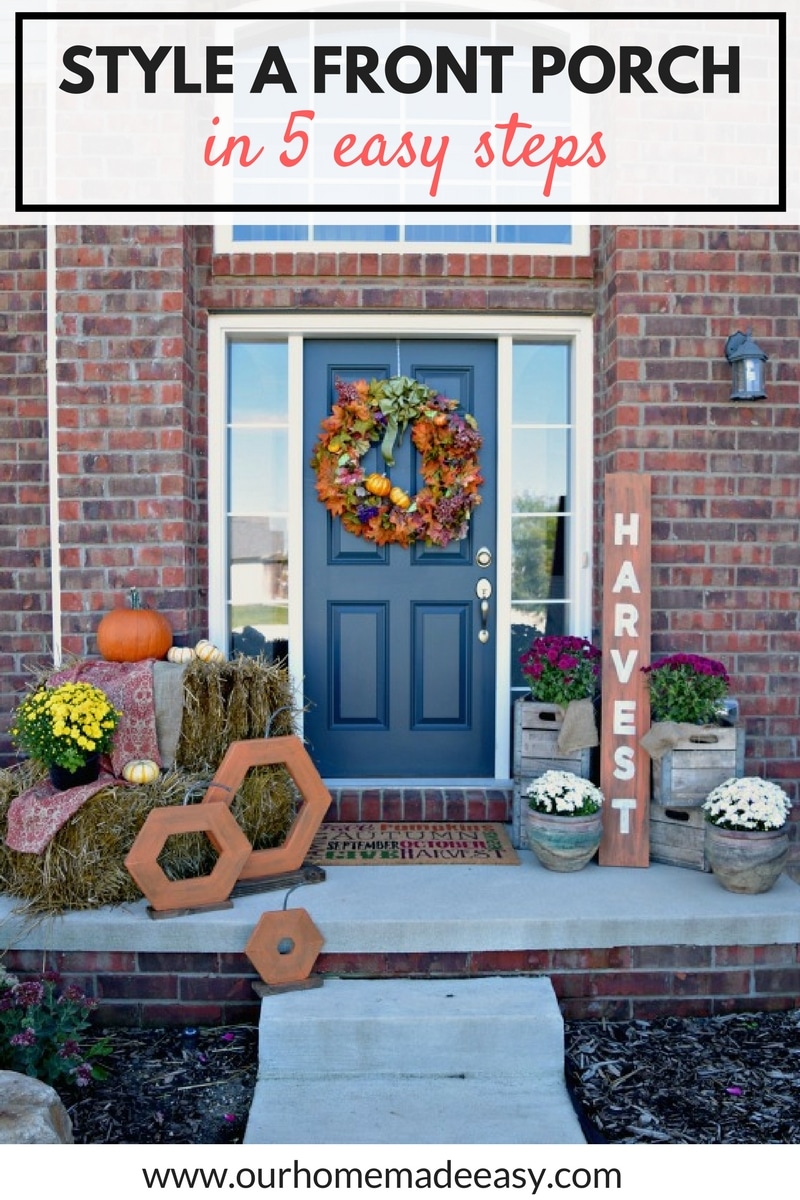
I am breaking this down in 5 super easy steps. Play along with me and you’ll see quickly how to take your blank porch to something that is uniquely your style, makes you proud to arrive home to everyday, and is wallet friendly!
(This post contains affiliate links for your convenience. If you shop from my blog, I may be compensated for clicks or purchases that you make. Read my disclaimer page for more information.)
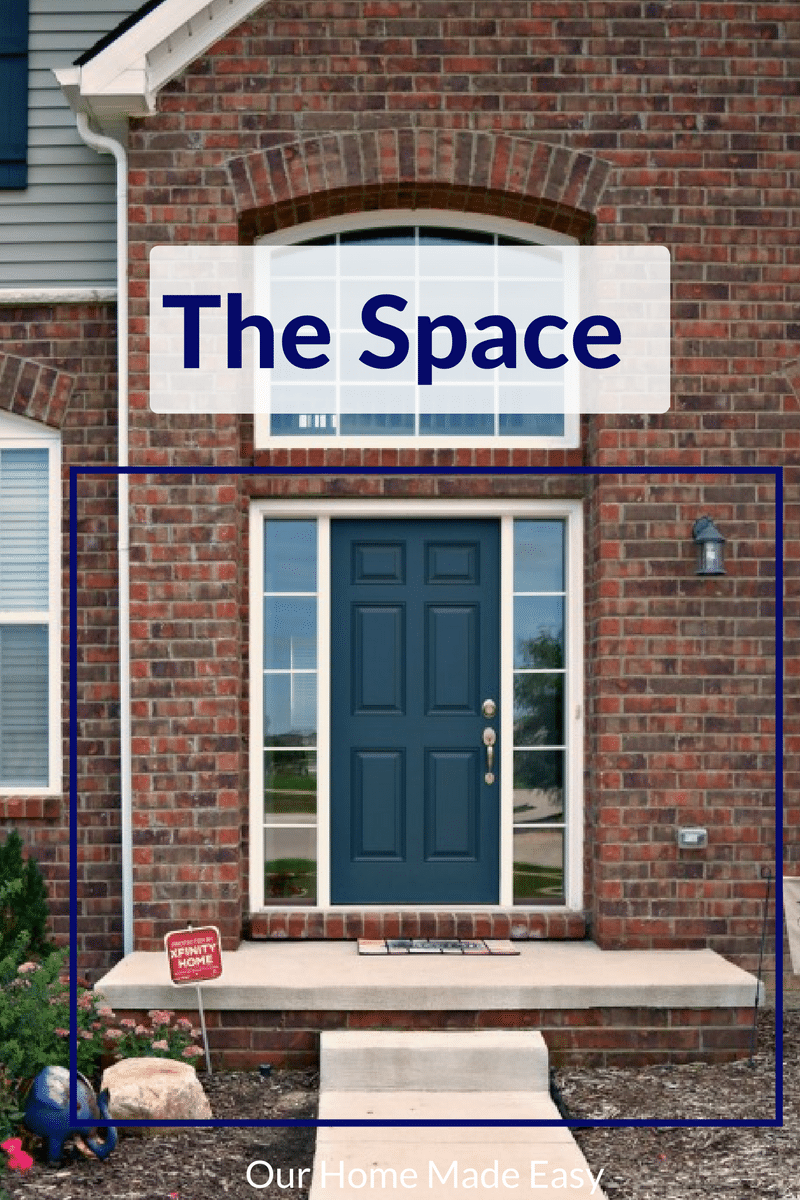
1. Look at Your Space
Uh.. duh Brit. No, realllllyyyy look at your space. Do you have room for all the straw bales you want to buy? Or do you have 3 steps and railings that are begging for attention? In order to decorate it right the first time (that is the goal, you busy one), it’s important to look at your bones. Don’t feel bad for spending a few minutes measuring / wondering aloud / yelling at your other half if you want something moved when you’re planning.
It could be worse, your next door neighbor could come outside at the exact moment you are on the concrete, shooting pictures of stacked pumpkins. Oh hey!
2. Think about what you can use to ground your space
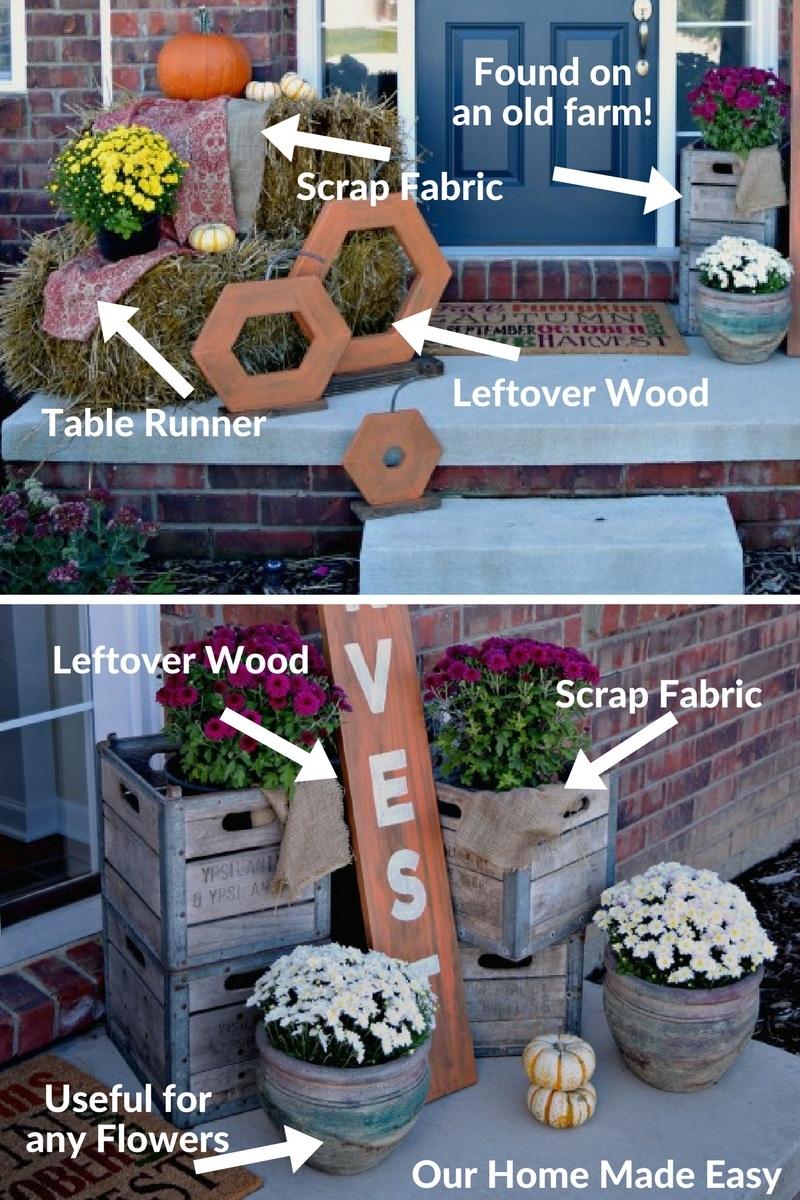
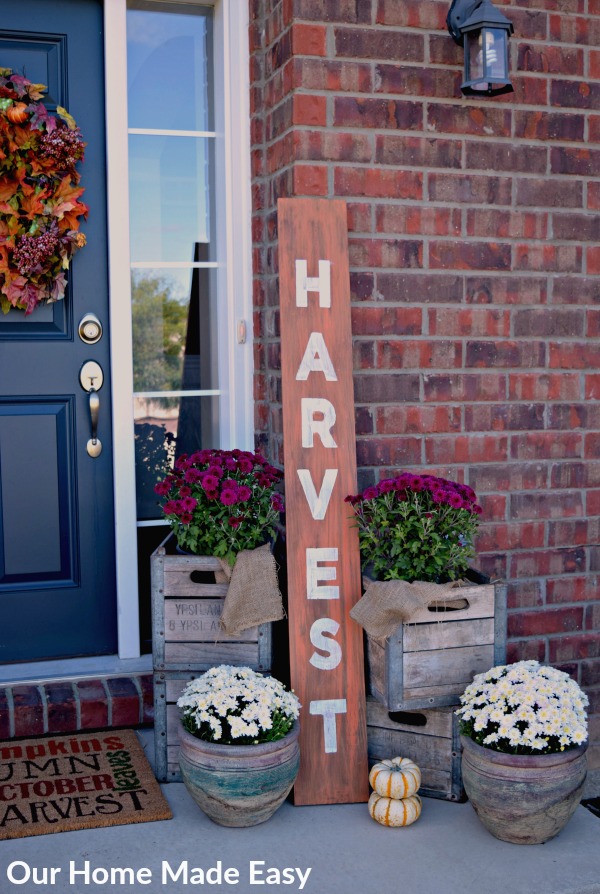
What do you want to build your décor off of on your front porch? For me, I wanted to finally use these antique milk crates that I had lying around. On the other side I had straw bales. Do you need two focal items? Definitely not. I tend to get a little excited when it comes to all things holidays! If you don’t have antique milk crates nearby or access to straw bales (I picked mine up from Tractor Supply for $5 apiece), what about an outdoor chair or small table?
If you are lucky enough and have all the space, what about moving over a bench that may be located somewhere else outside? A nice bench is perfect for styling! Imagine the blanket, pillow, and tray possibilities!
3. Think of 1 small DIY project
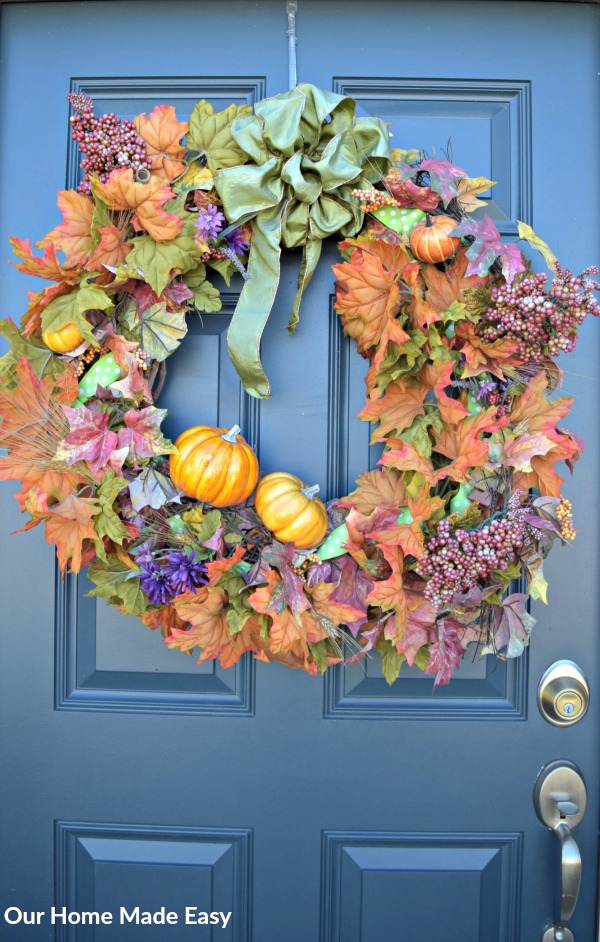
What?? Some people are avid DIYers, others not. But you cannot deny the self satisfaction of building something with your own (or husband’s) hands. Once you know your space limitations and the item in #2 that will hold everything together, you can now decide what else needs to be added. You may need a wreath that sets the tone of the porch. I’ve found that Michael’s, Jo-Anns, and Hobby Lobby have so many options and videos for the DIY types.
For us, I needed some vertical height, but not width. And that is how the DIY “Harvest” sign came to be built. Sure I loved the idea, it was simple enough to build, but I really had a need for it. Best part of this is that next year you can add one more project and you’ll keep building a cohesive (your own version of curated… fancy) design. It will always coordinate. 🙂
DIY Wood Pumpkin tutorial is now on the blog! Click over to see how to make your own with just a few materials (and a few dollahhsss)!!
ps. No one will hold it against you if you have 3 DIYs, but the goal is to make this easy and not overwhelming for ya!
4. Fill-in with Home Items
So now you’ve brainstormed the big stuff, it’s time to start filling in the décor. You can go crazy and buy lots of fun things, or take a quick look around your house. Do you remember how I mentioned I made two table runners in my fall home tour? I really don’t need the other anytime soon, so instead of wasting it this year in a tote, I set it over my straw bales. It’s a fun print on burlap, so it will hold up well. Will it now be officially deemed outdoor décor? Absolutely, but honestly…. it’s going to get way more use out there than as a runner for a second dinning room sized table. Do you have an old accent pillow that is tucked away that would look nice styled on your chair?
And those burlap pieces on my front porch? Leftovers from my burlap curtains. Yes, really. Even if you don’t have burlap lying around, you can order some a Jo-Anns (where I got mine) for way cheap.
Think about what you have lying around. Maybe an old patterned blanket that you could soften up a straw bales or lay across a chair? Wash it at the end of the season and keep it away from the rest of the family until next fall. How about a fall scarf? Any old baskets or trays that could use a fun coat of spray paint and repurpose?
5. Finish it Off!
Now the fun part! You know your space. You’ve pictured the big item in step #2, and things are ready to be assembled! This is the part where you fill-in aka go shopping for anything else that you need. Notice how we did not buy anything brand new until the last part? Sometimes I feel like I buy, buy, buy and then I don’t know what to do with all the stuff. Now, you won’t be making this mistake. You know exactly what you need in order to finish out your front porch.
For me, I needed to add some color and soften the look of the milk crates. In comes the welcome mat, pumpkins, and mums. I found the little pumpkins for a dollar apiece and the big one for about $3. The flower pot planters are something I found in the garage (leftover from Alabama). I found them when I was trying to find something to carry water for watering the mums!

