Adding Accent Mosaic Tile & Painting the Walls [ORC Week 4]
Whoa! It’s another week gone in the One Room Challenge! Ahhh….. we only have 2 weeks left before I show off all the hard work of our bathroom! If you’re new here, I’m Brittany. Over here at Our Home Made Easy I share easy projects, simple home decor, and easy recipes that any busy mom can finish! And this project for the One Room Challenge is no different. We are taking on an entire room in a month’s time, but doing it with simple fixes and upgrades.
Each week you can see the guest blogger’s latest updates at Calling it Home. The One Room Challenge is sponsored by Linda at Calling it Home. It’s a great opportunity to see so many design styles, find potential DIY projects for your own home, and finally — a finished room!
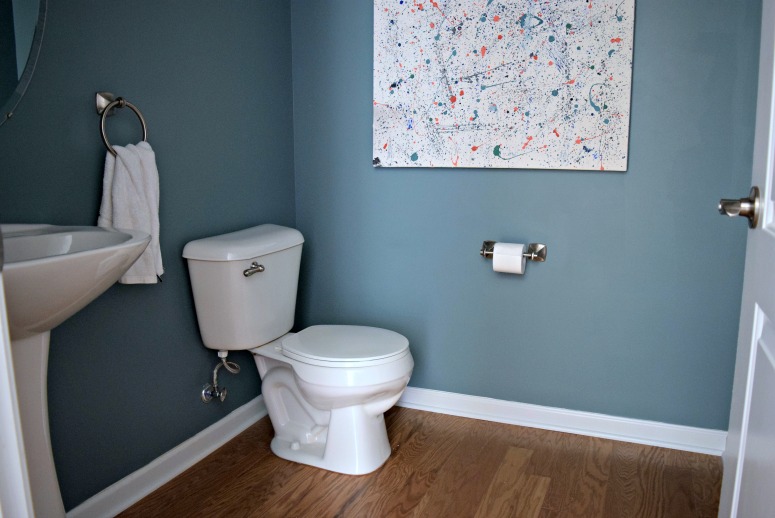
Don’t forget this was only 3 weeks ago!
(This post contains affiliate links. If you shop from my blog, I may be compensated for clicks or purchases that you make. Read my disclaimer page for more information.)
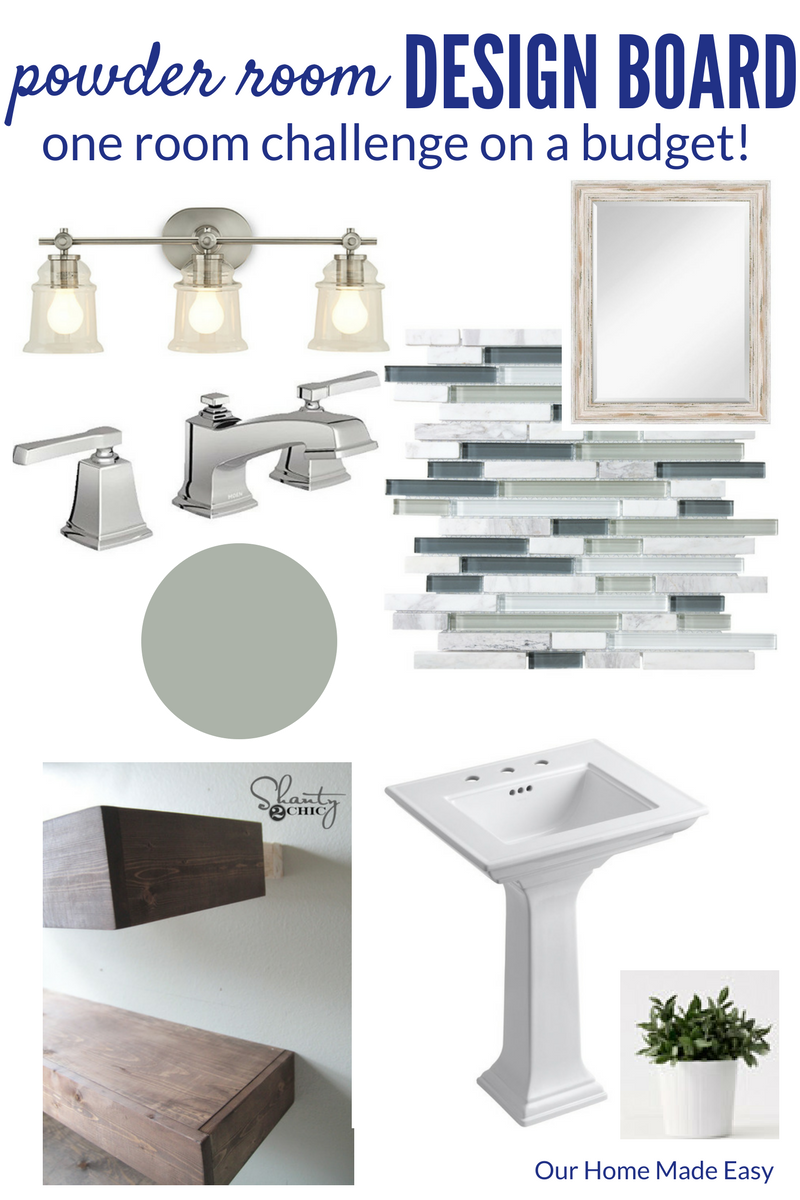
And here is the design plan!
Board Inspiration Pedestal Sink | Vanity Lighting | Paint Color (Gracious Gray) | Faucet | Floating Shelving | Fresh Greenery | Mirror | Mosaic Tile
This week we installed accent mosaic tile, a wood board above the tile, painted the walls, and added some new hardware! Whew! You guys, it’s no wonder Jordan traveled this week, he needed a break from my to-do list! 😉
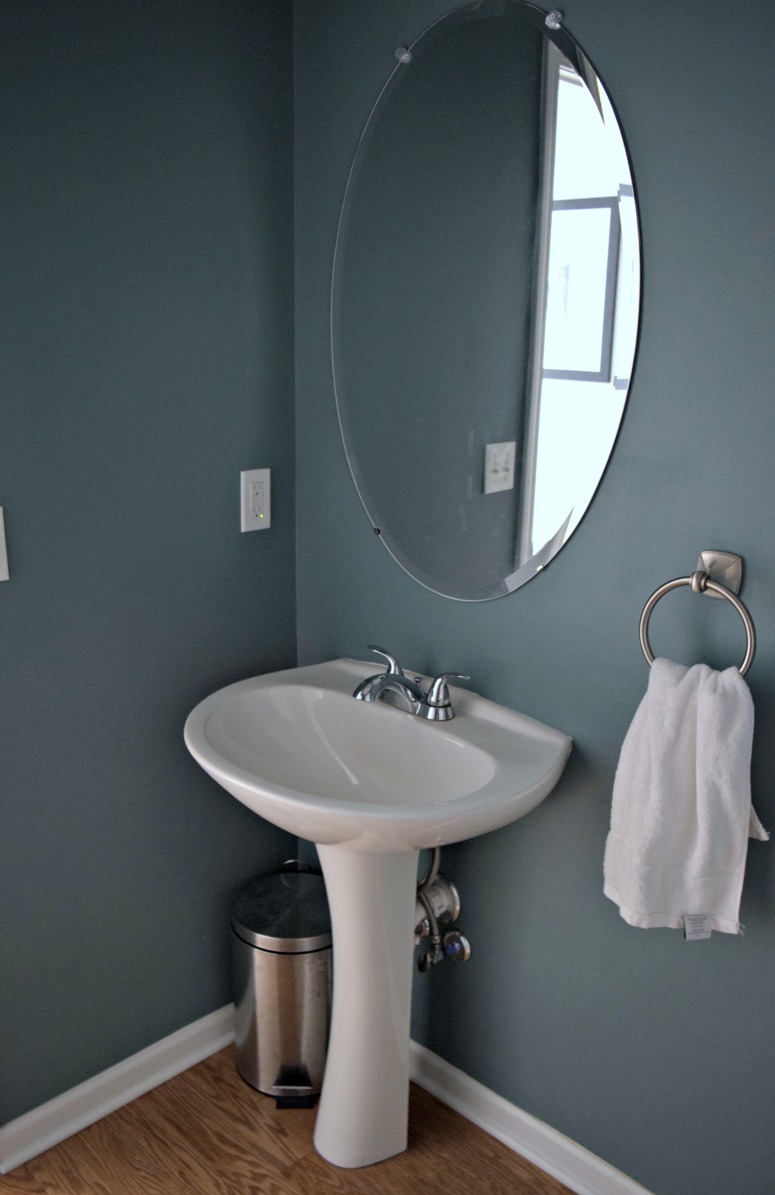
What a nice change isn’t it? Pardon the not-so-perfect pictures. We have no lighting in a room that has zero natural light. So I am trying my best at capturing what the walls really look like, out of the closet like darkness it currently is. 🙂
We ended up using Drizzling Mist from Valspar on the walls. Every green tone came out a little too dark or not quite what we were looking for, since the room has no natural lighting! 4 samples of paint later, Jordan took a risk and picked up a color using a swatch (a no-no that worked out well). The blue tone in the room is what we were wanting to achieve.
In between making things look especially pretty, Jordan added new outlet covers and light switch cover to make them more modern.
If you can believe it, we totally skipped the mortar and used the MusselBound adhesive instead. It made tiling while living with toddlers, so much easier! Jordan said he would happily use the product again (but you do need a helper).
In a future post I will document how to create the tiling border and if you’re new at tiling, I will step through the process, so it’s way less scary! 🙂
Our To-Do List for the Powder Room
Add Board & Batten WallsRemove exisiting mirrorAdd accent tileGroutAdd wood borderPaint wallsRemove old sinkInstall new sinkInstall new faucetInstall new switch coversInstall new plumbing in toiletRemove existing light- Finish wall treatment (caulk & filling in nail holes)
- Hang a new mirror above sink
- Install new light
- Install shelving
- Decorate!
Next week I will be sharing my favorite ideas for finishing up this space (because that’s all that we have left!)
Take a look at the Powder Room progress here:
Week One: Powder Room Makeover Design Plan
Week Two: 11 Things You Need to Know Before Making Board & Batten Walls
Week Three: How to Install a Pedestal Sink
Week Four: Adding Accent Mosaic Tile & Painting the Walls (You’re Here!)

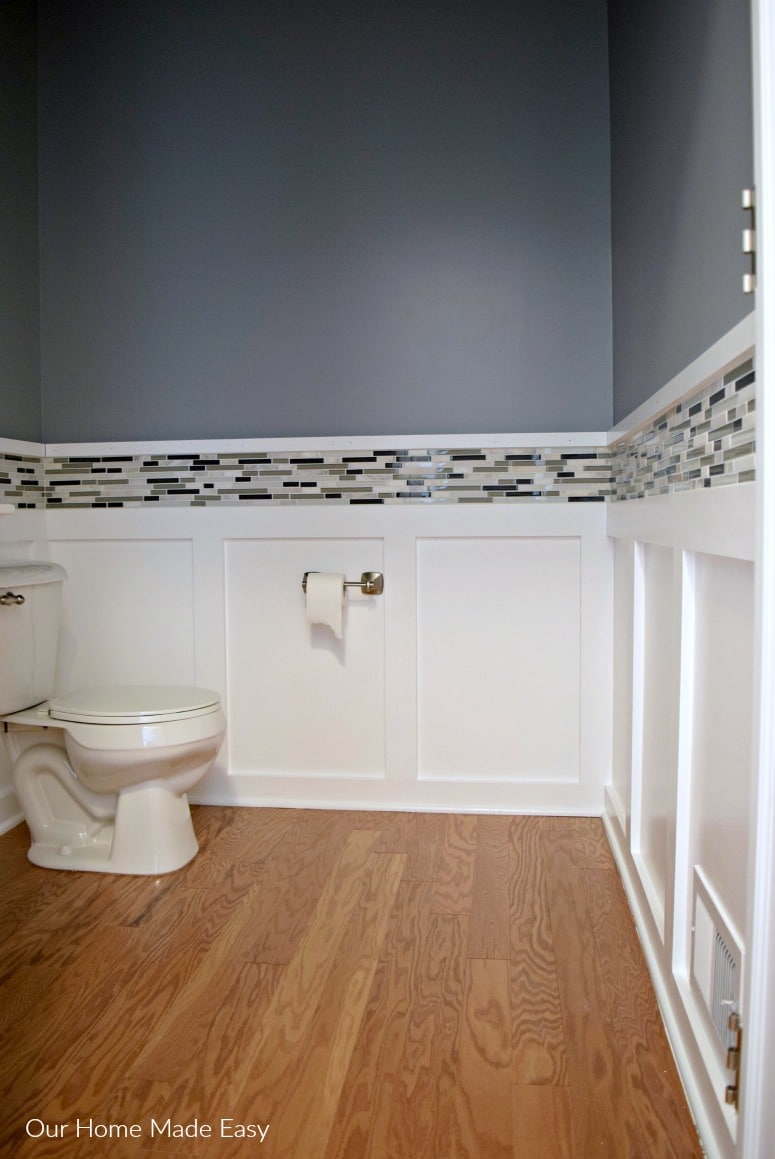
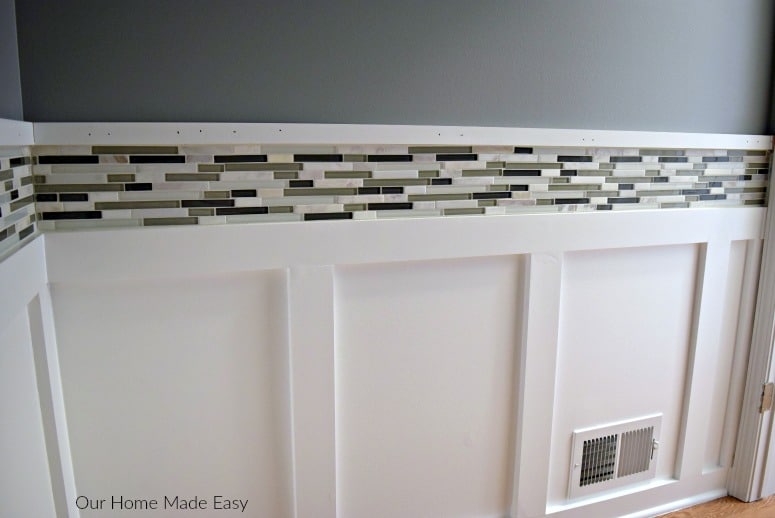
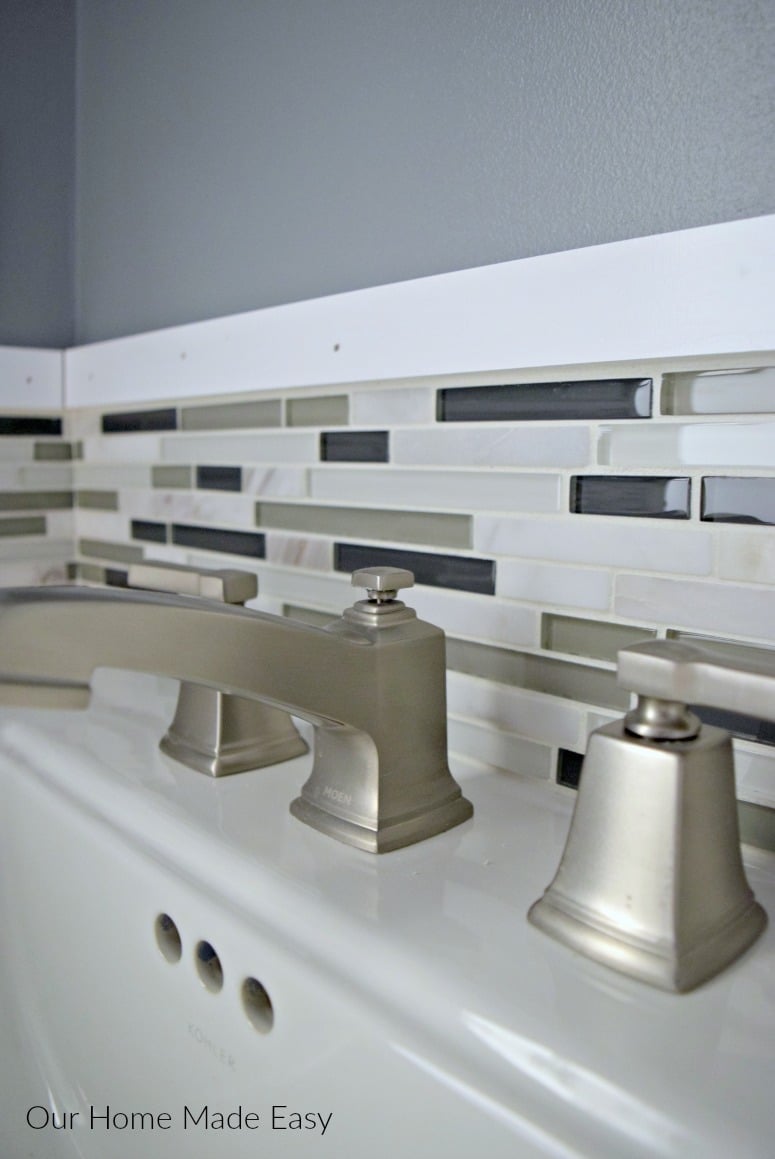
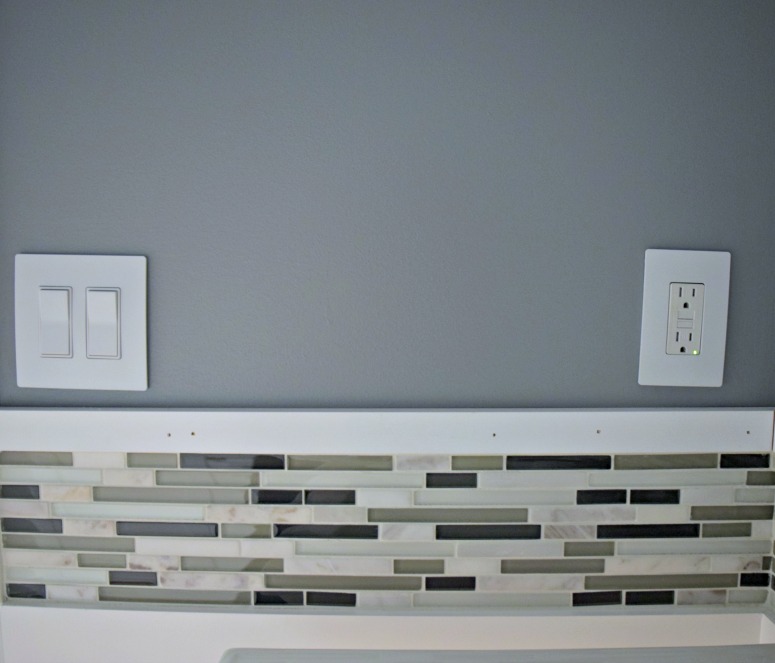
The mosaic and the blue wall color compliment each other so nicely! I love that you put up a white wood wall. it really lightens up the space and adds some interest.
Thanks Charlotte! -Brittany
Where did you find bottom white paneling ? And what is it called I love it and want it for our bathroom 🙂
We made it! You can find it under the DIY section of our site!
Brittany, your powder room is looking great! You’ve made a lot of progress already! Excited to see it on reveal day! Let’s do this! XOXO, Sarah
Thank you so much Sarah! I am excited to see how it turns out, too! Thanks for stopping by -Brittany
I am truly in love with the batten board walls and the tile accent. This is such a great look!!! The room is progressing nicely can’t wait to see this weeks !!!
Thank you Jennifer!!
What size is the board above the tile?
How wide is the tile ?? 6 inches
What size is the board above the tile?
We used a 1″x 2″ piece of select pine to coordinate with our board & batten. Once we had the tile in place, we put spacers above the tile and laid the 1″ x 2″ board and nailed them in place. Thank you for stopping by! –Brittany