The 11 Things You Need To Know Before Sewing Minky Fabric
Here are 11 tips that you need to know before you start sewing Minky fabric! It’s the softest fabric and great for beginners!
This post contains affiliate links. That means at no cost to you, I may earn a small commission for any sales generated through your clicks. See my Disclaimer for more information.
Have you ever received one of those super soft baby blankets that feel like you’re holding a cloud? Or given one as a baby gift? That super soft fabric and sometimes bumpy fabric is called minky. It’s so much fun to give away a minky blanket— but before you can wrap up a pretty gift, you need to know a few things about the sometimes tricky fabric. Let’s jump into the 11 things you need to know before sewing minky fabric!
What is Minky Fabric?
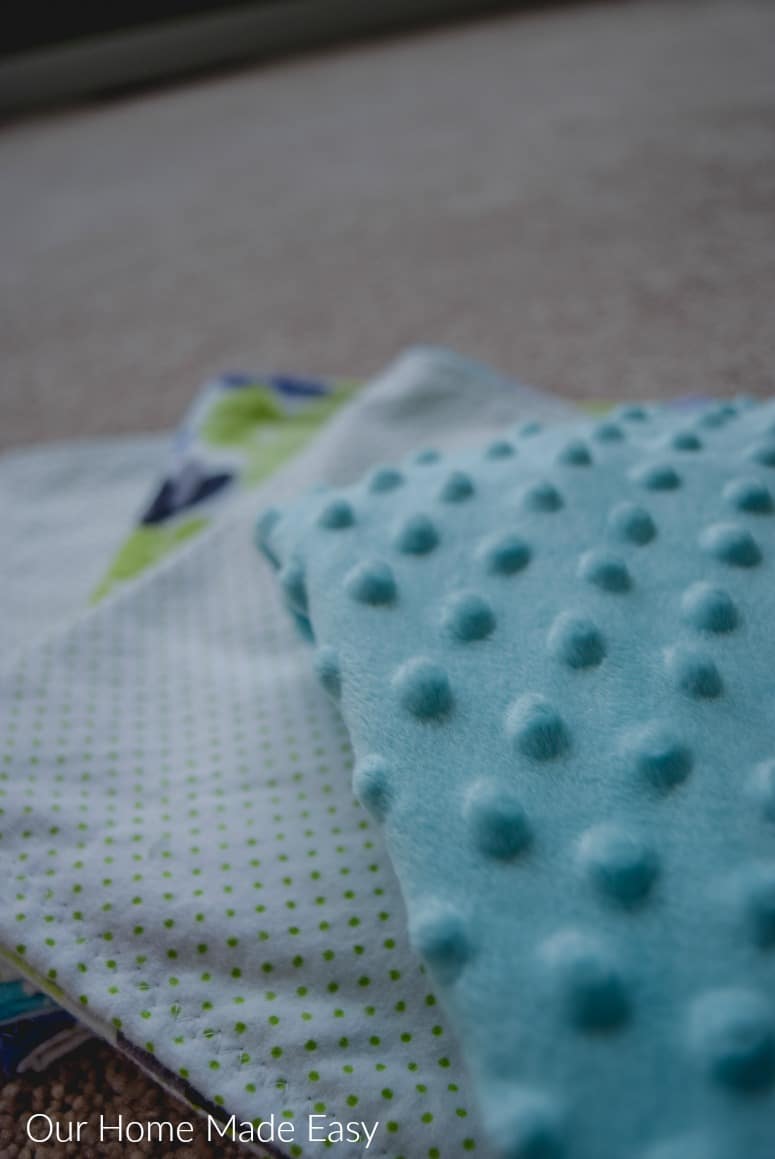
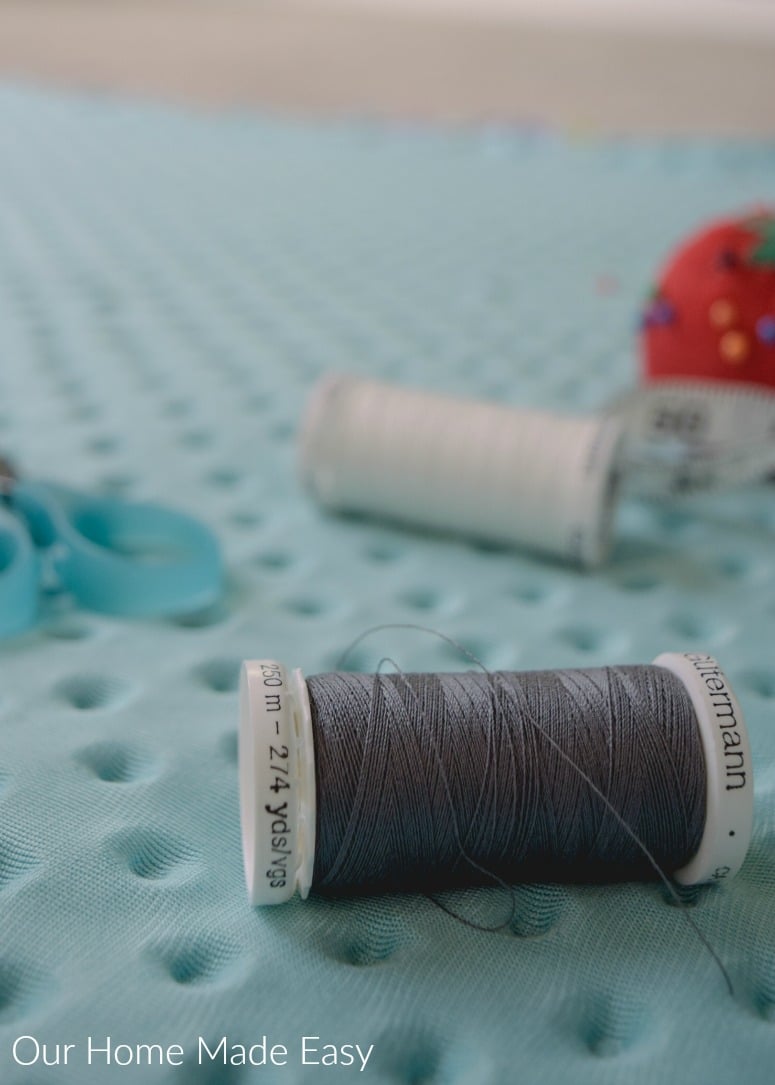
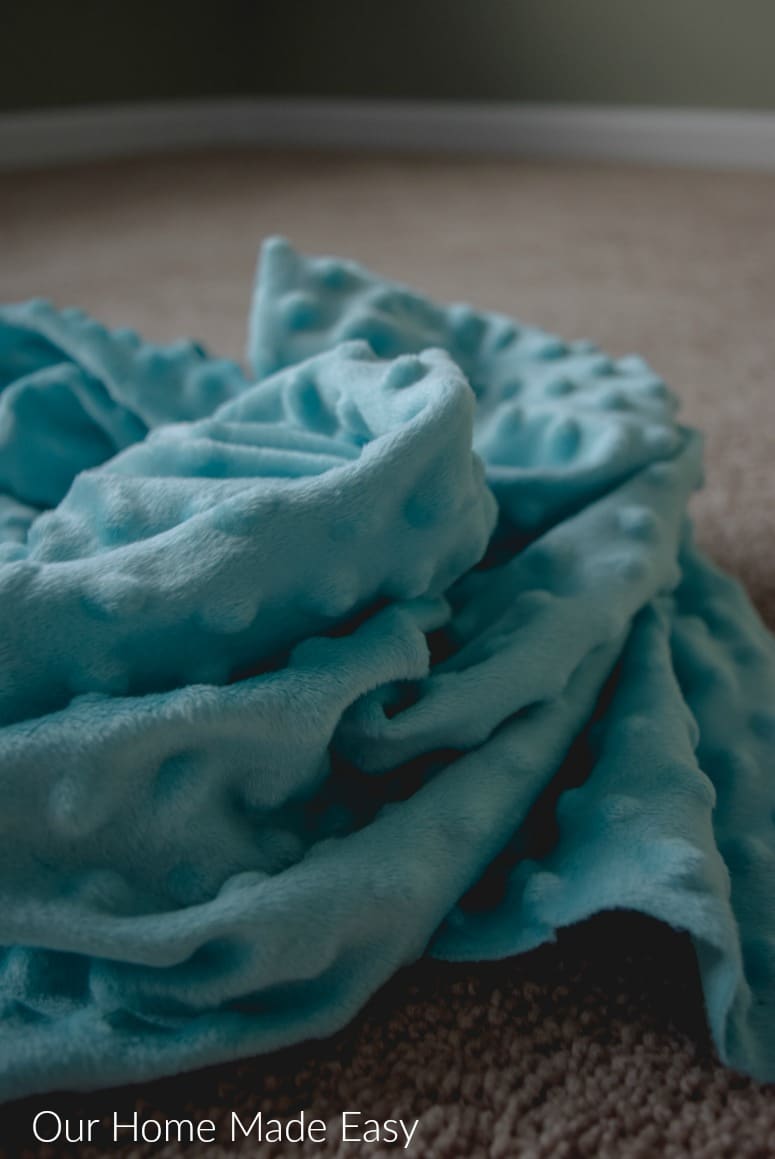
Minky fabric, often referred to as “Cuddle fabric,” is a luxurious and ultra-soft textile that has gained immense popularity in the sewing and crafting world. This polyester fabric is beloved for its plush and velvety texture, making it perfect for creating cozy blankets, stuffed animals, baby items, and much more.
One of the standout features of Minky fabric is its pile length, which refers to the length of the fibers on the surface of the fabric. Minky typically boasts a longer pile, resulting in a smoother, more velvety finish compared to other fabrics. This extended pile creates a delightful, tactile experience, making it a top choice for projects requiring a soft touch.
The ultra-soft feel of Minky fabric is unparalleled, making it a top choice for items intended to provide comfort and warmth. Whether you’re sewing a baby blanket, a plush throw, or even adorable stuffed toys, Minky fabric adds an inviting and snuggly element to your creations.
Washing and Drying Minky Fabric
To keep your Minky fabric in pristine condition, it’s best to wash it in cold water with a mild detergent. Avoid using fabric softeners as they can reduce the fabric’s softness. When it comes to drying, use a low heat setting or air dry to prevent any damage or matting of the fibers. As someone who has enjoyed Minky fabric projects for several years, this gentle care routine will help your Minky creations stay soft and cozy for years to come.
Here are the 11 Things You Need to Know Before Sewing Minky Fabric
1. Buy More Than You Think
Minky fabric moves and stretches a lot. To accommodate for real life sewing, purchase a 1/8 yard more than you think you need. While it doesn’t shrink, you’ll be thankful for the extra ‘wiggle’ room while sewing together a blanket!
My favorite places to buy Minky Fabric>>>> Jo-Ann Fabric | Fabric.com (an Amazon Owned Company)
Find the latest Jo-Ann Fabric Coupon Codes Here!
2. Applique is Possible!
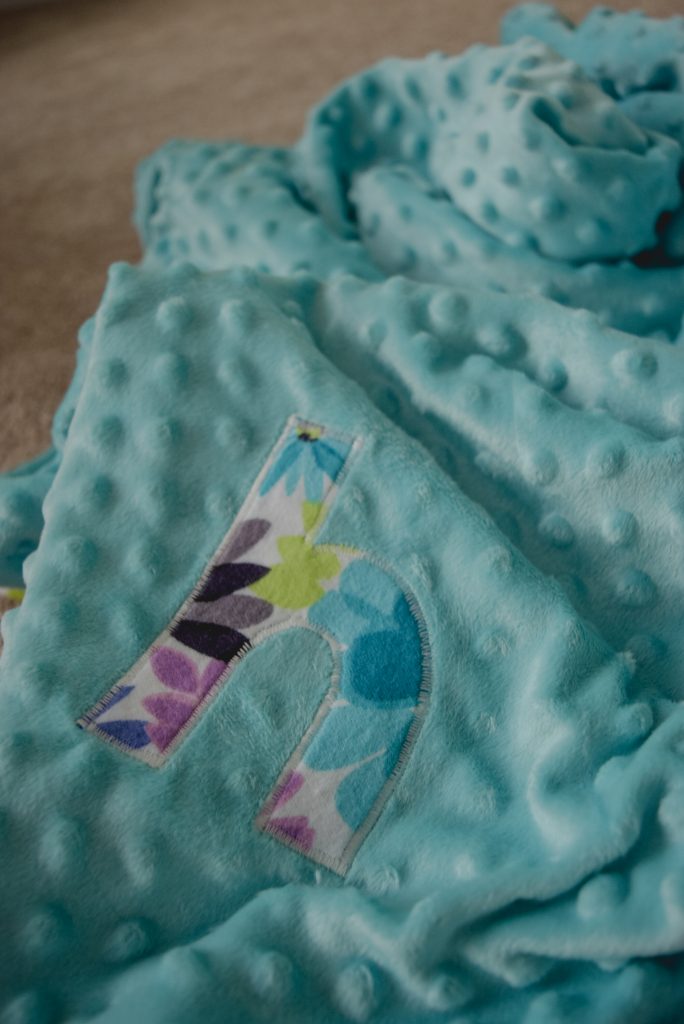
Minky may seem overwhelming, but did you know that you can applique over it? The only different step I add in appliqueing minky fabric is a cooler iron and minimal iron-to-minky contact.
Want a step-by-step tutorial for applique? Find it here!
3. Before You Iron– READ THIS!
Aside from applique, you can use an iron to press minky– but I would use a cool iron sparingly. If you are making a baby blanket, press the blanket using the flannel side and avoid the minky fabric. I’ve found that the ‘bumps’ pop back up after washing, but it’s not something I’d recommend doing every time.
- Related: The 15 Must-Haves for Sewing Beginners
- Related: How to Applique a Baby T-Shirt
- Related: A Beginner’s Guide to Making Hooded Towels
4. It Moves!
Remember tip #1 about extra material? It’s because minky fabric moves! When you are sewing minky fabric, keep the fabric firmly in place. It’s no time to skimp on the straight pins. Just know that minky moves and it’s not a real reflection on your DIY sewing skills. We are not professionals, simply lovers of soft fabric and babies. 🙂
- Related: 17 Easy Homemade Baby Gifts!
5. Straight Pin 101
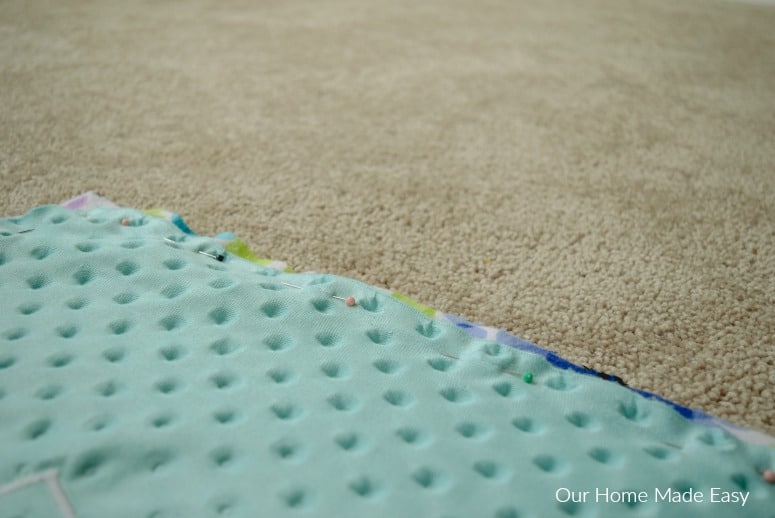
If you have ever wondered why you have a tomato push pin full of straight pins, it’s because of minky. Pin your fabric in place. Then, go around your fabric and fill in any empty spots with more straight pins! Since it moves so much, you can minimize some movement with overzealous pinning.
6. The $$ Per Yard (& A Bonus!)
Minky fabric tends to cost about 50% more per yard than traditional flannels. But don’t fret— it doesn’t usually go on sale often, so that means you can use a coupon! I usually pick mine up with a 50% coupon at Jo-Ann Fabrics.
When I make Minky blankets, I’ll usually make one blanket with a minky and a flannel side. Then any other blankets are both in a flannel material that coordinates together.
The best part about bolts of minky is that while pricier than traditional fabric, the bolt width are about 58″ wide! That means you can get almost 2 blankets out of each cut! Essentially– it cuts your yardage total cost in half per blanket.
Find the latest Jo-Ann Fabric Coupon Codes Here!
7. The Seam Allowance
When it comes to sewing minky fabric, give yourself a very generous sewing allowance. Since it moves to much and requires careful feeding/watching, I always err on the side of at least 1/2″ sewing seam allowance. If you’re brand new to minky, go for 3/4″ or in-between where you feel comfortable.
When you’ve finished sewing, trim off your excess material. It won’t be pretty, so just cut it away. 🙂
8. Keep It Simple (And 1 Layer)
While one of Aubrey’s favorite blankets is a two-thick minky from when she was a baby, I would not recommend sewing two minky pieces together. It’s very possible to do, but it would require a very thick and durable needle (check your sewing machine manual) and even more pinning!
9. Don’t Forget to Top Stitch!
When you are making your baby blanket, treat the minky & flannel like any other blanket. Turn it right side out and close the opening. Then top stitch to secure it in place. This keeps the minky lying flat and adds a little interest around the outside border. For minky, I use a top stitch with either a tighter zig-zag stitch or a straight line. The needle is already doing quite a bit of work moving between that fabric and I don’t want to risk breaking it by creating a more decorative stitch.
10. The Big Clean Up
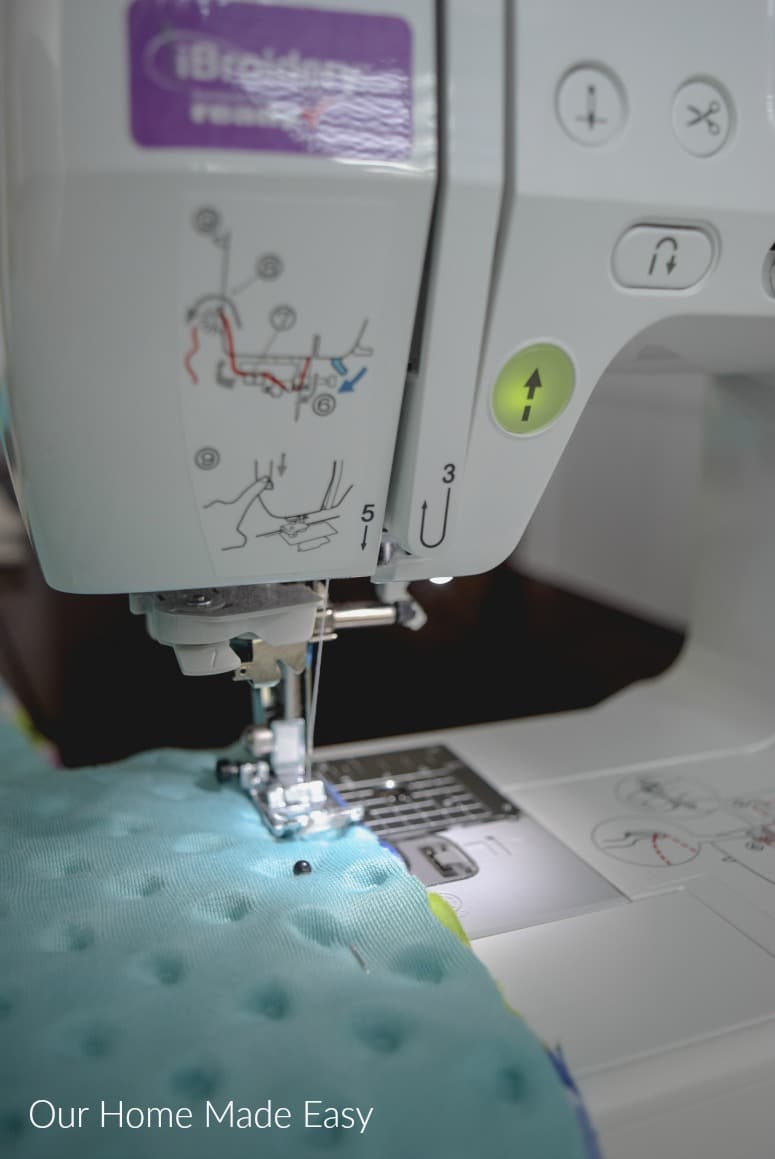
Minky leaves behind thin pieces of fuzz. If you’re sewing a large blanket, build-up under your machine’s foot will occur. You’ll want to clean your sewing machine afterward. I recommend looking at your sewing machine manual and learning how to open the area under the foot and using a soft brush to pick up the extra fibers.
11. It’s Totally Worth the Effort!
The labor of sewing minky fabric is totally worth it! It’s such a fun texture that makes for a soft blanket, even if it requires a lot prep. There is nothing better than wrapping up in a minky blanket or holding a little one with a blanket. When I give them as gifts, minky baby blankets are always passed around “Feel how soft…”
What Can I Make Using Miky Fabric?
These are some of my favorite minky fabric gifts to sew for others and you’ll find that they are the most common use of minky fabric…
- Baby Blankets
- Soft Toys (Ribbon Tags, Crinkle Material in the center, etc…)
- Carseat Cover
- Fabric Block Toys
- Puppy Blankets (similar to baby blankets in sizing)
- Adult / Big Kid Blankets (I recommend using the smooth minky for home decor gifts)
- Infinity Scarves (Smooth Minky again)
- No Sew Blanket
Minky is a wonderful material for making super soft items. When you are sewing with minky fabric, simply be prepared for a little bit of extra TLC. The extra attention pays off beautifully and you’ll create a gift that everyone will want to hold!
Want to remember this post? Pin for later!



I think two layers of minky are easily sewn on just about any machine. Just go slow and pay attention. But putting a layer of cotton or flannel with minky doesn’t go well. It looks nice initially but when you wash it the static cling makes the cotton fabric stick to the minky and bunch up unattractively. And I wouldn’t use fabric softener with minky. The petroleum based fabric softeners build up on the minky and make it brittle. And finally…I don’t think the minky at Joann is nearly as soft and plush as the minky sold at your local quilt specialty shop. Its more expensive there but worth it.
Thank you for sharing your experience, Kristie!
I’m sewing cotton and minky together perhaps for as a quilt cover -just wondering!!!!. I also made a quilt for my daughter She wanted a quilt with minky backing -so I did that now I’m wondering if we did right ?? that quilt is all compleat so time will tell – It’s also so-so-so- heavy “””
I’m sure you did a great job, Louise! It’s such a cozy fabric. 🙂
Hi! Do you prewash your flannel as minky does not shrink but cotton does?
Hi Echau! I do pre-wash all my fabrics for that very reason. Thanks for stopping by! -Brittany
So, I should pre-wash the minky fabric before sewing it or pairing it with a cotton flannel?? I pre-wash the cotton flannel, but I’ve never pre-washed the minky? Please advise because it does move a lot.
I would recommend pre-washing your material for that very reason! Thanks for stopping by, Benita!
Remember….Mindy does not breathe so be careful when using for baby projects!
Would a iron on interfacing work to the cotton or flannel portion? Definately need advice as I have 3 quilts planned with minky on the back and cotton woven/ and flannel on the fronts of the quilt sandwich.
One major tip is a ball point needle . Makes sewing on Minky soooo much easier
Great read, but I feel the most important thing I have learned about sewing with minky is always use a walking foot. I find that this help to grab the fabric, feed it through easier, and it moves a lot less.
That is a great tip, too! Thanks for stopping by, Stacey!
should i be using a special needle or something? Every time I attempt minky my machine rebels. the underside is just a mess of knots and threads and yet when i sew my fake fur for bears I have no issues.
Hi Sheila! I usually use a new needle for the minky projects. I found a few suggestions here: https://www.craftsy.com/blog/2014/10/stop-your-sewing-machine-from-eating-fabric/ Thanks for stopping by! –Brittany
I am having this same problem – lots of loops (and therefore knots) on the underside. Is it related to the thread tension? Do I need a walking foot (will it help?) I am not currently using one… Any advice would be great!
Hi Mindy! I do not have a walking foot, yet they are designed for material like minky. What is your speed? I try to go slow and steady to avoid any knots on the underside. I found this explanation, perhaps it will help you out. Thank you for stopping by! https://forum.apqs.com/topic/32529-tension-issues-with-minky/
I bought a lot of Minky fabric for a rag quilt. But now I’m wondering if it will fray enough ?
Hi Carol! I’ve never made a rag quilt, so I’m not sure. I don’t think it frays a whole lot. Regardless, I’m sure whatever you do with the minky will be really pretty! Thank you for stopping by!
I’m planning on making a baby blanket. Cotton fabric on one side and minky on the reverse side. Do you recommend putting batting between the two fabrics?
Hi Sharon! We have several of these and have never used batting. I’m sure that would make for an extremely warm blanket. My only concern would be choosing the right needle for all the material. Good luck! -Brittany
I am in the middle of doing a mermaid tail with minky, double layered. So I end up with 4 layers that you have to go through. It has been a trying process. I’ve changed 4 needles, 3 different threads and 2 different walking feet, I also changed 2 different bobbins. I was able to get 2 layers together no problem but when it came to putting it all together it was a very difficult task. The upper thread just would not catch the bobbin thread. In the end I found that a 100/14 needle and a thicker thread worked best. Minky can be temperamental but beautiful in the end. 🙂 happy sewing
Wow Serina! That sounds like a beautiful but THICK project. Thank you fo sharing what combo worked for you, it will be so helpful for others reading this post!
Perhaps you should just sew two layers. Either make the seam that joins them both (waist/chest when worn) and sew around the two sets of tails leaving an opening, or sew two sets separately and join at the straight top (waist/chest) leaving an opening. Turn inside out and shove the lining side down into the tail. Make a tack or two near the end/tail to keep the lining from shifting out, and hand or machine stitch the hole left for turning, shut.
I saw that a walking foot was mentioned, but also adjusting the pressure on the presser foot makes a difference. That is usually on the left side end of the machine near the needle bar, or at the top for older vintage machines.
Good luck!
Also, a roller or teflon foot helps (and hand basting!).
Great tips, Susan! 🙂
I just sewed a baby blanket with cotton fabric, minky and cotton batting together and top stitched. However, the 6 inches where the opening was doesn’t look very pretty after top stitching. The minky there looks very obviously different from the rest of the quilt. Looks flat and unflattering. Is there a way to correct that so it looks consistent to the rest of the quilt?
Hi Echau! I’ve never used the batting before, however, you could try laundering it The material may ‘pop’ back up after washing & drying. Thank you for stopping by!
I always baste every cut edge of minky. It does take more time, but the results are worth it.
That’s an excellent suggestion Debby! Thank you for sharing it & stopping by!
When my 8 and 9 year old granddaughters sewed with minky, we used Elmers glue stick in the seam allowance . It was magic . The stuff washes out with water if needed and offers enough hold that the seams were perfect . We still used clips but not nearly as many .
I’m a big fan of minky on both sides. The fabric acts so differently that it’s more fun to use with the soft on both sides .
Always wash in mild detergent and no softener . I partially dry mine on low then finish air drying.
I’ve done cuddle blankets with satin edging , pieced quilts, car pillows. Minky is fun to use so it’s worth the extra effort .
This is the BEST tip! I agree about the minky, it’s a great fabric. Thank you so much for sharing Carol!
Brilliant tip. I’m off to buy some Elmer’s tomorrow!
To keep the seams from slipping, as you sew, lightly spray with a little water to create surface tension. No more sliding.
Really? Elmers glue helps it from stretching as you’re sewing the seam?
Hi Kim, I haven’t tried the Elmer’s glue trick!
Any special type or size of thread needed to sew with minky?
Hi Susan! I would check with your owner’s manual for a heavy duty recommendation, especially if you are doubling up on the minky fabric. I really like the Gutermann thread, but others may have their own preferences.
I always use 2 layers of minky. A patterned one and a solid coordinated one. I lay them out flat, wrong sides together, then spray with a basting spray. I use a corner template and with all four corners together, use my rotary cutter and round my corners. Using another coordinating minky, I cut 2 inch strips and sew them together like binding and trim that seam. Then using my walking foot , I sew my binding into the minky with a half inch seam. I then my binding over the seam and sew my binding down with a decorative stitch. I know that “they” say not use a walking foot with a decorative stitch, but I have never had a problem. I trim the minky close to the stitch so it shows. I have literally made hundreds using this method. I tried them like yours and could never get them to look right.
I buy 1 1/4 yards of my front and back minky and 1/2 yard of my binding minky. This is enough for 2 blankets the size the boutiques sell for $60-$75. I use aurifil thread. I have never had a problem seeing through 3-4 lawyers of minky. I don’t buy Joanns minky. I did once. I had always bought Shannon or Michael Miller at a quilt fabric store. There is such a difference in quality and how they sewed.
I am not trying to be mean or rude!! It is just my experience after sewing minky for more than 12 years and making hundreds of blankets.
do you attach the minky to the top anywhere other than around the edges?
No, I haven’t! However, you could use embossing floss and knot it through the 2 pieces!
This may sound a little crazy, I have the very best results by hand basting after pinning. Great results!
Thanks!
Here’s my comment…The Minky at Joann’s is cheap… The best Minky is Shannon fabrics Minky… Next is Michael Miller’s… They are the only ones I will use…. No stretching….
Thanks for sharing your experience, Lindy!
If you don’t have a walking foot, does the minky got on the bottom? If so, how to make sure you are sewing a straight line with the minky stretching? Also, when you topstitch, which fabric goes on the bottom?
Do you know if Minky is absorbent? I really need to know before I start my project.
Thank you in advance,
I’ve never used it for absorbency. I would test it with a small scrap piece before you start your project!
I love minky blankets. When I first started sewing with minky I used a ball point needle. And lengthened the stich length. And plenty of pins. I used minky on both sides. I did use a walking foot. Then I wanted to find a faster way of sewing. I own a serger and I tried a practice piece and it was wonderful. This is the only way I will sew minky
I only use 4 pins, about 3 inches from the edge on each side. Do not run over pins, that’s why they are so far in. And I rounded the corners. Leaving a space to turn right side out. It keeps the minky dust down and the material doesn’t shift.
All of my blankets are well used and washed and dried . I use drier sheets with no problem.
Hi, I read all of your ideas for working with minky before starting a very brisk need to make them for many people. I make the lovey size and crib size. The best idea I have had since starting this enormous project is to use a Leather sewing needle. The ball bearing needle did work on thinner projects but if I use a leather needle I get no knots below and it does not break. It makes a nice clean stitch and saves money because they cost less than ball bearing needles. I make them customized so if they ask for 2 layers of minky and a quilt batting inside, I can do it with ease. I always wash the cotton or flannel fabric beforehand because they shrink but I do not pre-wash minky. I am using the plush deluxe fur minky now for some blankets, it is very expensive but the results are fabulous. Just make sure to take your bobbin holder right out and clean all below there on your sewing machine after each project. I also vacuum the sewing room a lot now, Thanks for your help! Nancy
Thank you everyone for sharing your minky experiences. Your great tips are very useful to an inexperienced minky sewer. I shy away from minky because of its shifting/moving characteristic. Can’t wait to start the my new minky project!
Great note: when laying minky out the first time “before cutting’”, place a piece of press n seal wrap down the edge to be cut. This seriously reduces your “dust” factor AND you can sew on it to help your seams from stretching. It tears away cleanly (with the dust) so it’s “not everywhere” when you are done. I was told this by a Shannon Fabric rep during a class, best tip I’ve ever received for sewing minky!!!
Can a lightweight fleece be used instead of cotten flannel for the top?
LIGHTLY spray the seams with water before sewing. No more sliding (pin as usual).
I love this post! I’m a beginner sewer and this has been so helpful.