Our DIY Mudroom Reveal!
Last summer I posted about how much work we’ve done in the 3 years we’ve lived in our home. It was really fun to put before & sorta-after pictures so that I could share our DIY journey with you. After all, sometimes I really forget how much this house has changed when I live in it everyday. But I have to admit– there is one room I didn’t show AT ALL and now I am ready to share it you—- our mudroom!
This post contains affiliate links. Please see my Disclaimer for more information
Easy DIY Mudroom Makeover
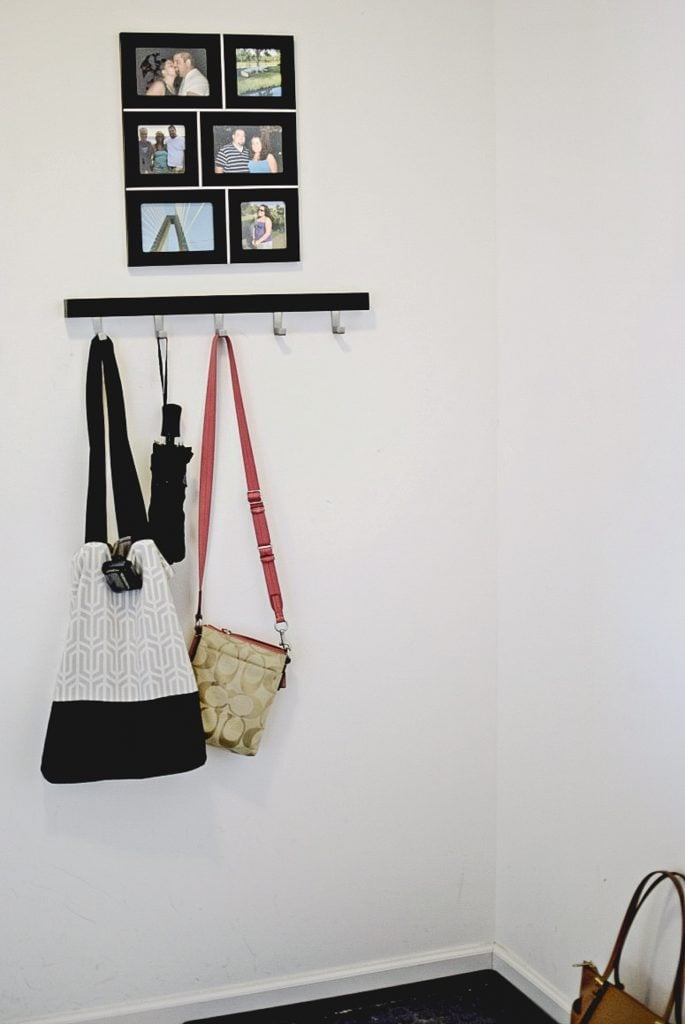
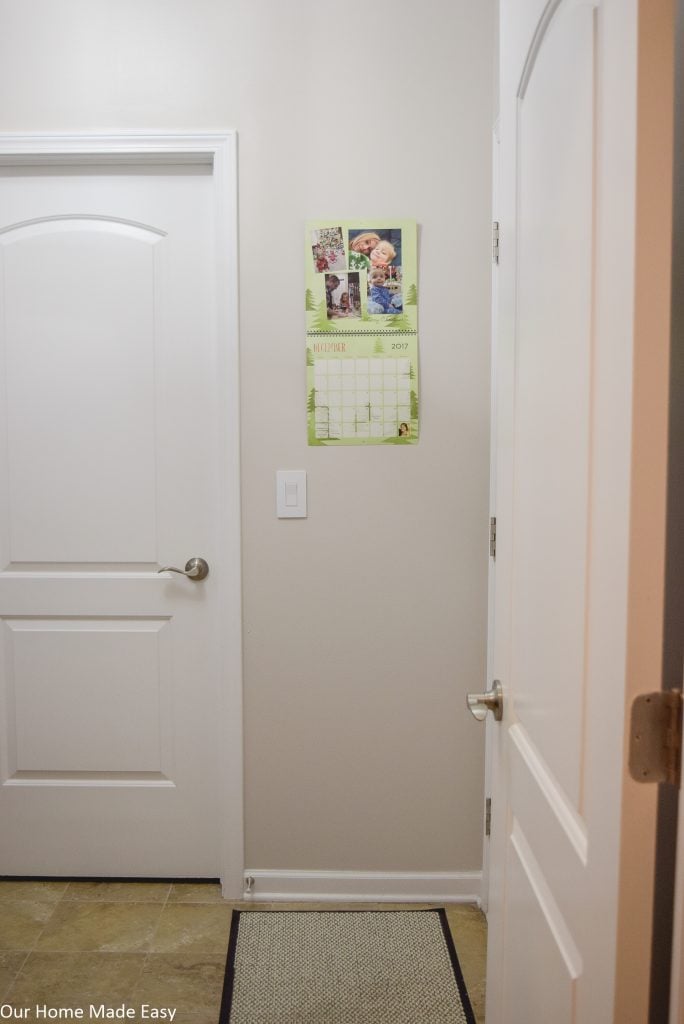
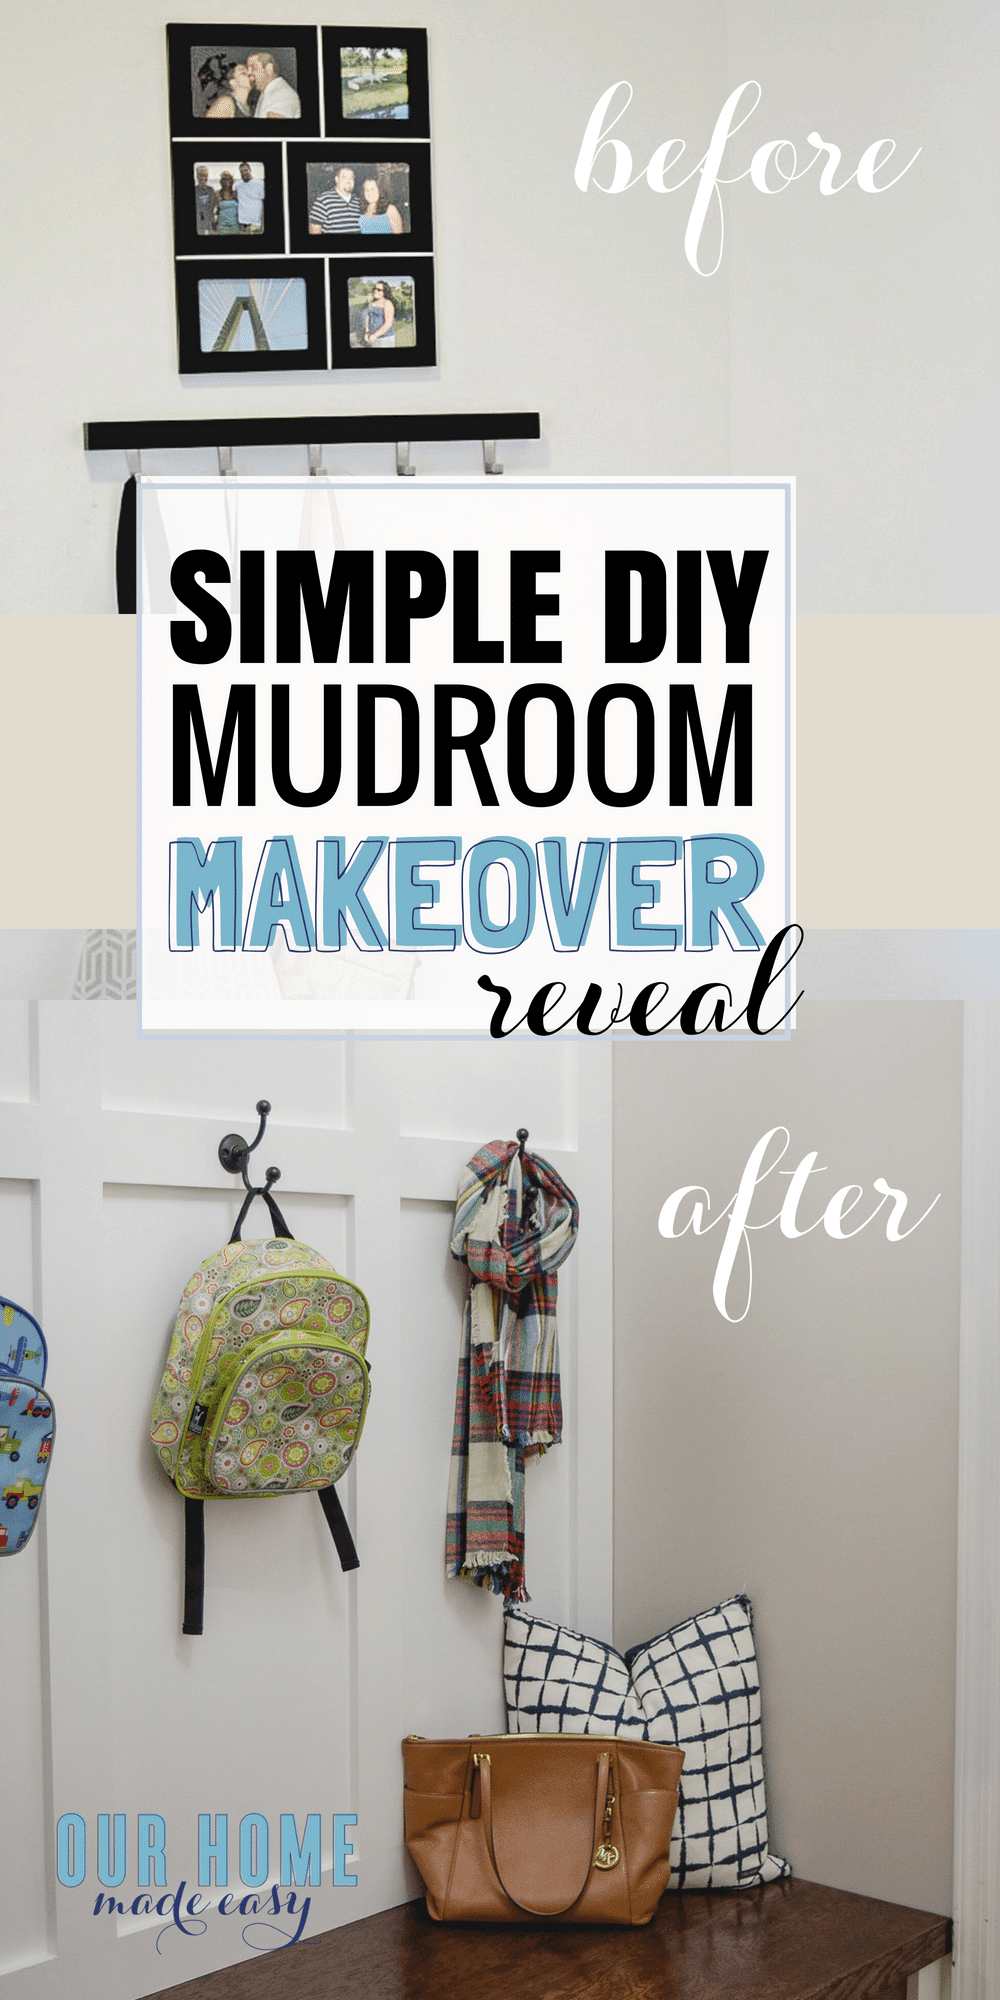
Before I show you the exciting things we’ve done in the room, I need to show you a BEFORE picture of the mudroom. It’s a room that is between our garage entry and Butler’s Pantry.
Not really exciting, right? Our home builder offered to put in a small set of wood cubbies for a really high price. We knew we wanted to make a custom look and what the home builder was offering, didn’t cut it — for us.
Are you ready to see the Mudroom AFTER?
Come on in!
I am so excited to show you how far we’ve come with this little room!
Mudroom Projects included:
- Painted the Walls (Behr Ultra ‘Ashen Tan’)
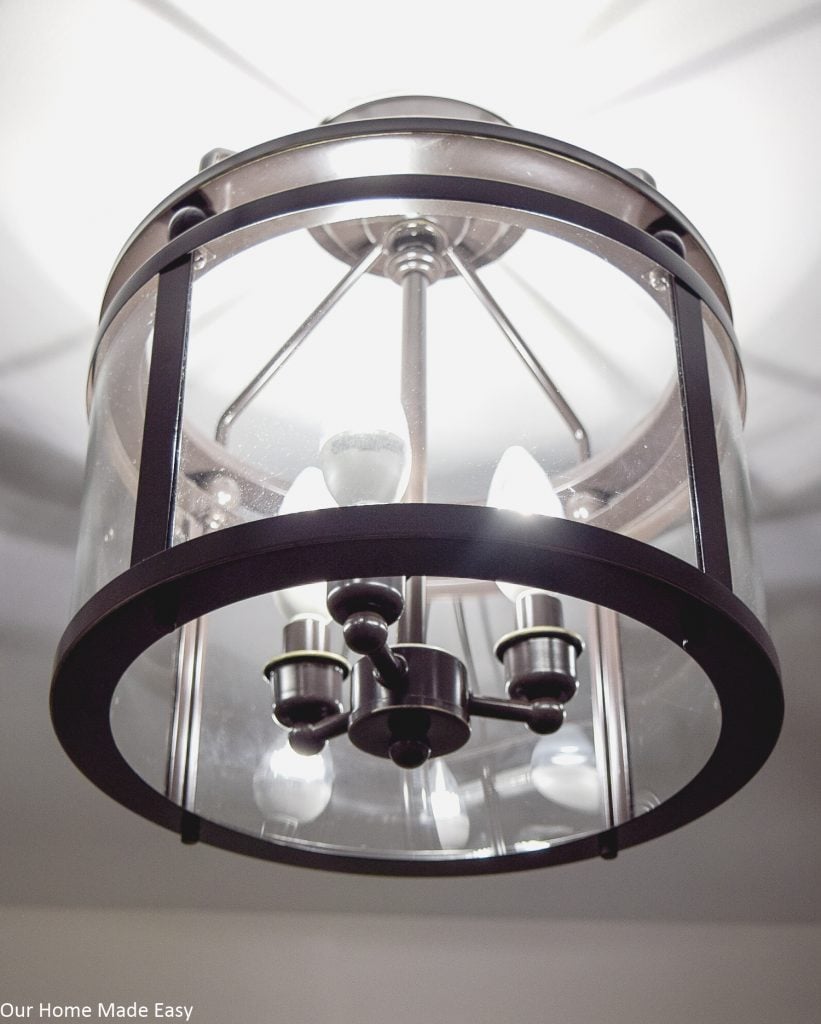
- Installed New Light Fixture (linked here)
- Installed New Baseboards
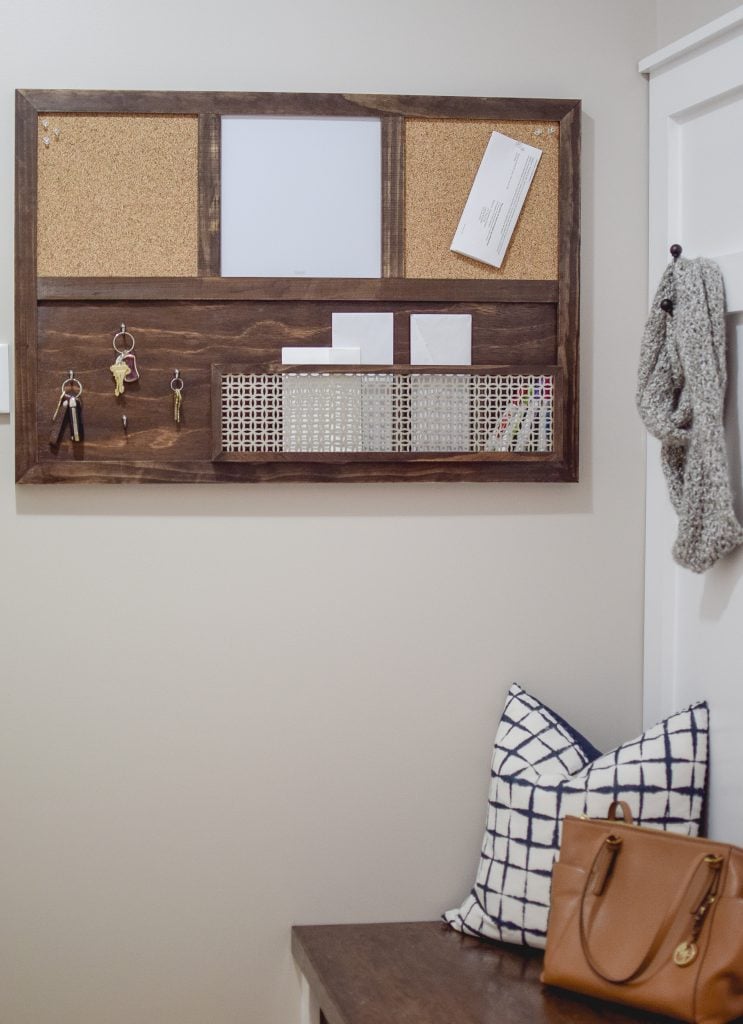
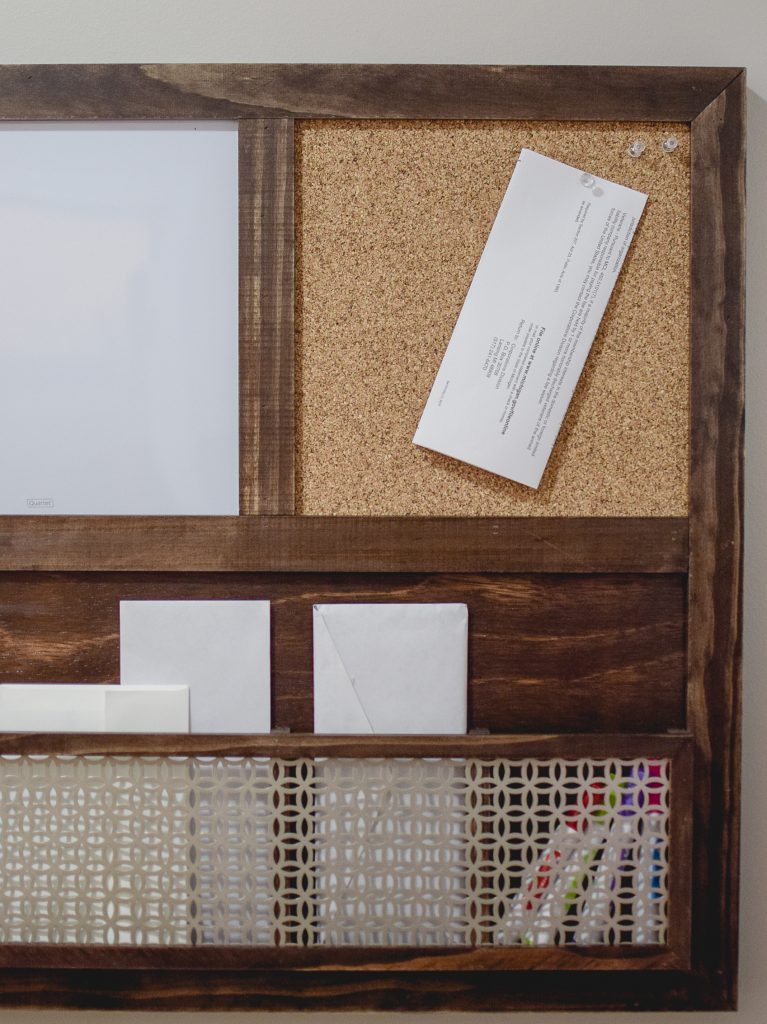
- Built a Mail Organizer
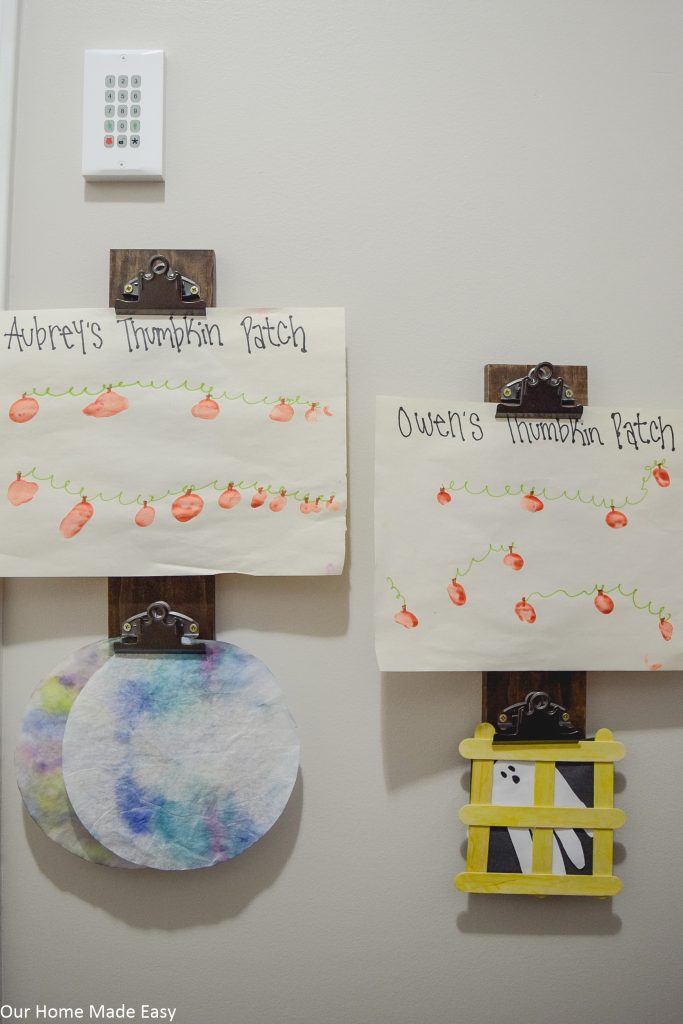
- Artwork Hanger
- Farmhouse Style Wood Sign
- Wood Bench (tutorial coming soon)
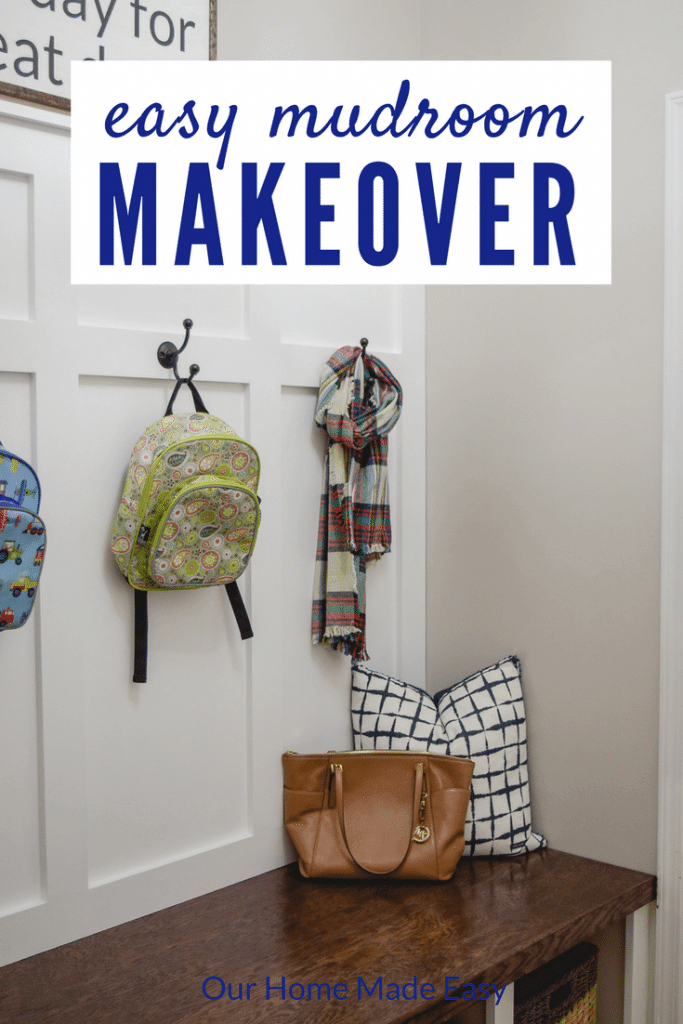
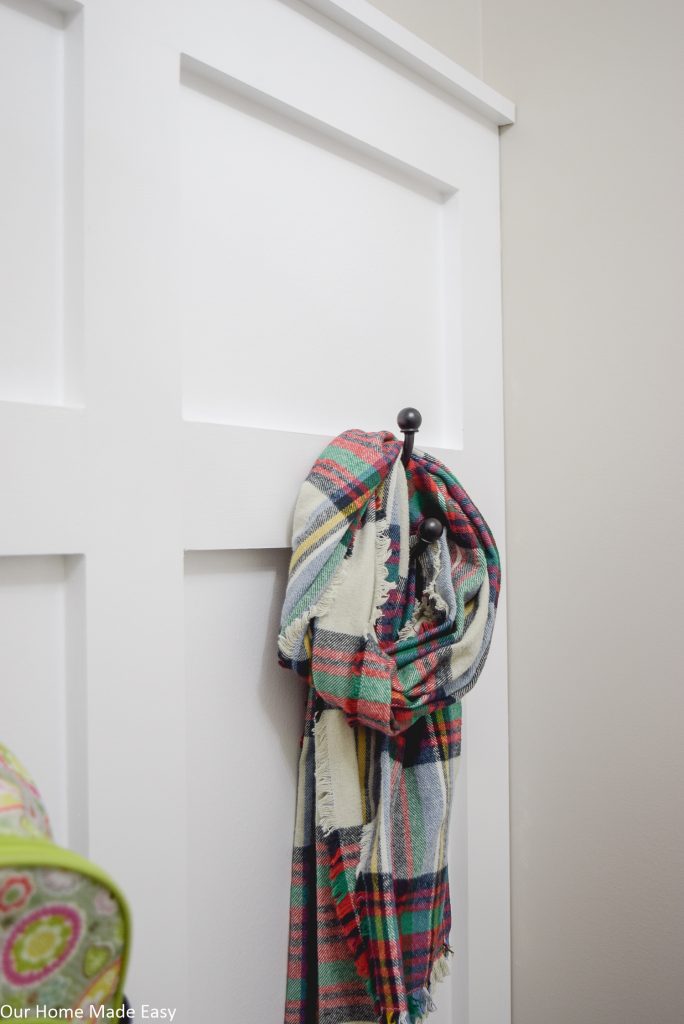
- Board & Batten Wall Treatment (See 11 Things You Need to Know Before Installing Board & Batten!)
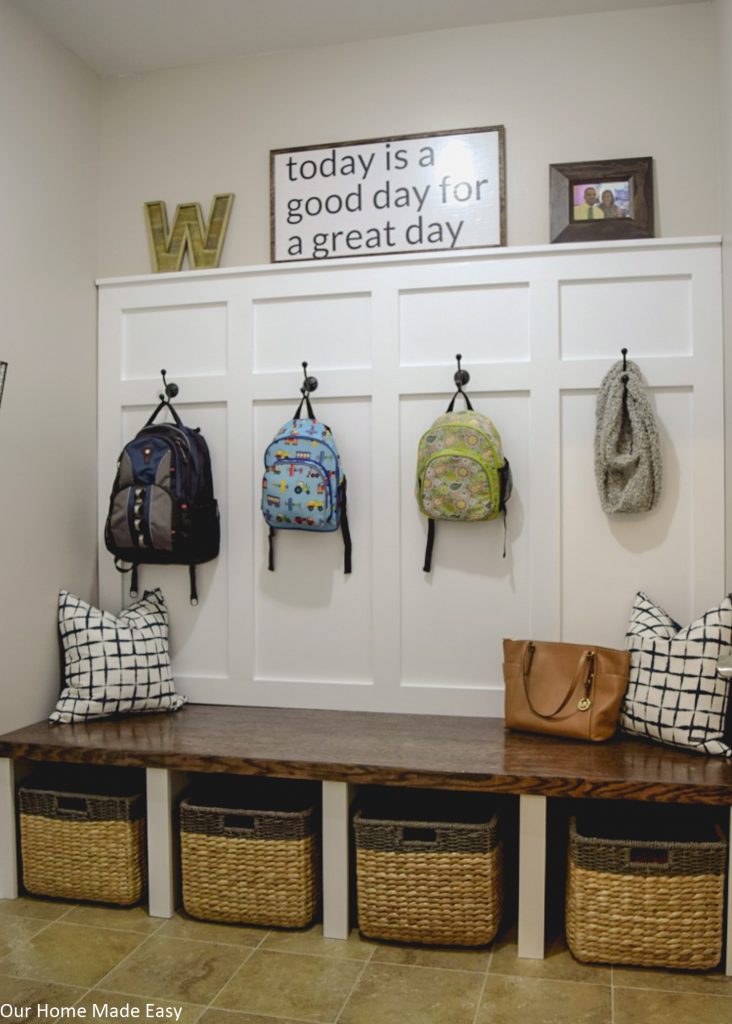
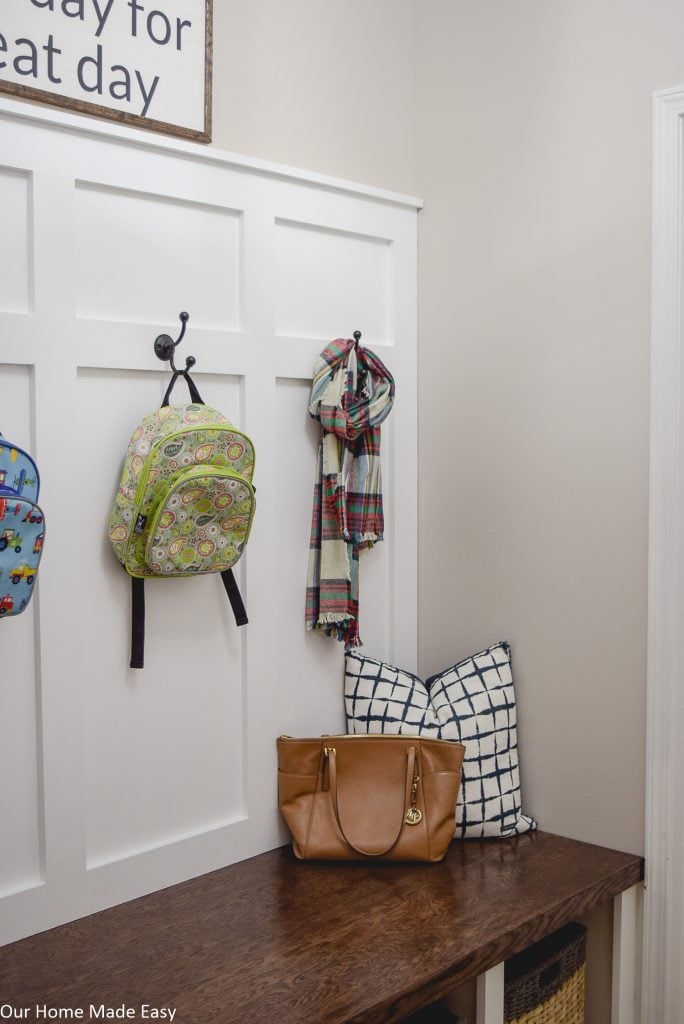
We started off by removing the baseboards on 3 of the walls. Then we painted the entire room. Jordan built the wood bench (tutorial coming soon!) and then added the board & batten wall treatment.
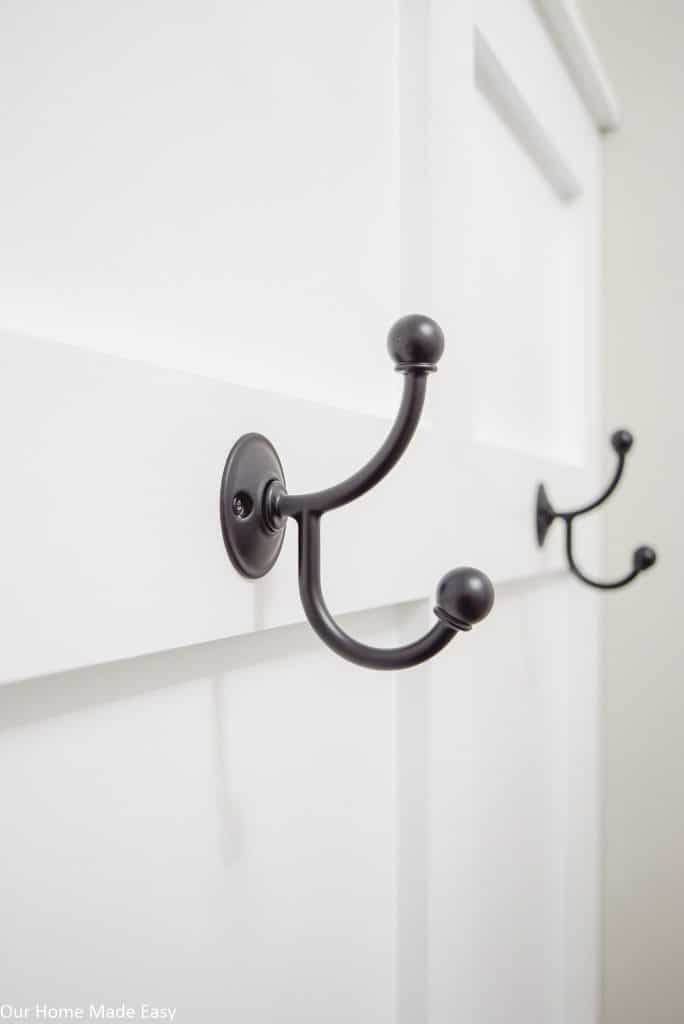
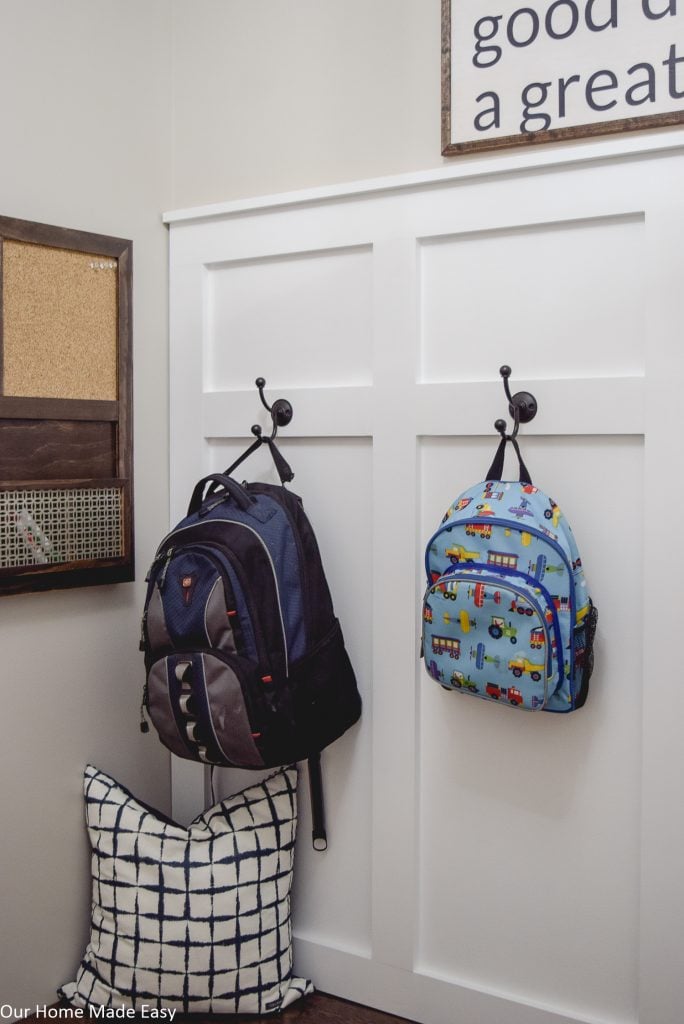
Once he added the board & batten, we installed 4 coat hooks (similar linked) to hang up our winter gear.
After the walls were ready, I could finally decorate! We added the artwork hangers, wall organizer, and even made a wood sign.
Jordan built the wood organizer to hold all our papers that arrive each day. It’s been so helpful in keeping our family on-track and making sure we don’t miss a paper. The kids love to countdown to Christmas or New Year’s with the dry erase board. Wondering how build one yourself? He was inspired by the free plans over on Shanty 2 Chic!
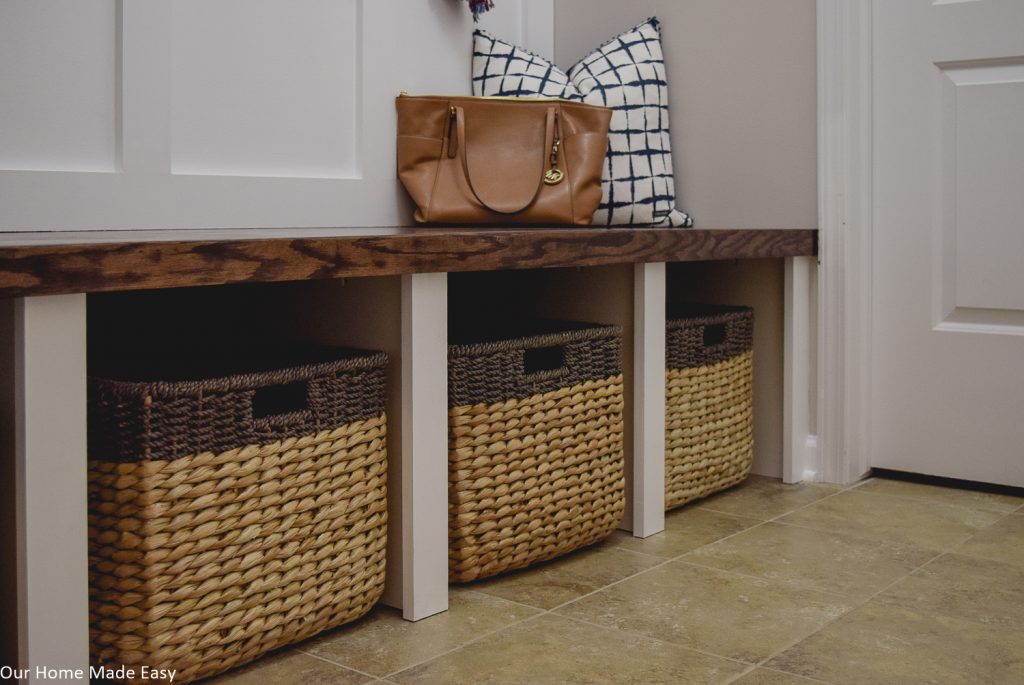
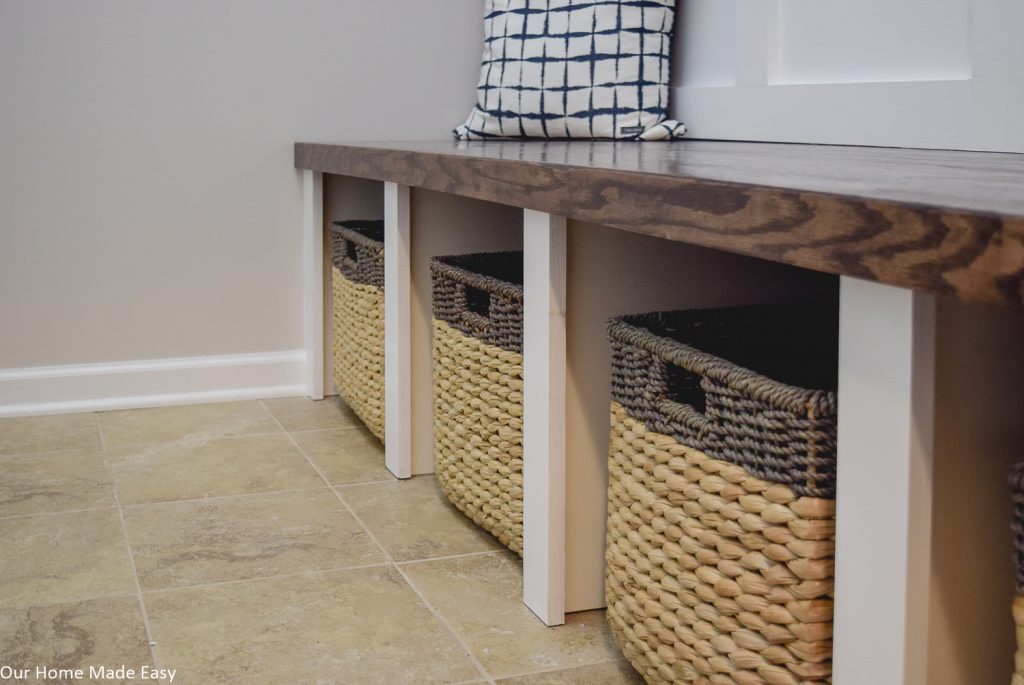
Under the wood bench, I found these huge baskets to store our winter items. You can see how I organize everything over at Just a Girl and Her Blog. I added in a few IKEA organizer and our family is ready for the snow days!
On each side of the bench I tossed on 2 pillows I found from Home Goods. They were reasonably priced, are super soft and a great fit for the area.
Jordan installed a more modern light fixture. Okay, perhaps not super modern, but definitely more our style!
And one more time…. The Mudroom BEFORE….
and AFTER!!
Thank you so much for stopping by today! I hope that you have a wonderful New Year. You’ll find me lacing up snowboots for everyone on our new wood bench. It almost makes living in Michigan worth it! 🙂


I LOVE THIS!!! I’m really loving the white board and batten contrasting with the wood bench. Everything looks so pretty — you did a great job!
Also — I need those pillows they are super cute.
>> Christene
Keys to Inspiration
Thank you my friend! Jordan did an amazing job on the bench. Can you believe I picked up the pillows at Home Goods?
Love this blog post! I wanted to see if you plan on including a tutorial for the wood bench. I would so appreciate this, as I’m sure many readers would. 🙂
Hi Sarah thank you for the kind words– unfortunately my toddler threw away my camera’s memory card which left me unable to share how to build the bench! This happened a couple of years ago and we’ve since moved away from the home. I wish we were able to share it, too.
Looking for the wood piece dims to recreate the bench plus board & batten. Our contractor disappeared so now it’s DIY.
Thanks!
Unfortunately, we moved out of the house and I no longer have the dimensions. I am so sorry to hear about your contractor situation. 🙁