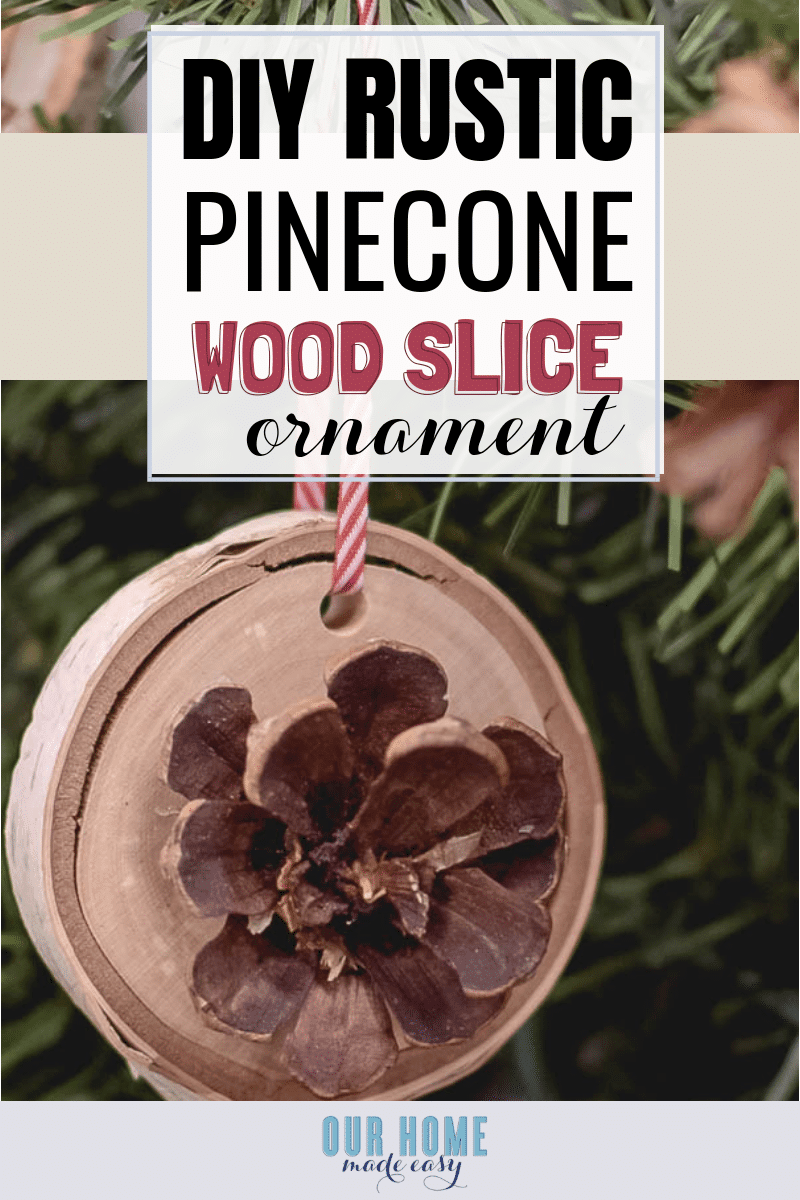
DIY Rustic Wood Slice Ornament
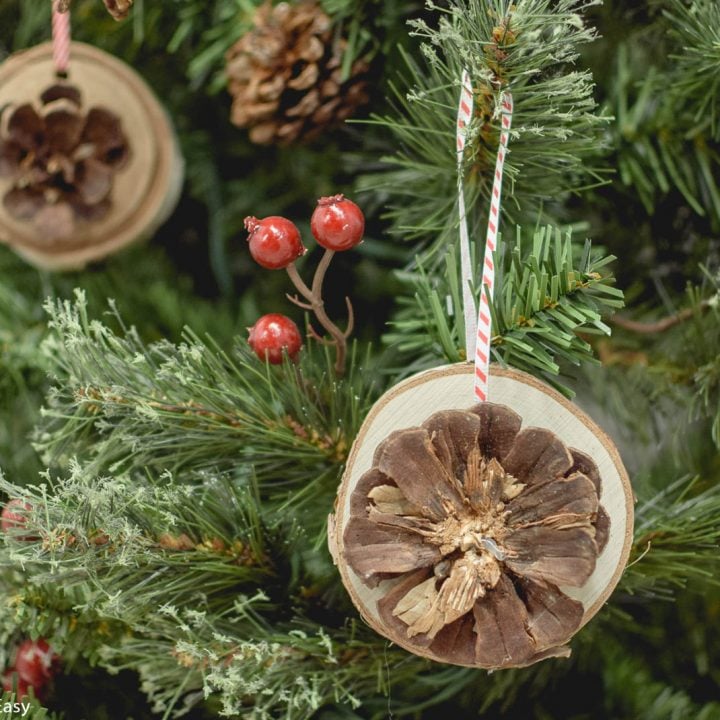
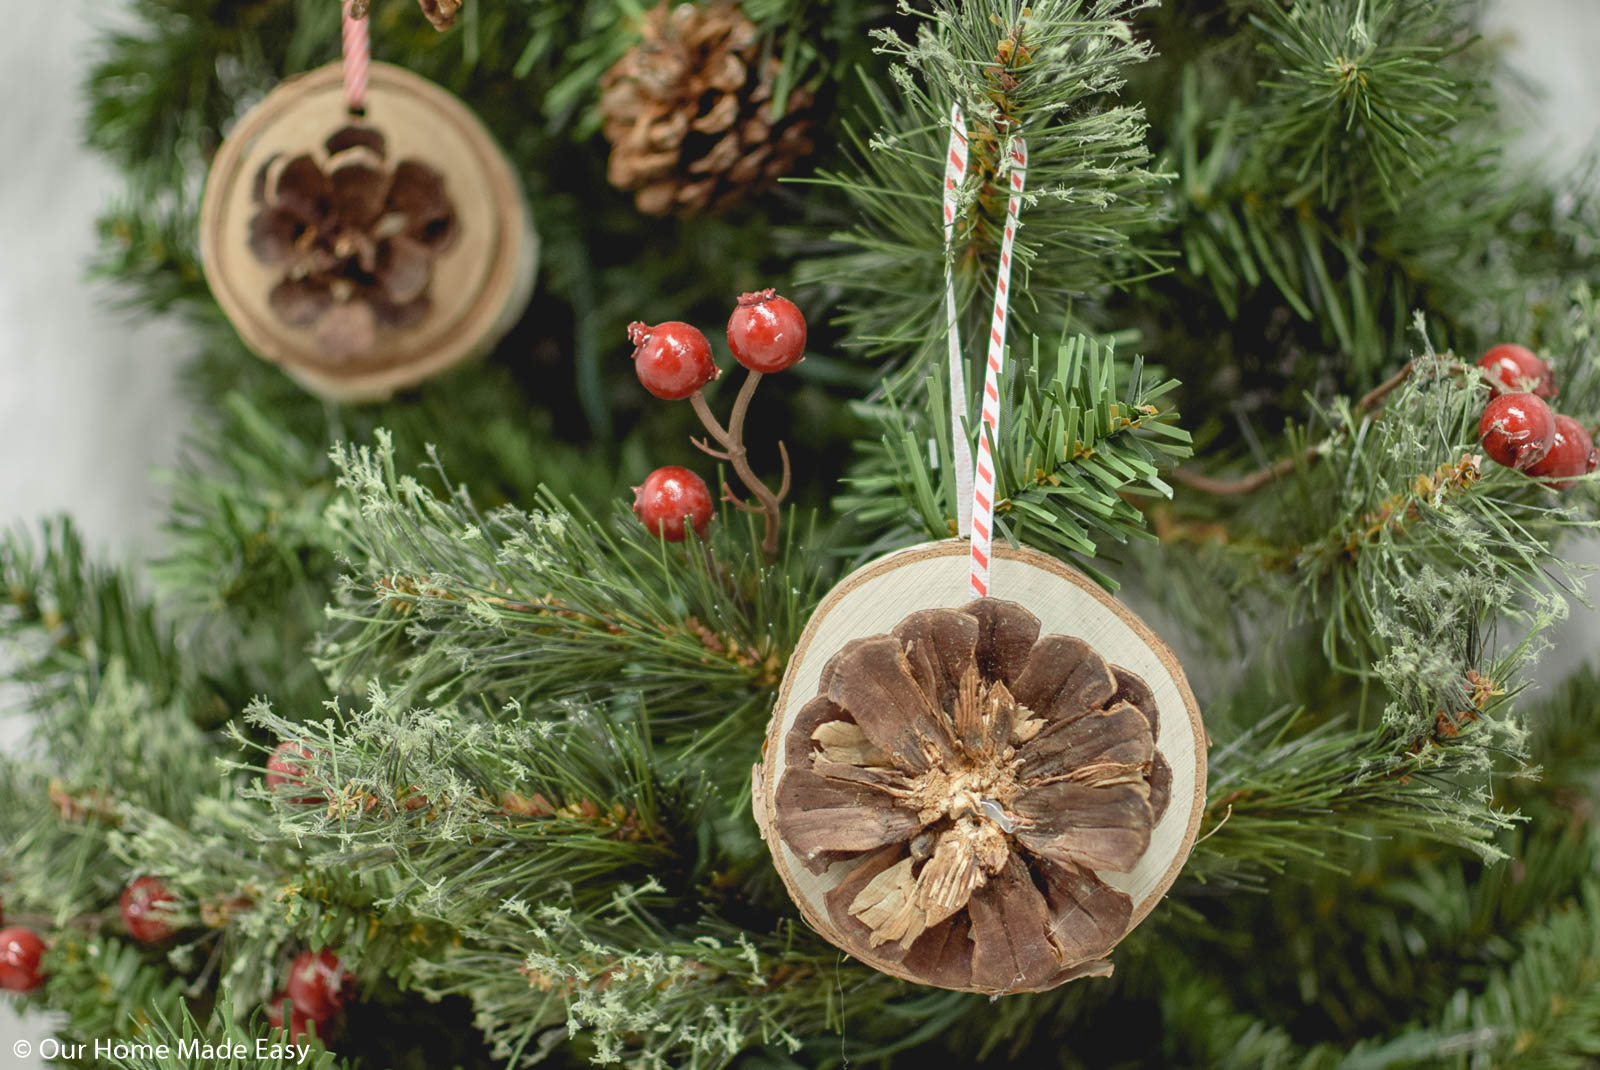
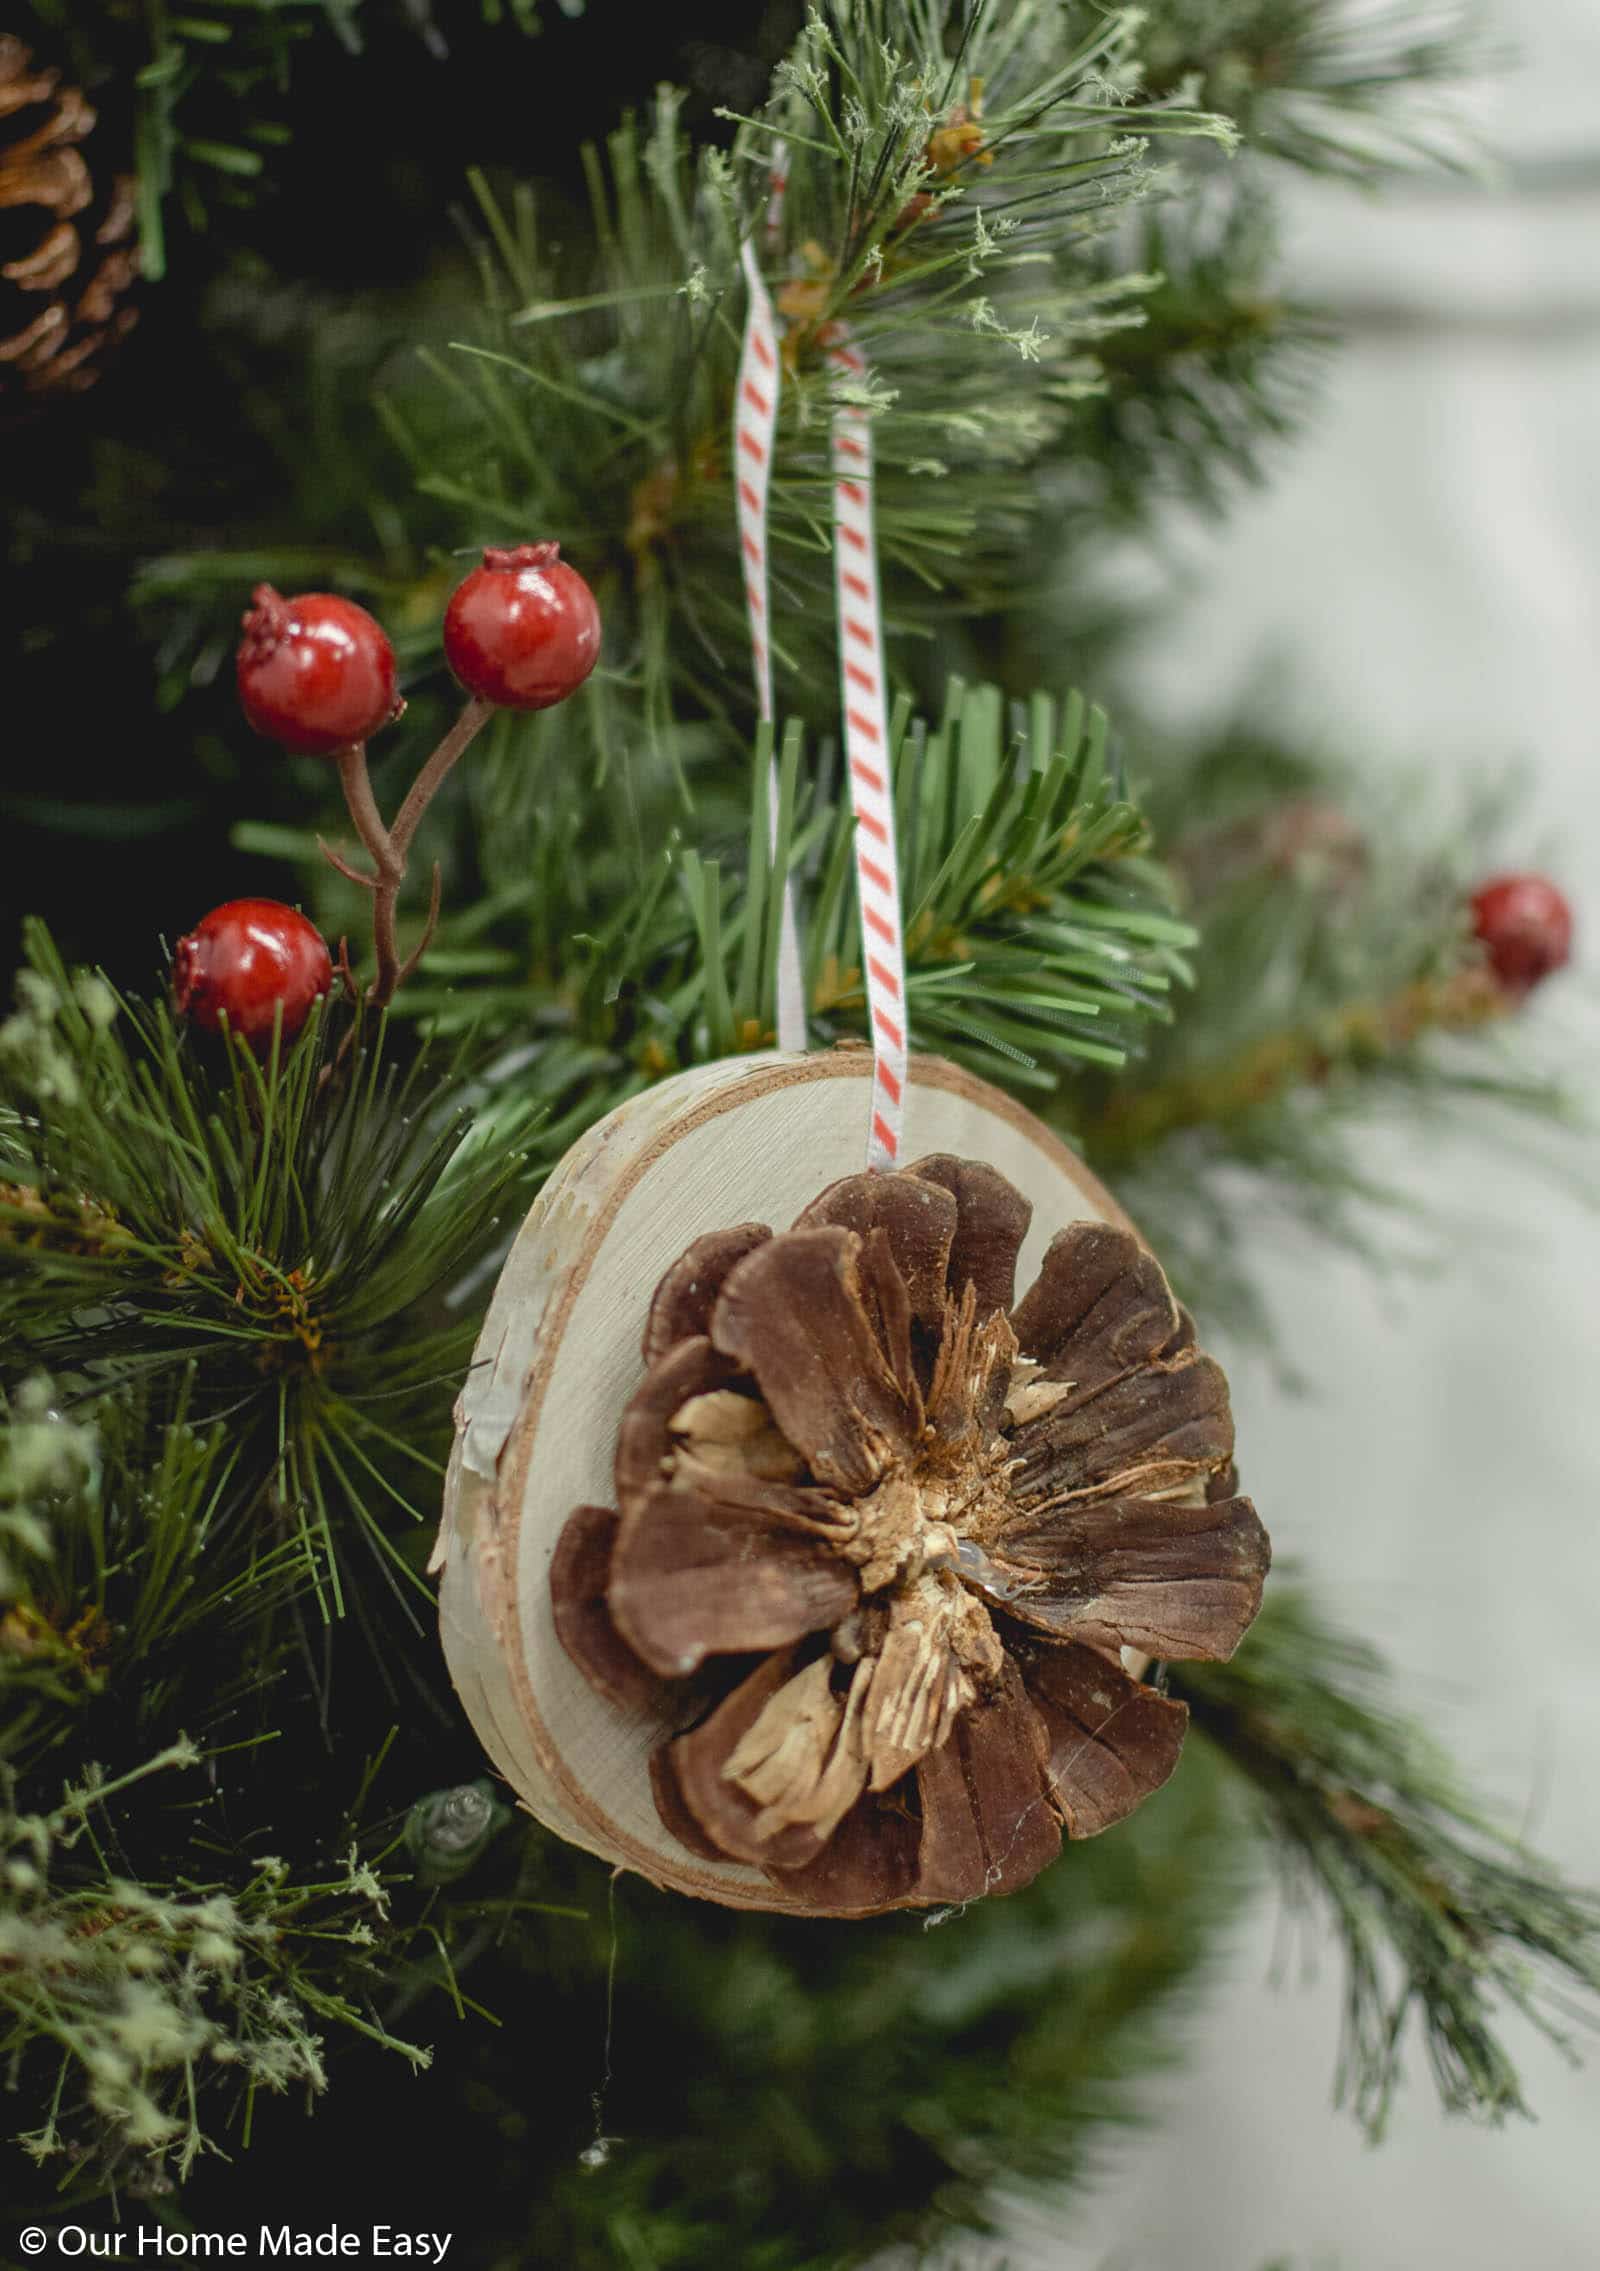
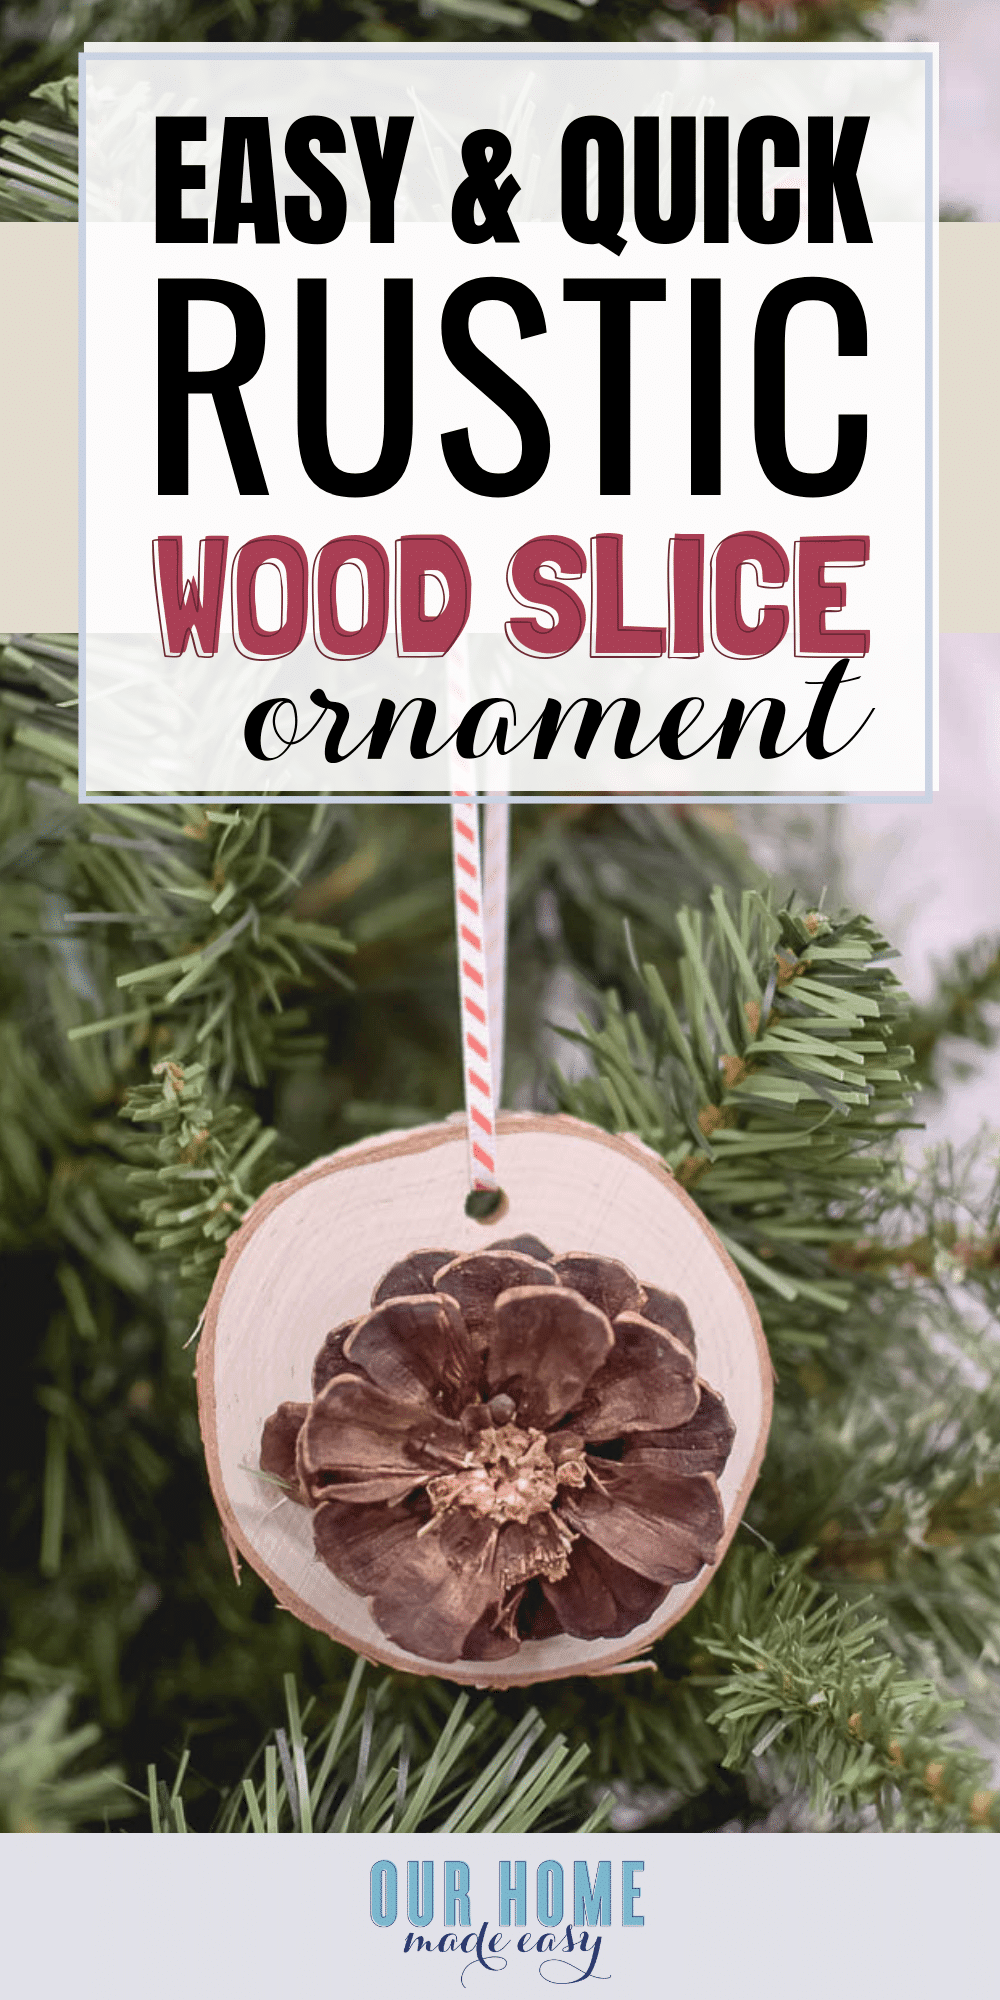
DIY a rustic wood slice ornament in just a few minutes with only a few supplies! You’ll be surprised how quickly you can make these Christmas ornaments!
(this post contains affiliate links. Please see my Disclaimer for more information)
I couldn’t help but share a cute little rustic ornament that requires almost zero work!
I am excited join an ornament exchange this year. My exchange partner is the lovely Alicia from Chicken Scratch NY. She has a taste for all things rustic & red.
Knowing this, I couldn’t help but channel her love for something natural with my need for something easy. I’m crossing my fingers that she likes it!
A’la a fun DIY rustic wood slice ornaments.
DIY Rustic Wood Slice Ornament
I found this tutorial for the rustic wood slice ornament. Diane’s ornaments were made using items she found on her land. How cool. For this ornament exchange project, I kept Diane’s inspiration in mind and my need for making an ornament super simple— so what did I do?
I totally ran to Jo-Ann Fabrics. #NoShame
You can buy the supplies for just a few dollars and you won’t need to drill holes in the ornaments. #SavingTime
Supplies Needed:
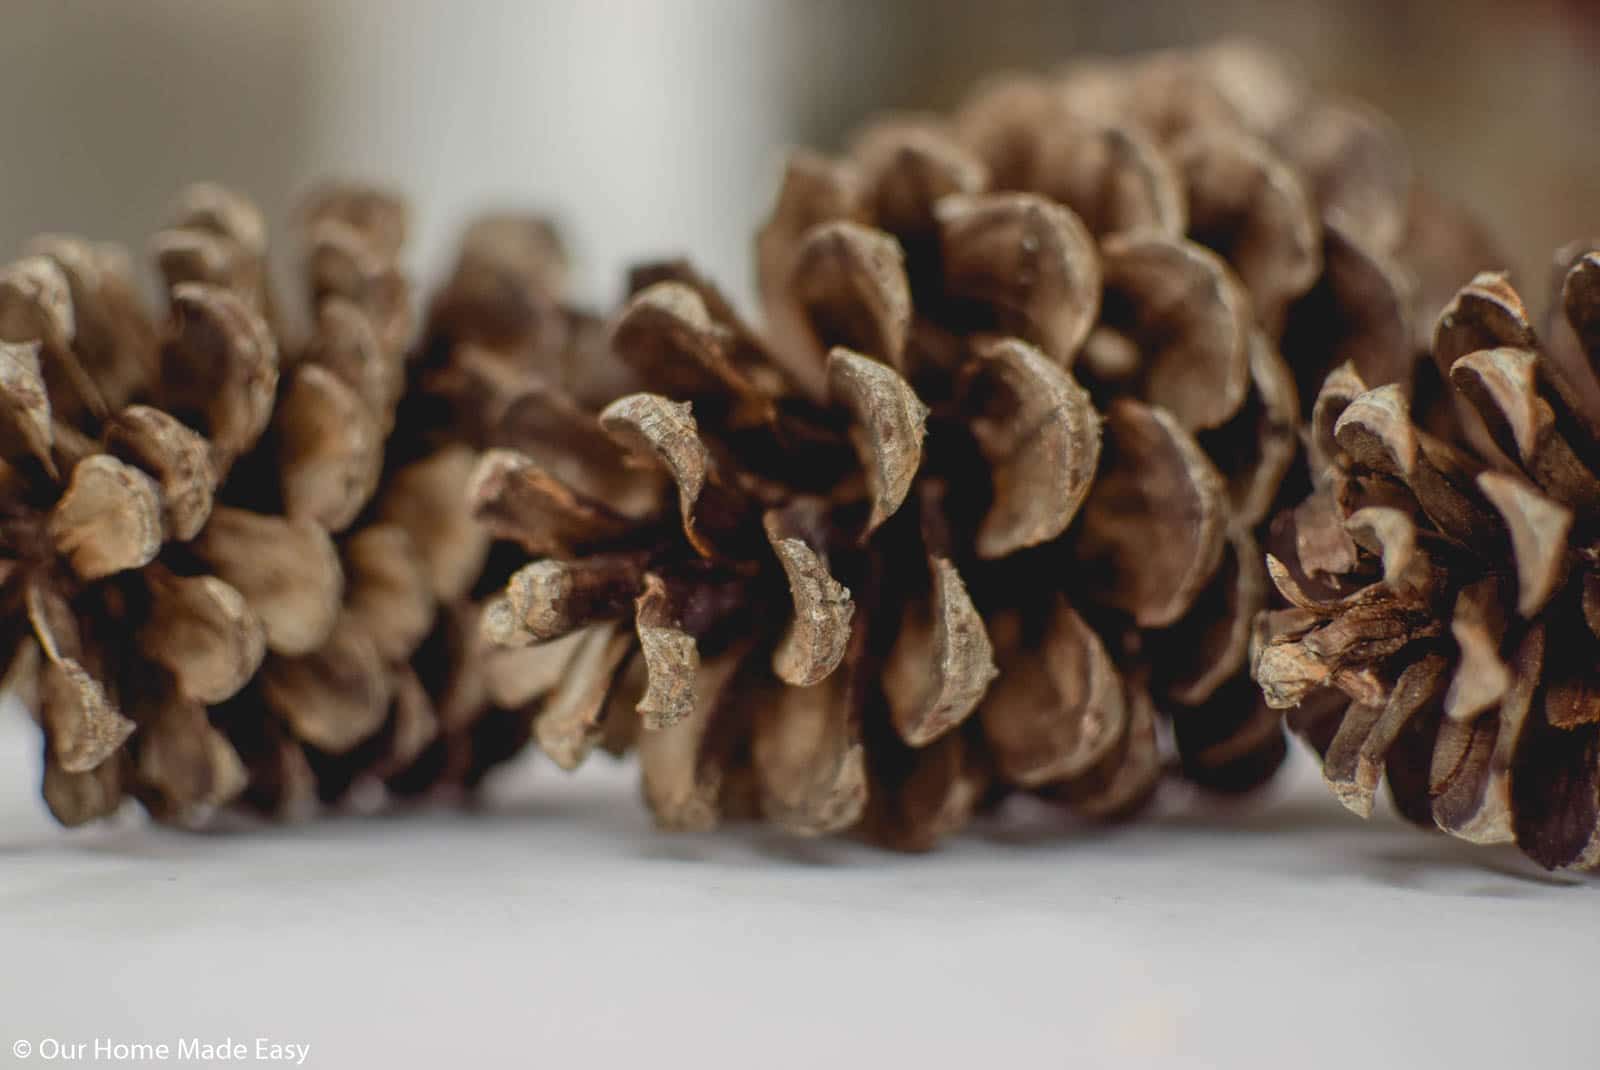
- Pine cones (We used the Cinnamon scented ones!)
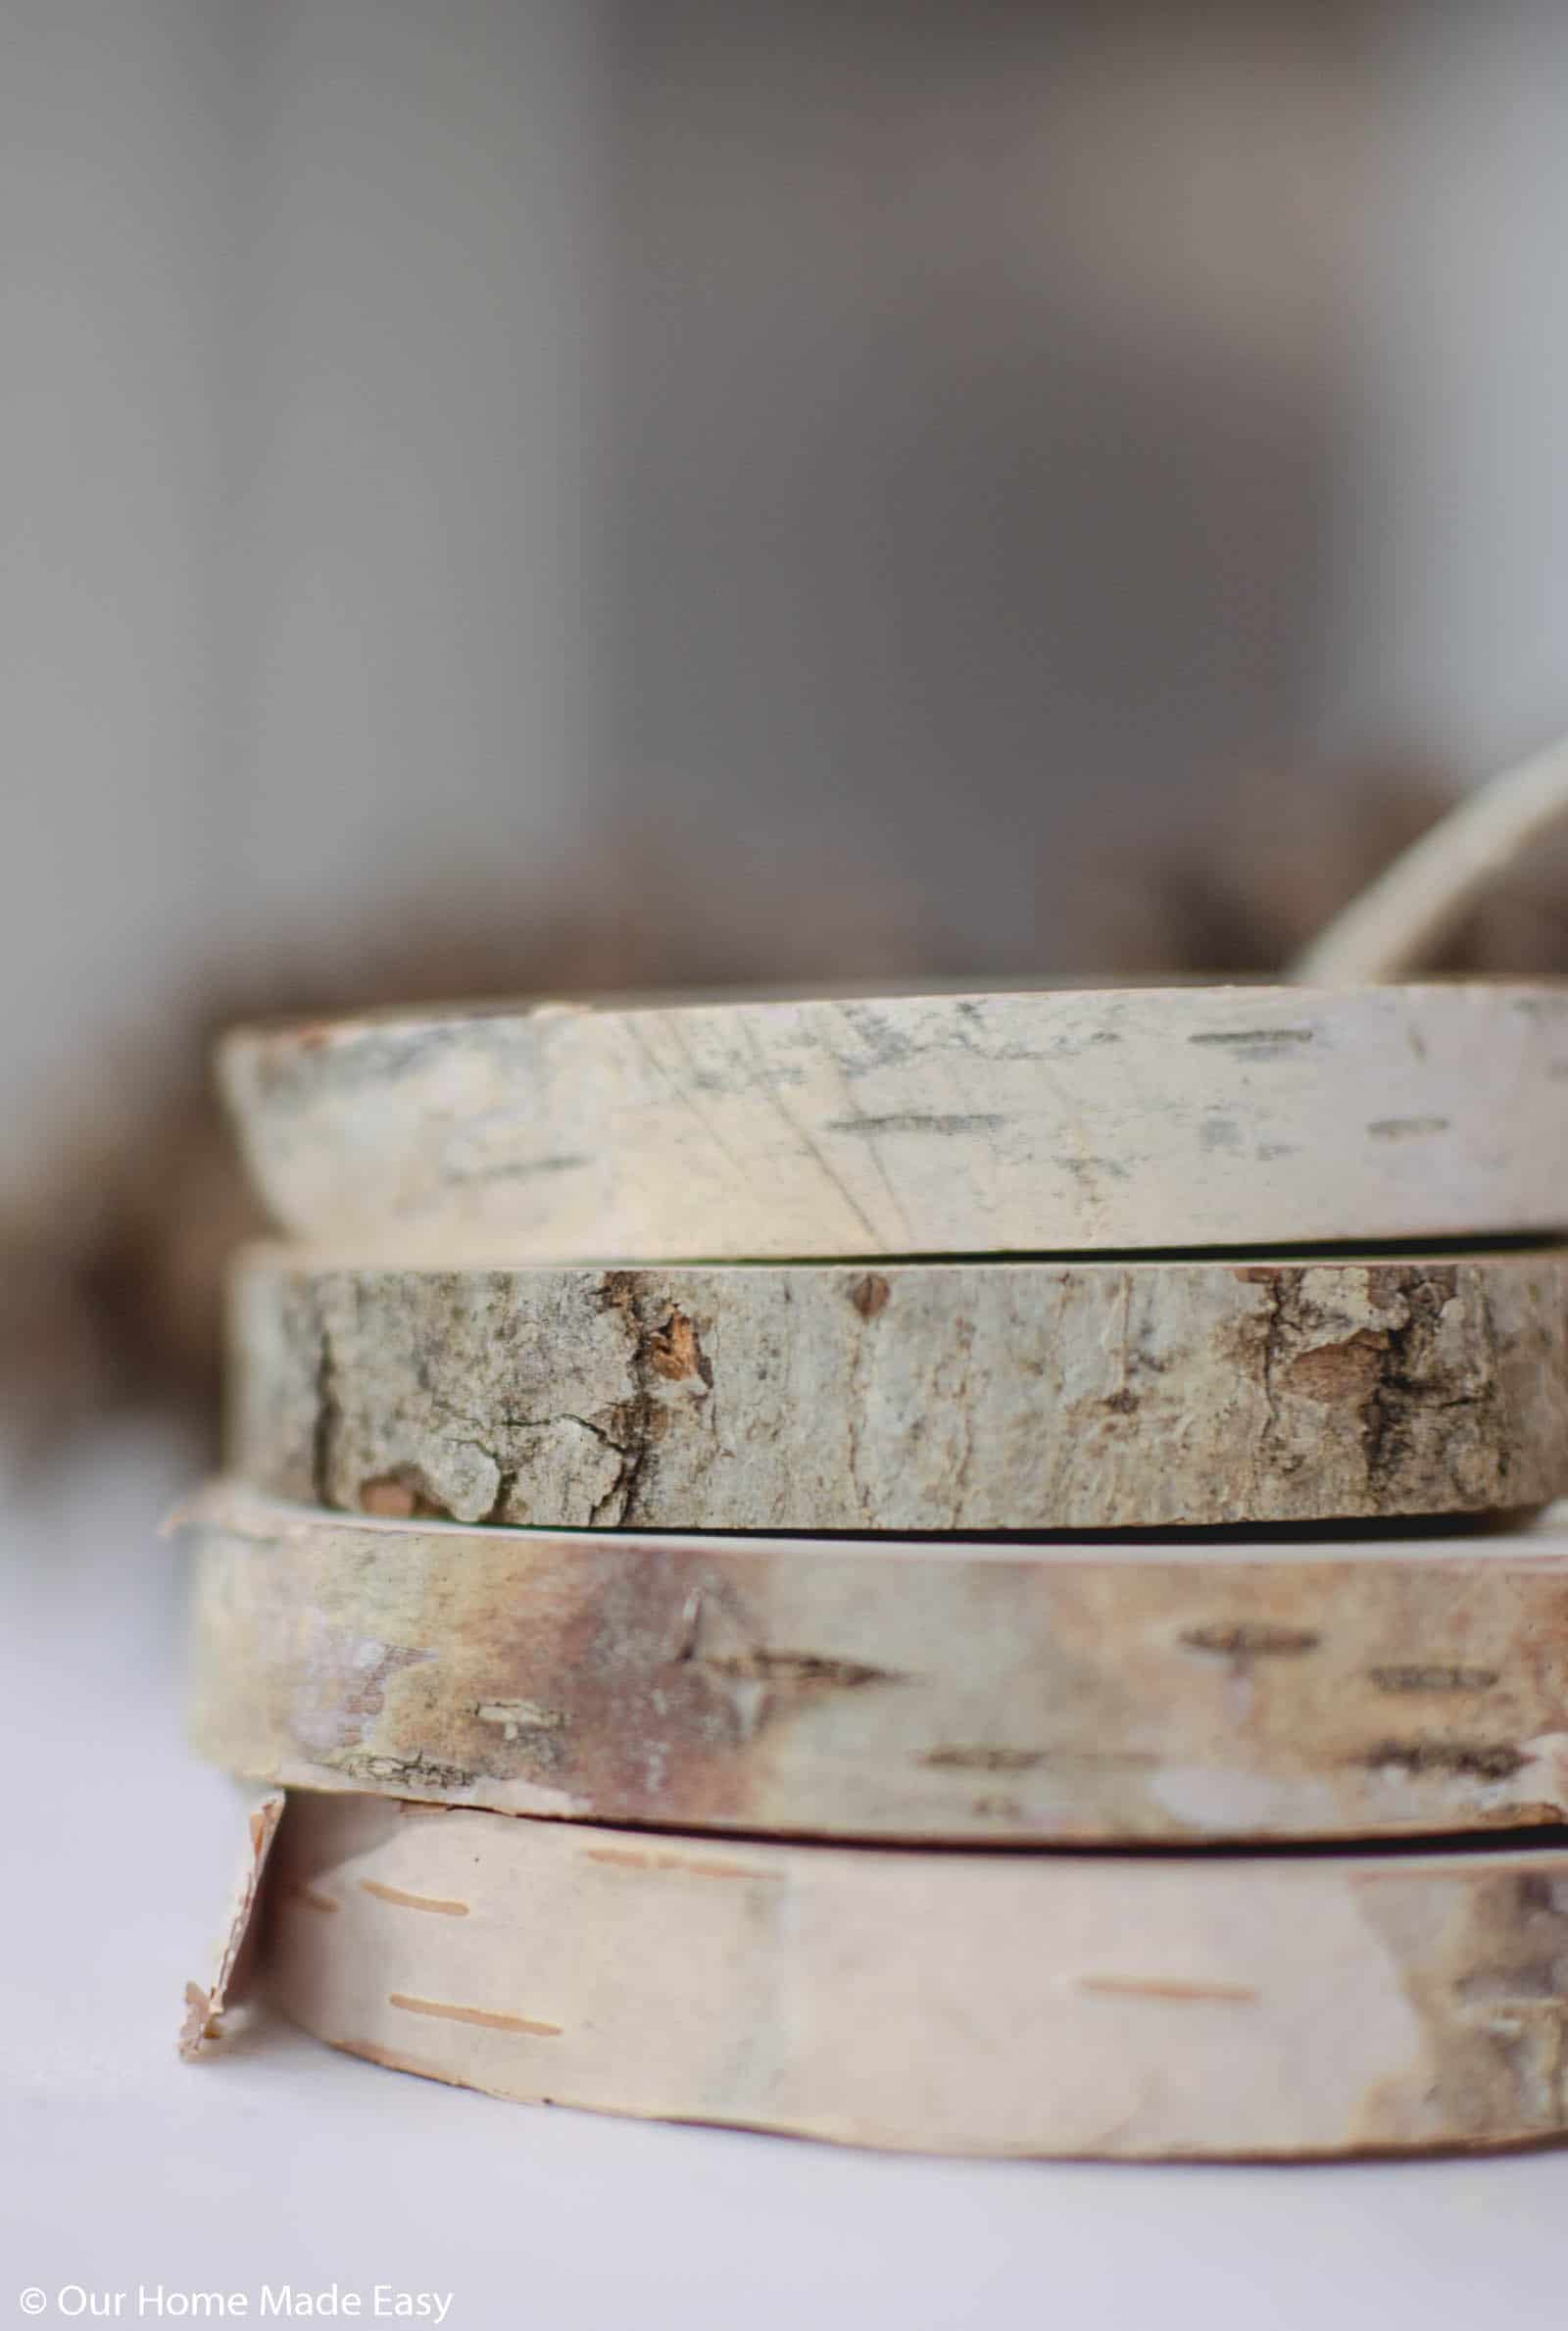
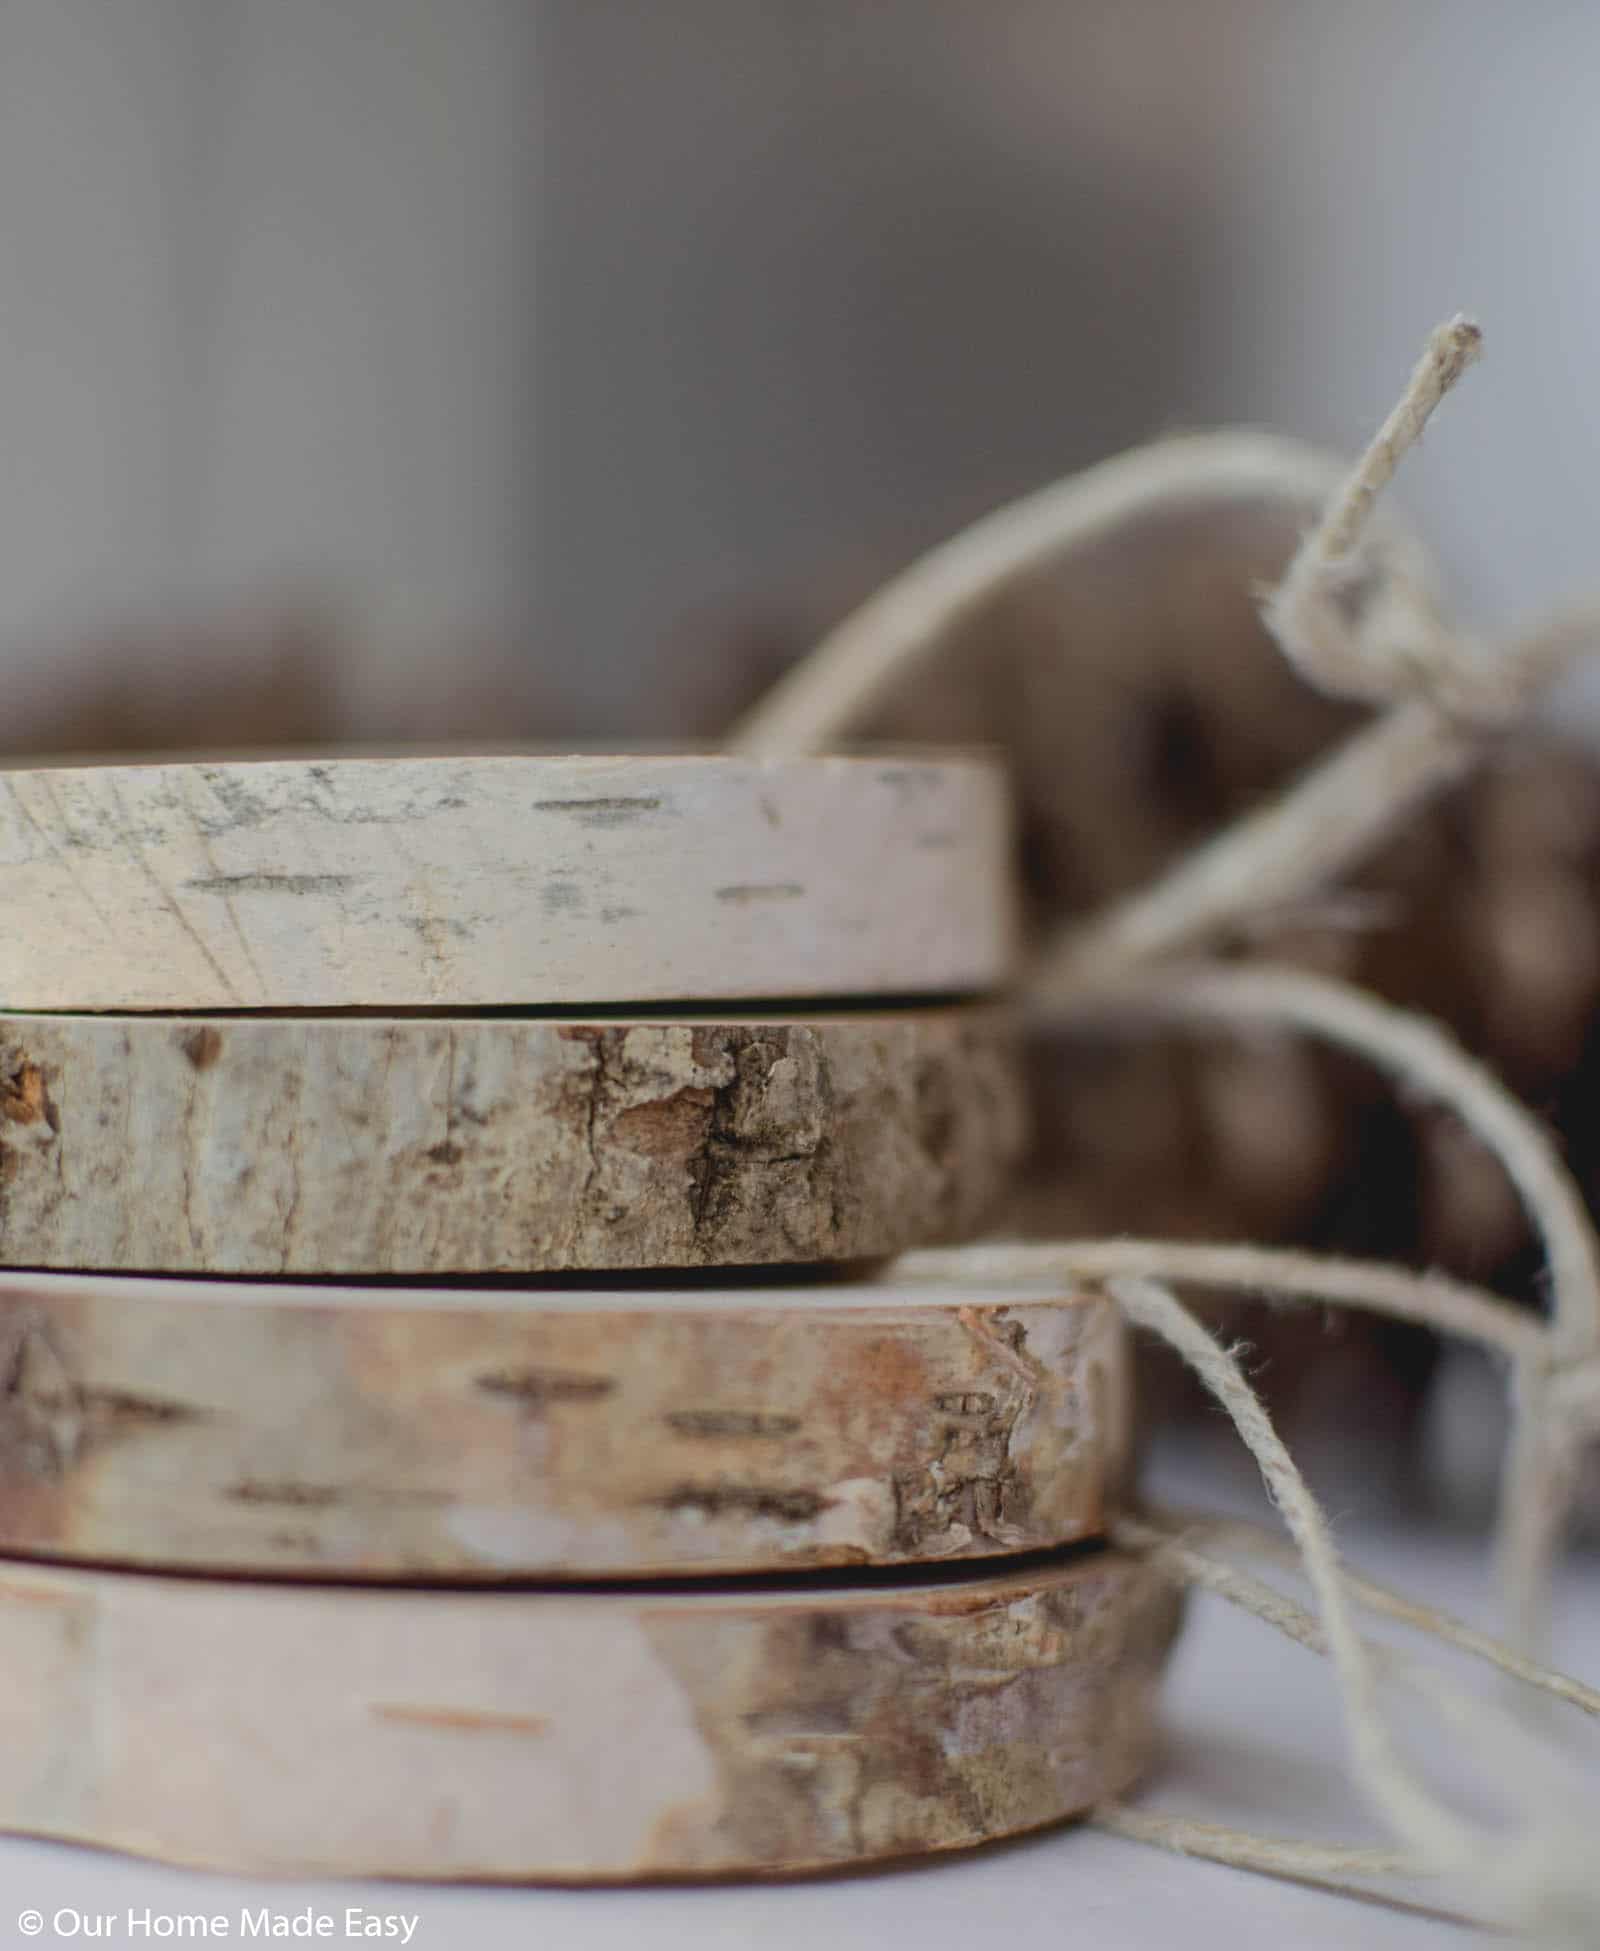
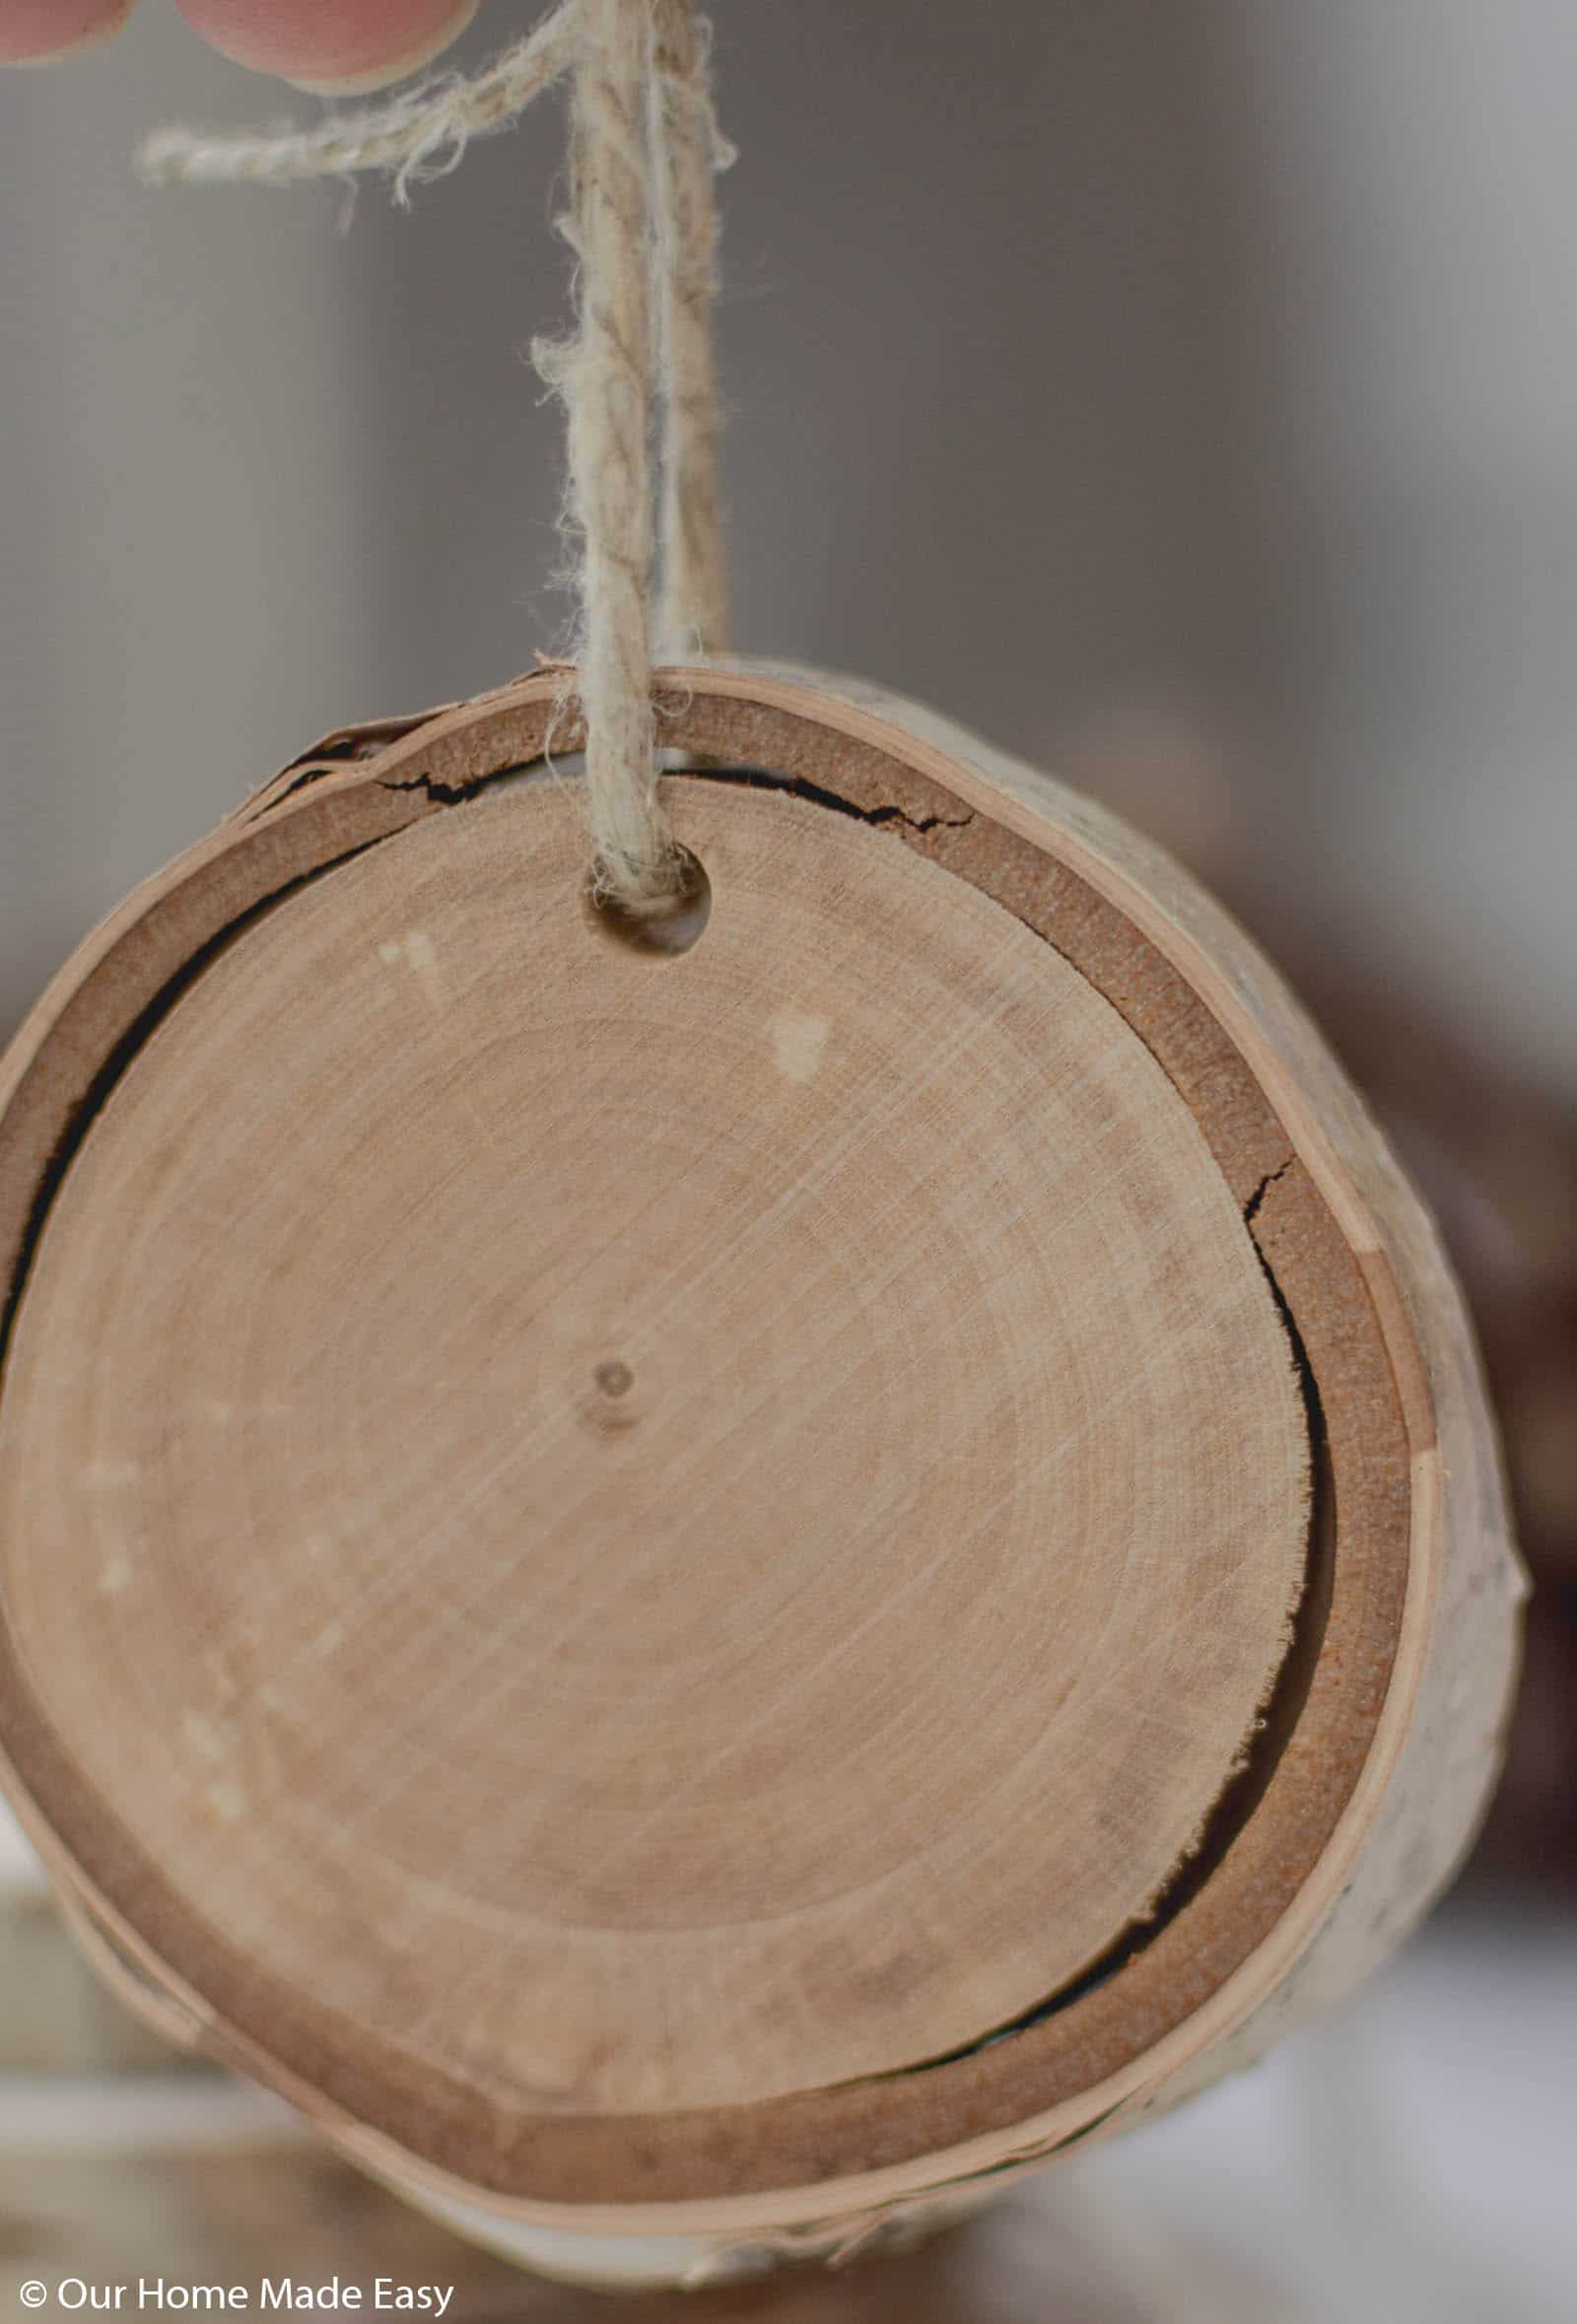
- Wood Slices
- Thin Ribbon ( We used this spool)
- Hot Glue
Make Pine Cone Slices
First, you’ll want to slice the pine cone. Since I used the scented pine cones you can find just about any where, my slices are much larger than the inspiration. Diane used smaller, narrower, pine cones that made for a pretty flower effect.
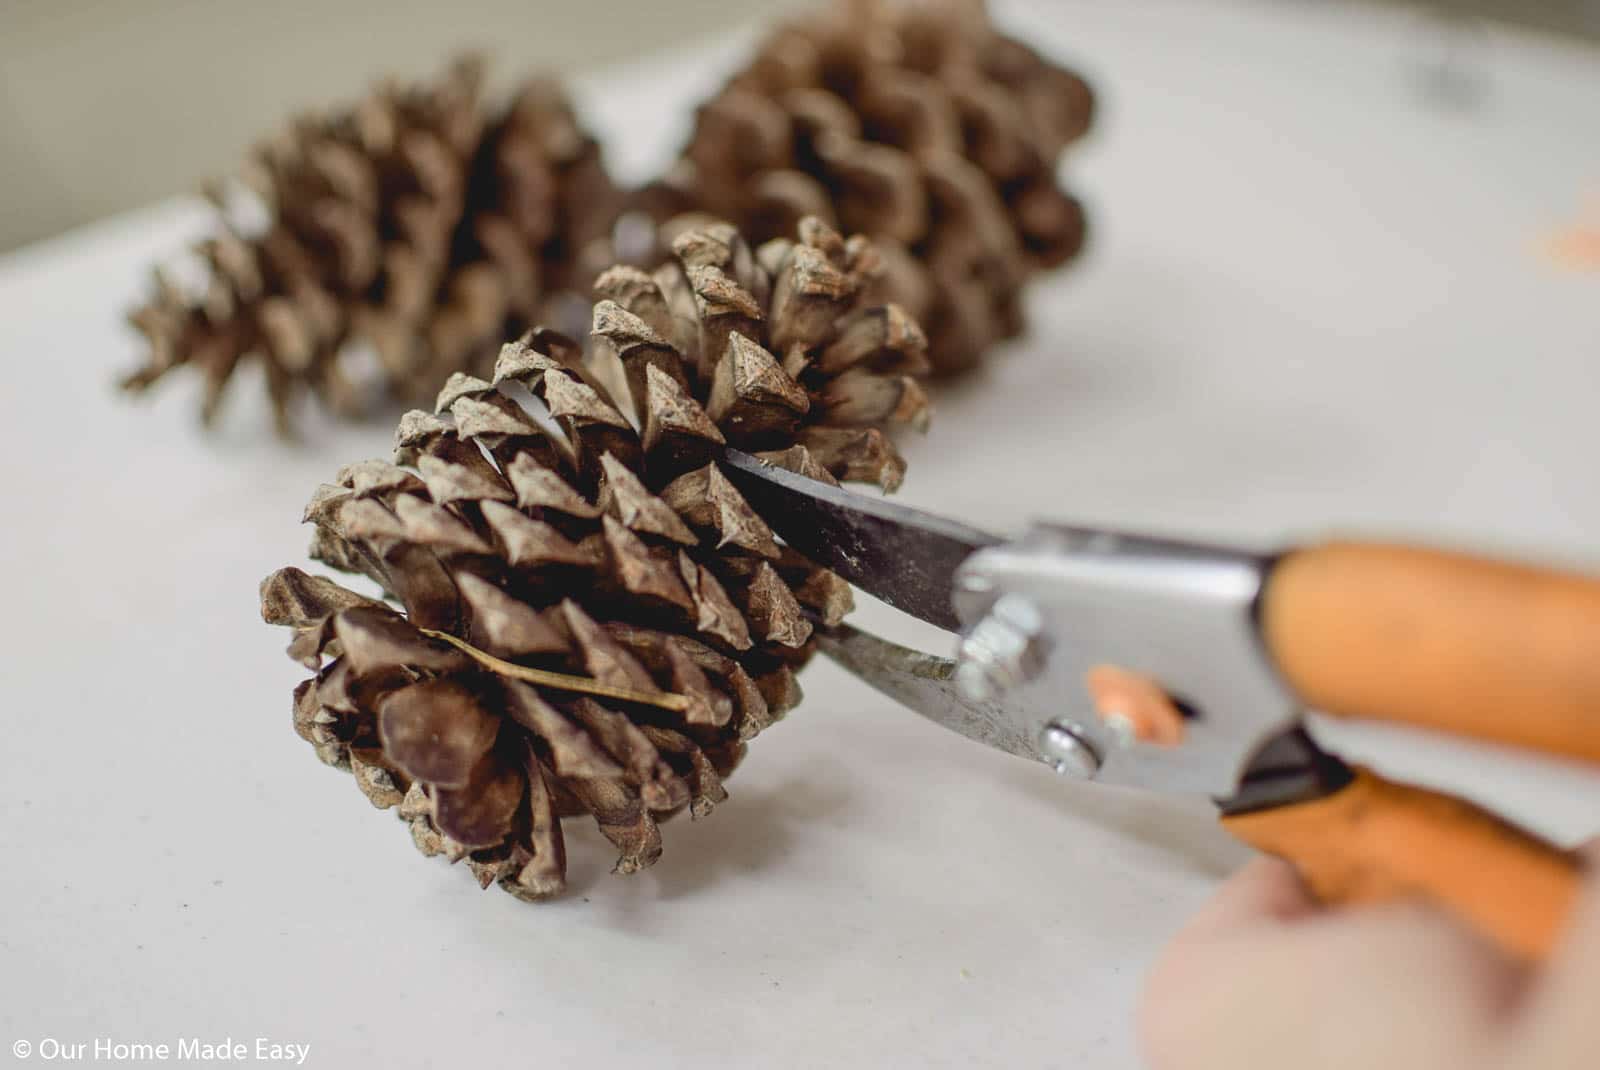
Decide where you want to cut your pine cone for the size. Then, go one ‘layer’ below it and start cutting. This will give you more to work with, and in the event, a piece breaks off, you still have an extra layer available.
I hope that makes sense– you can always trim away at the pine cone, but it’s harder to add it back on later.
Other Posts I Think You’ll Enjoy:
- 19 Easy 30 Minute Christmas Ornaments
- Easy DIY Advent Calendar
- How to Make a Pallet Snowman!
- How to Make Easy Pallet Christmas Trees
- The 18 Easiest 30 Minute Christmas Crafts Ever!
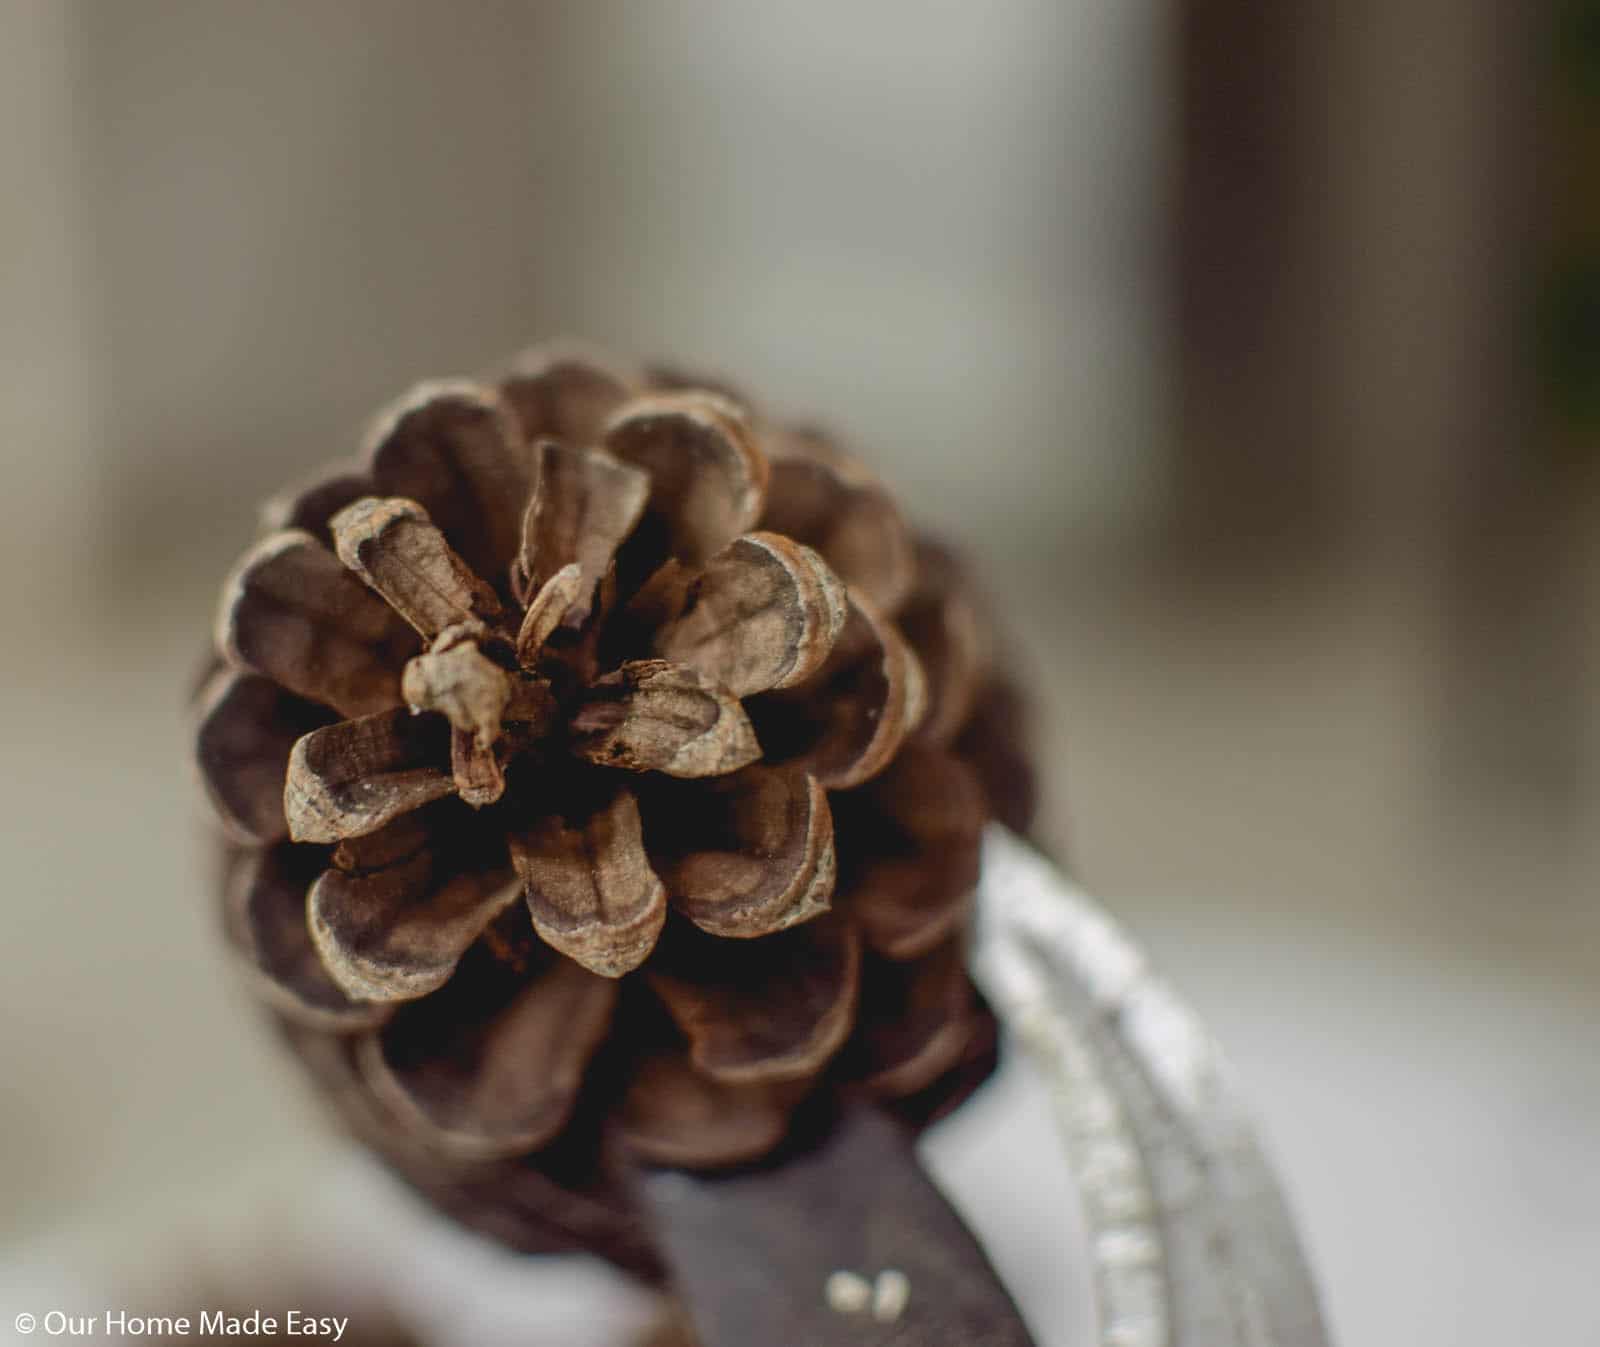
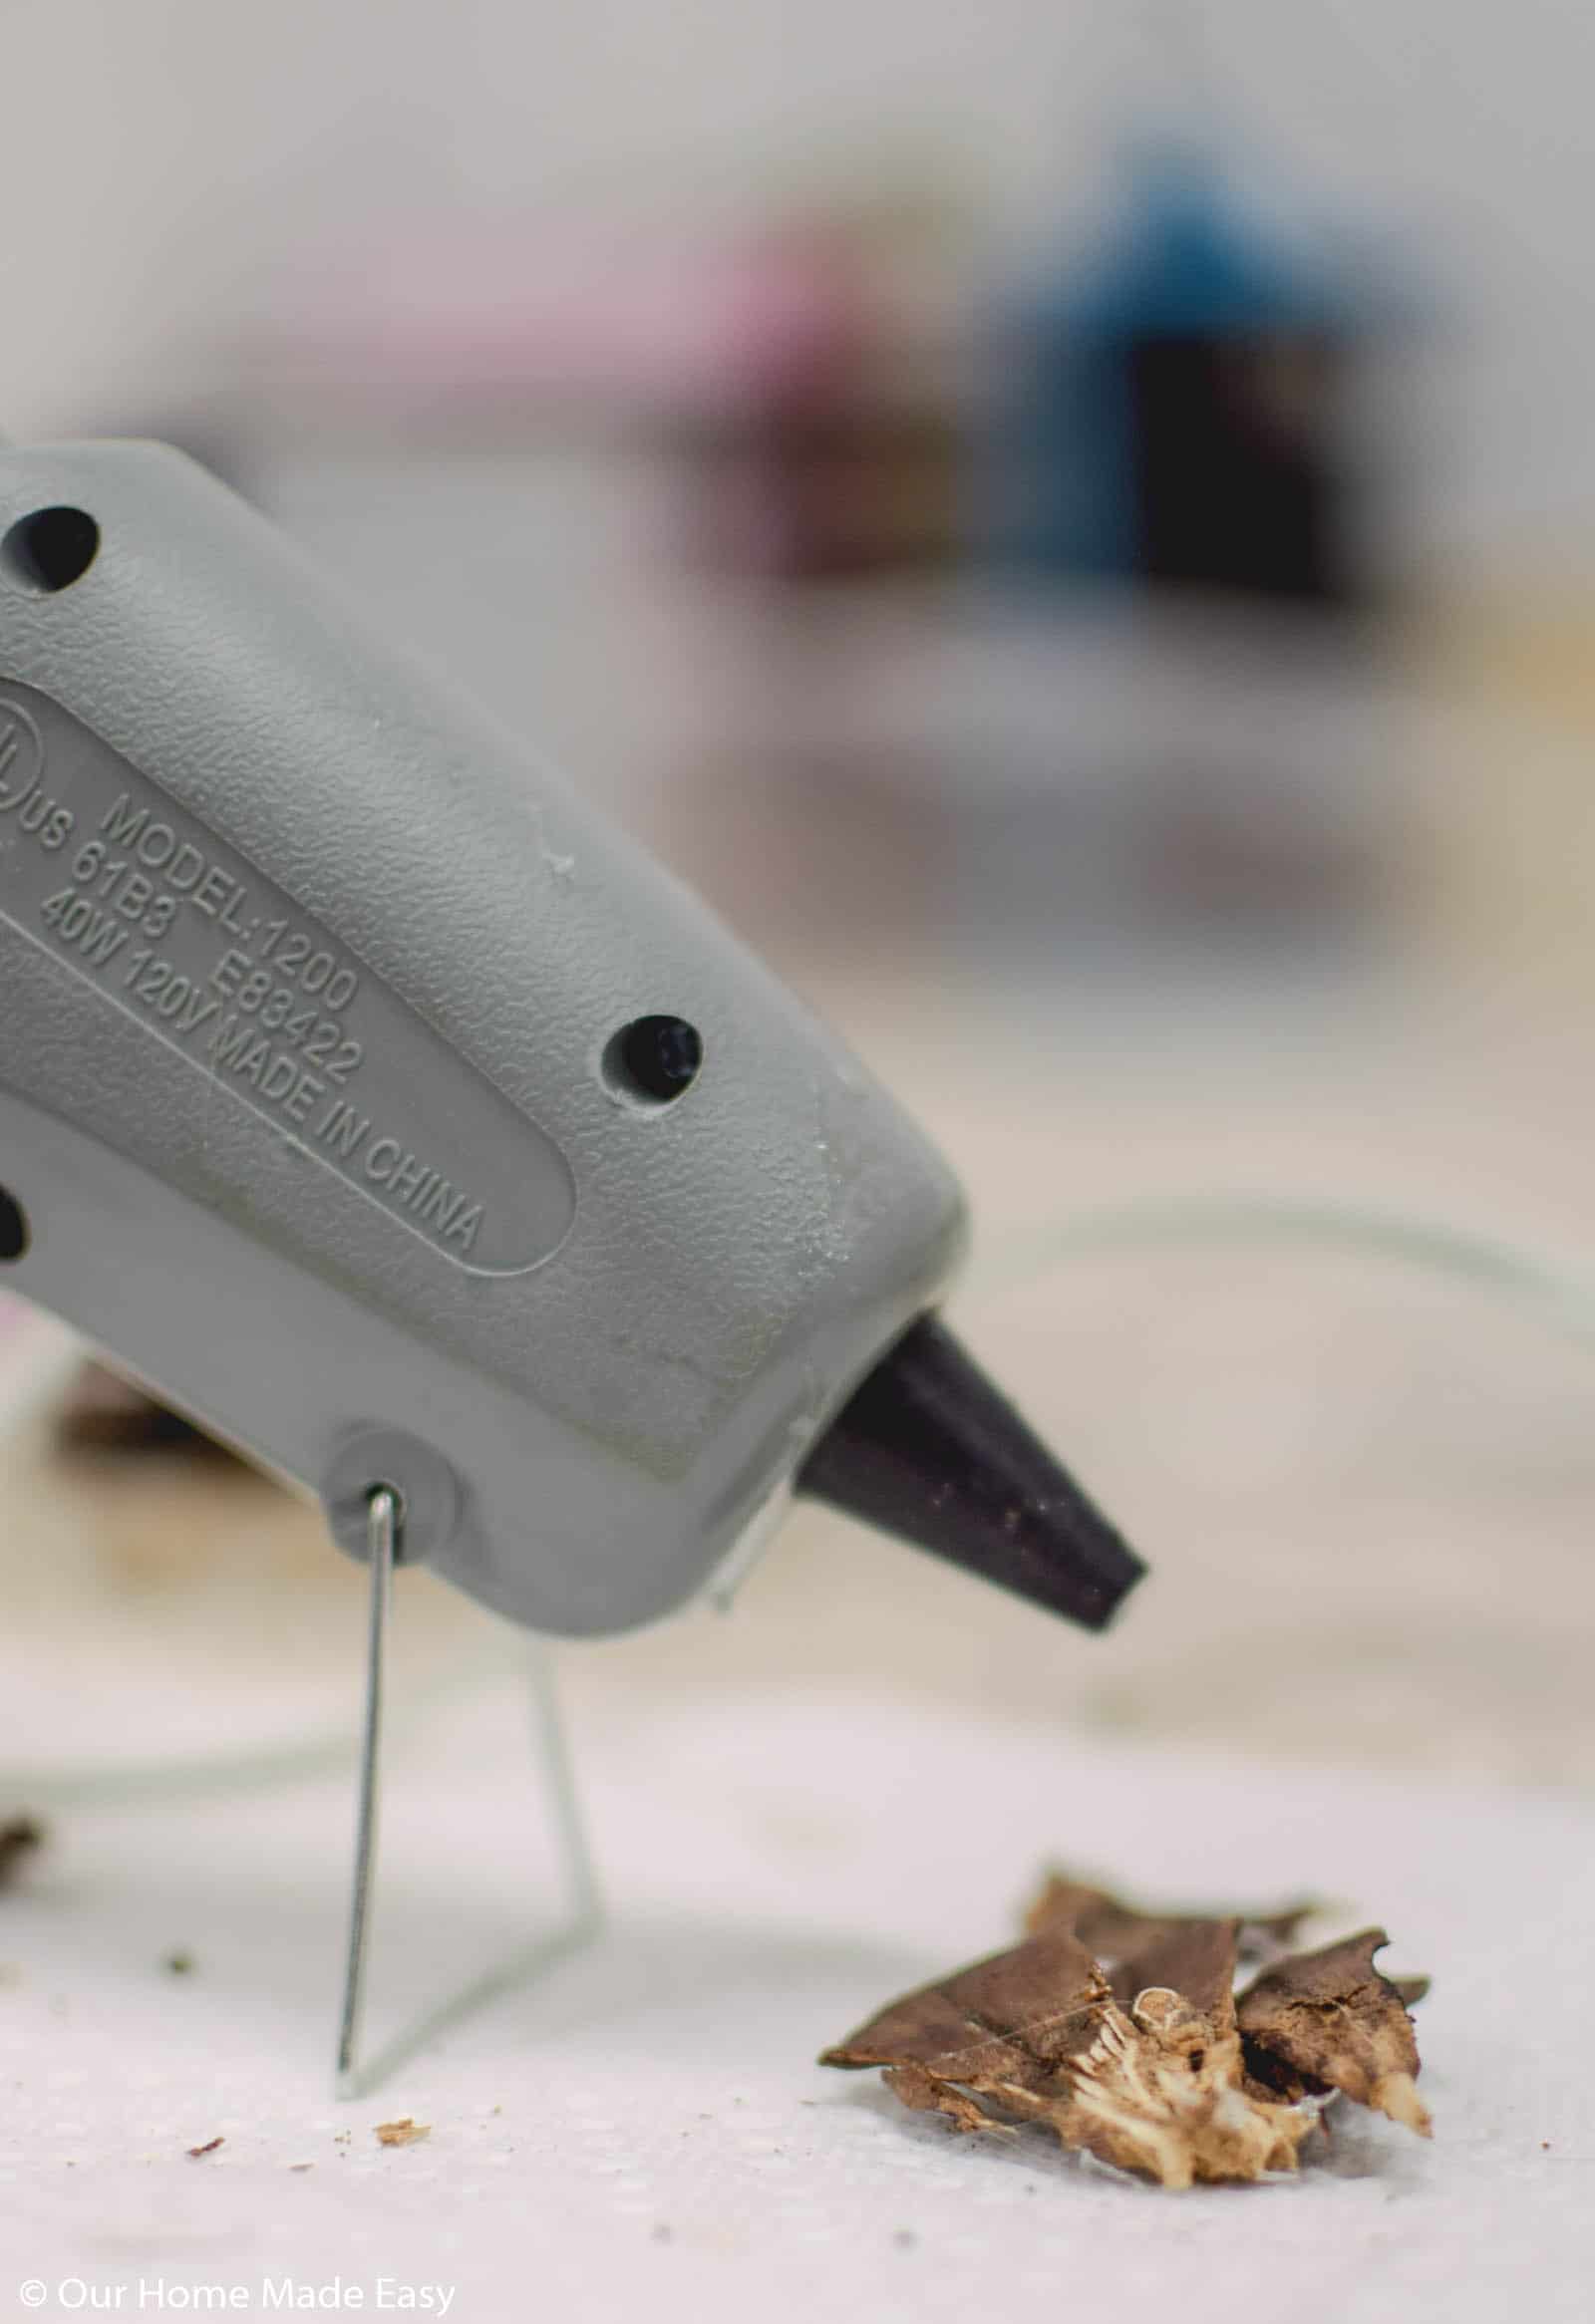
I found that using these thick snips helped me cut through the Jo-Ann scented pine cones. Depending on the thickness of your pine cone, you may have to go around the wood slice two time to cut all the way through. Save any bits & pieces for filling in your ornament later.
I will tell you– I was nervous for my first cut. But once I had the first one done, the remaining ones were so much easier (and I felt more comfortable!)
Pro tip: Slice your pine cone over the kitchen sink. Trust me on this 🙂
Assemble Your Ornament
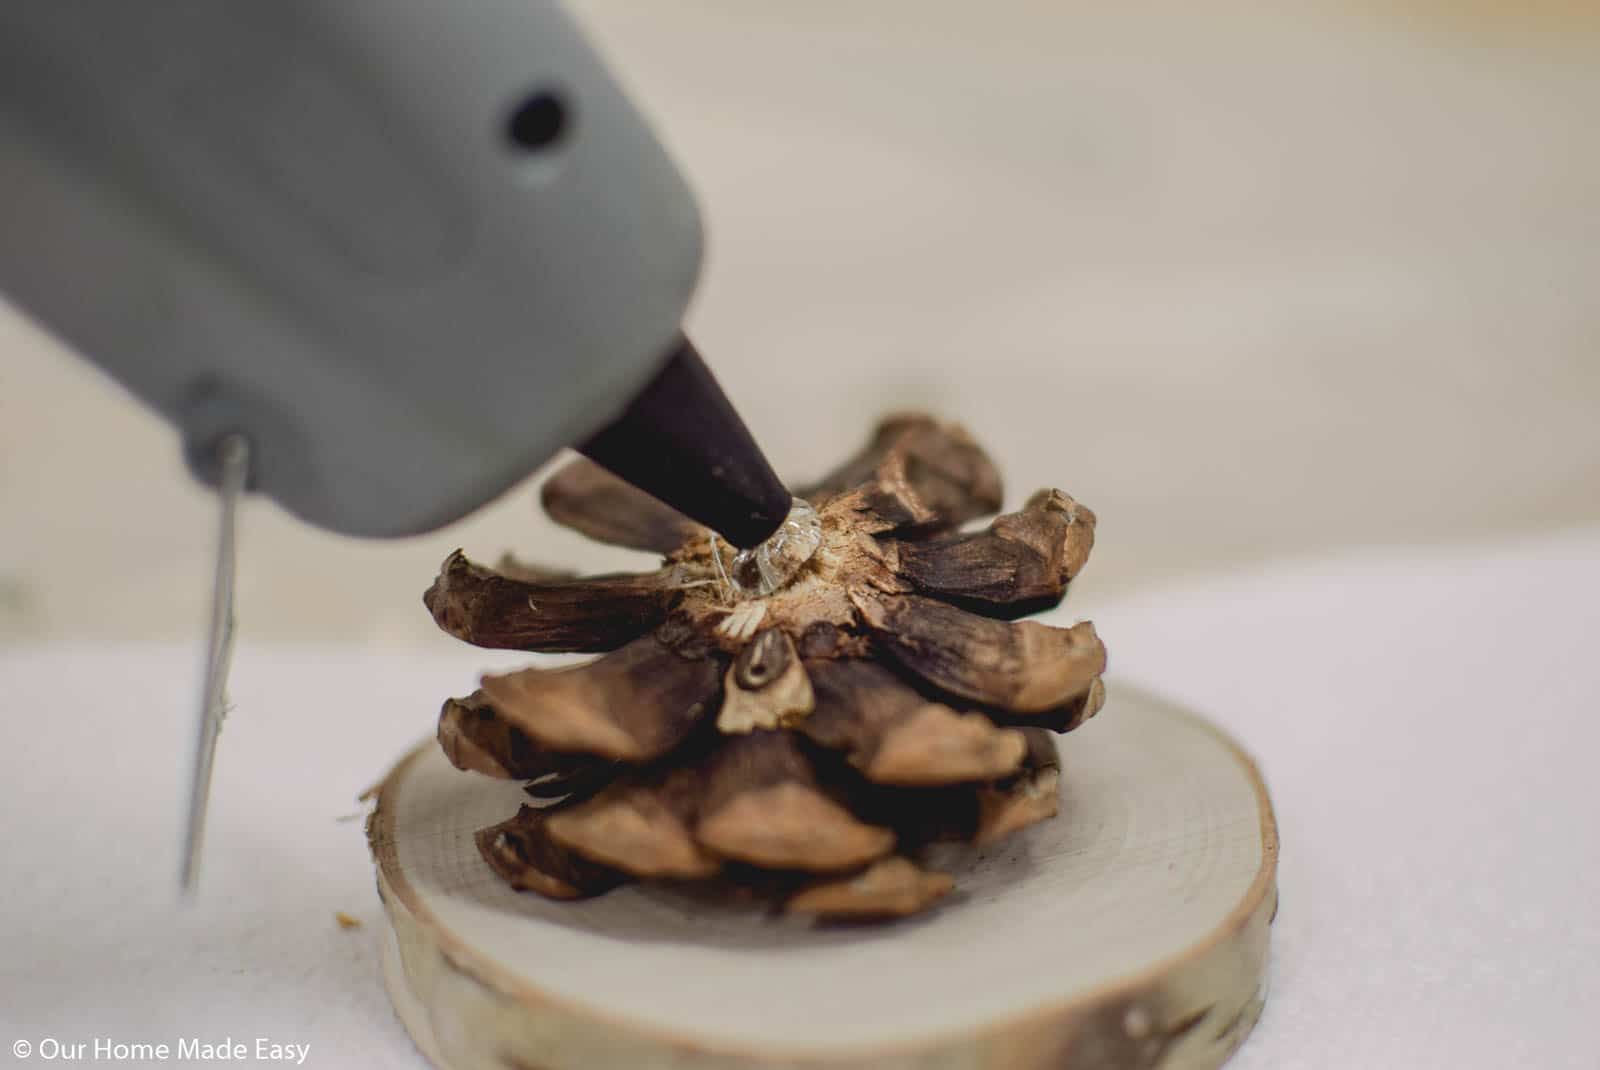
Next, take the largest flat ‘face’ of the pine cone and hot glue it to the center of the wood slice. Press the pine cone into place for about a minute or until it cools into place.
If it’s not completely even, that is okay! You can fill in any spot or uneven-ness with extra pieces of the pine cone.
Allow the hot glue to cool.
Pro tip: Need more flat area to glue to the wood slice? You can trim any pieces on the bottom of pin cone slice to create as flat of a glued surface as possible.
Finish it!
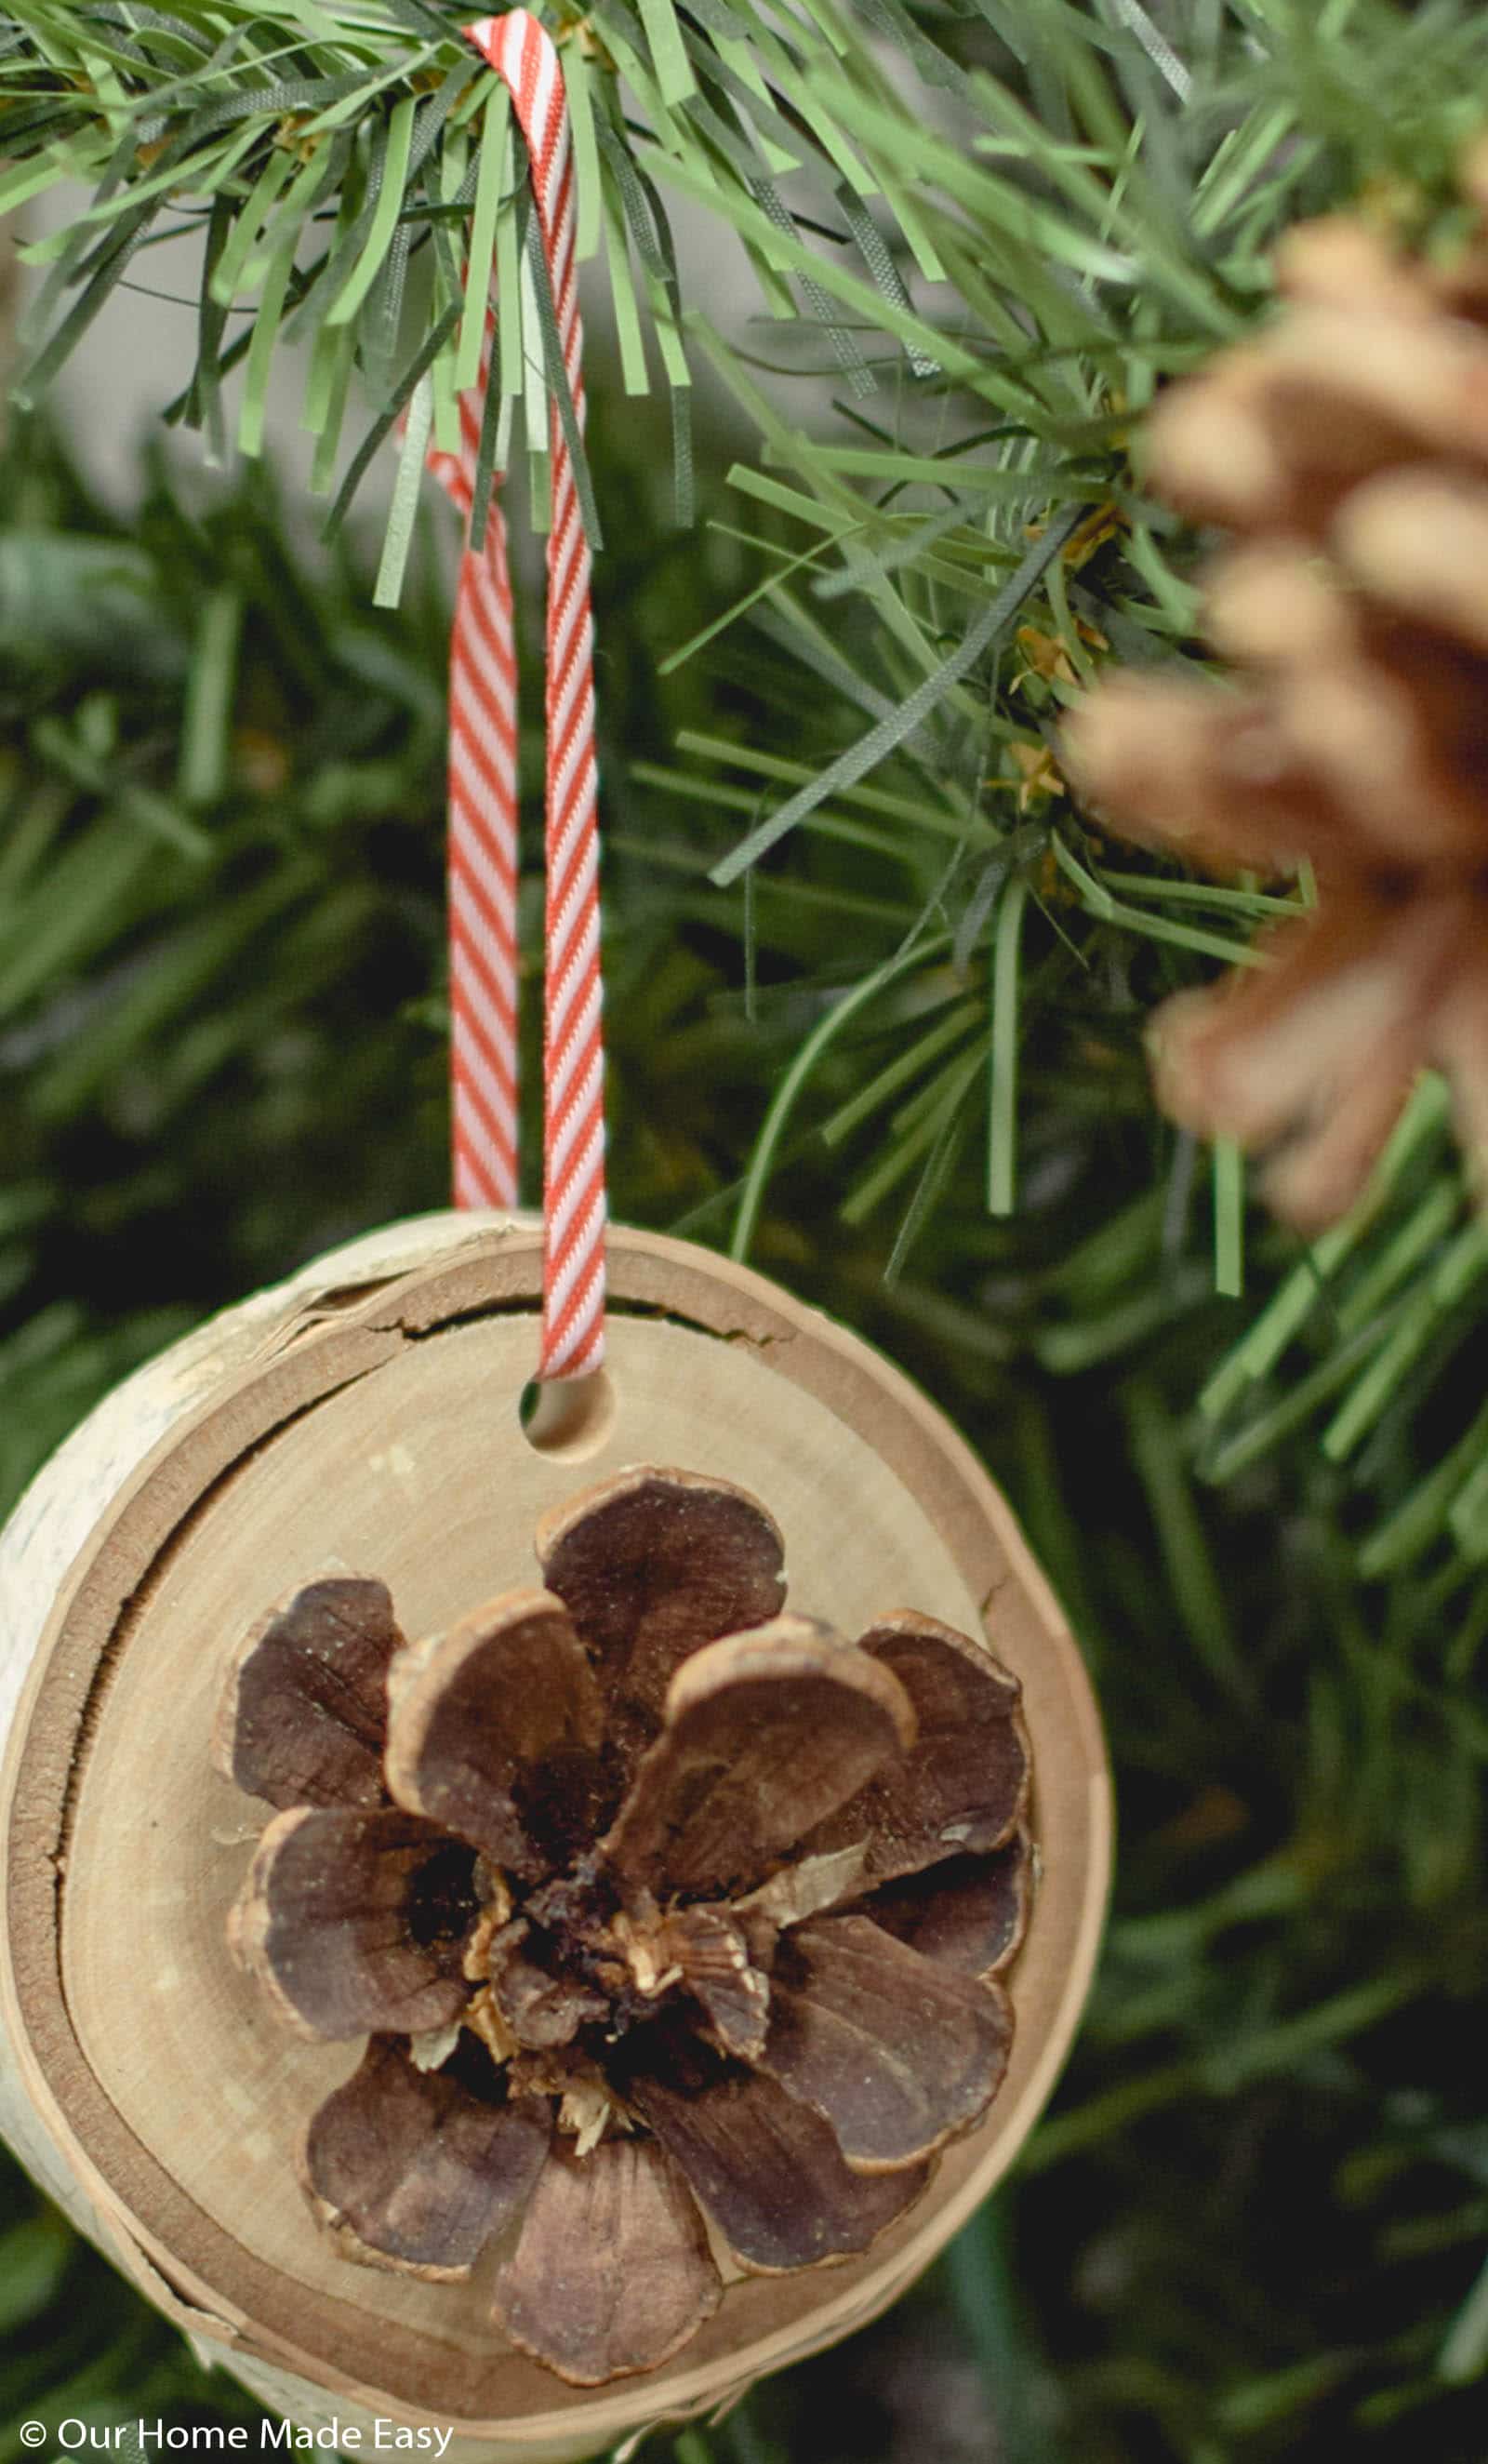
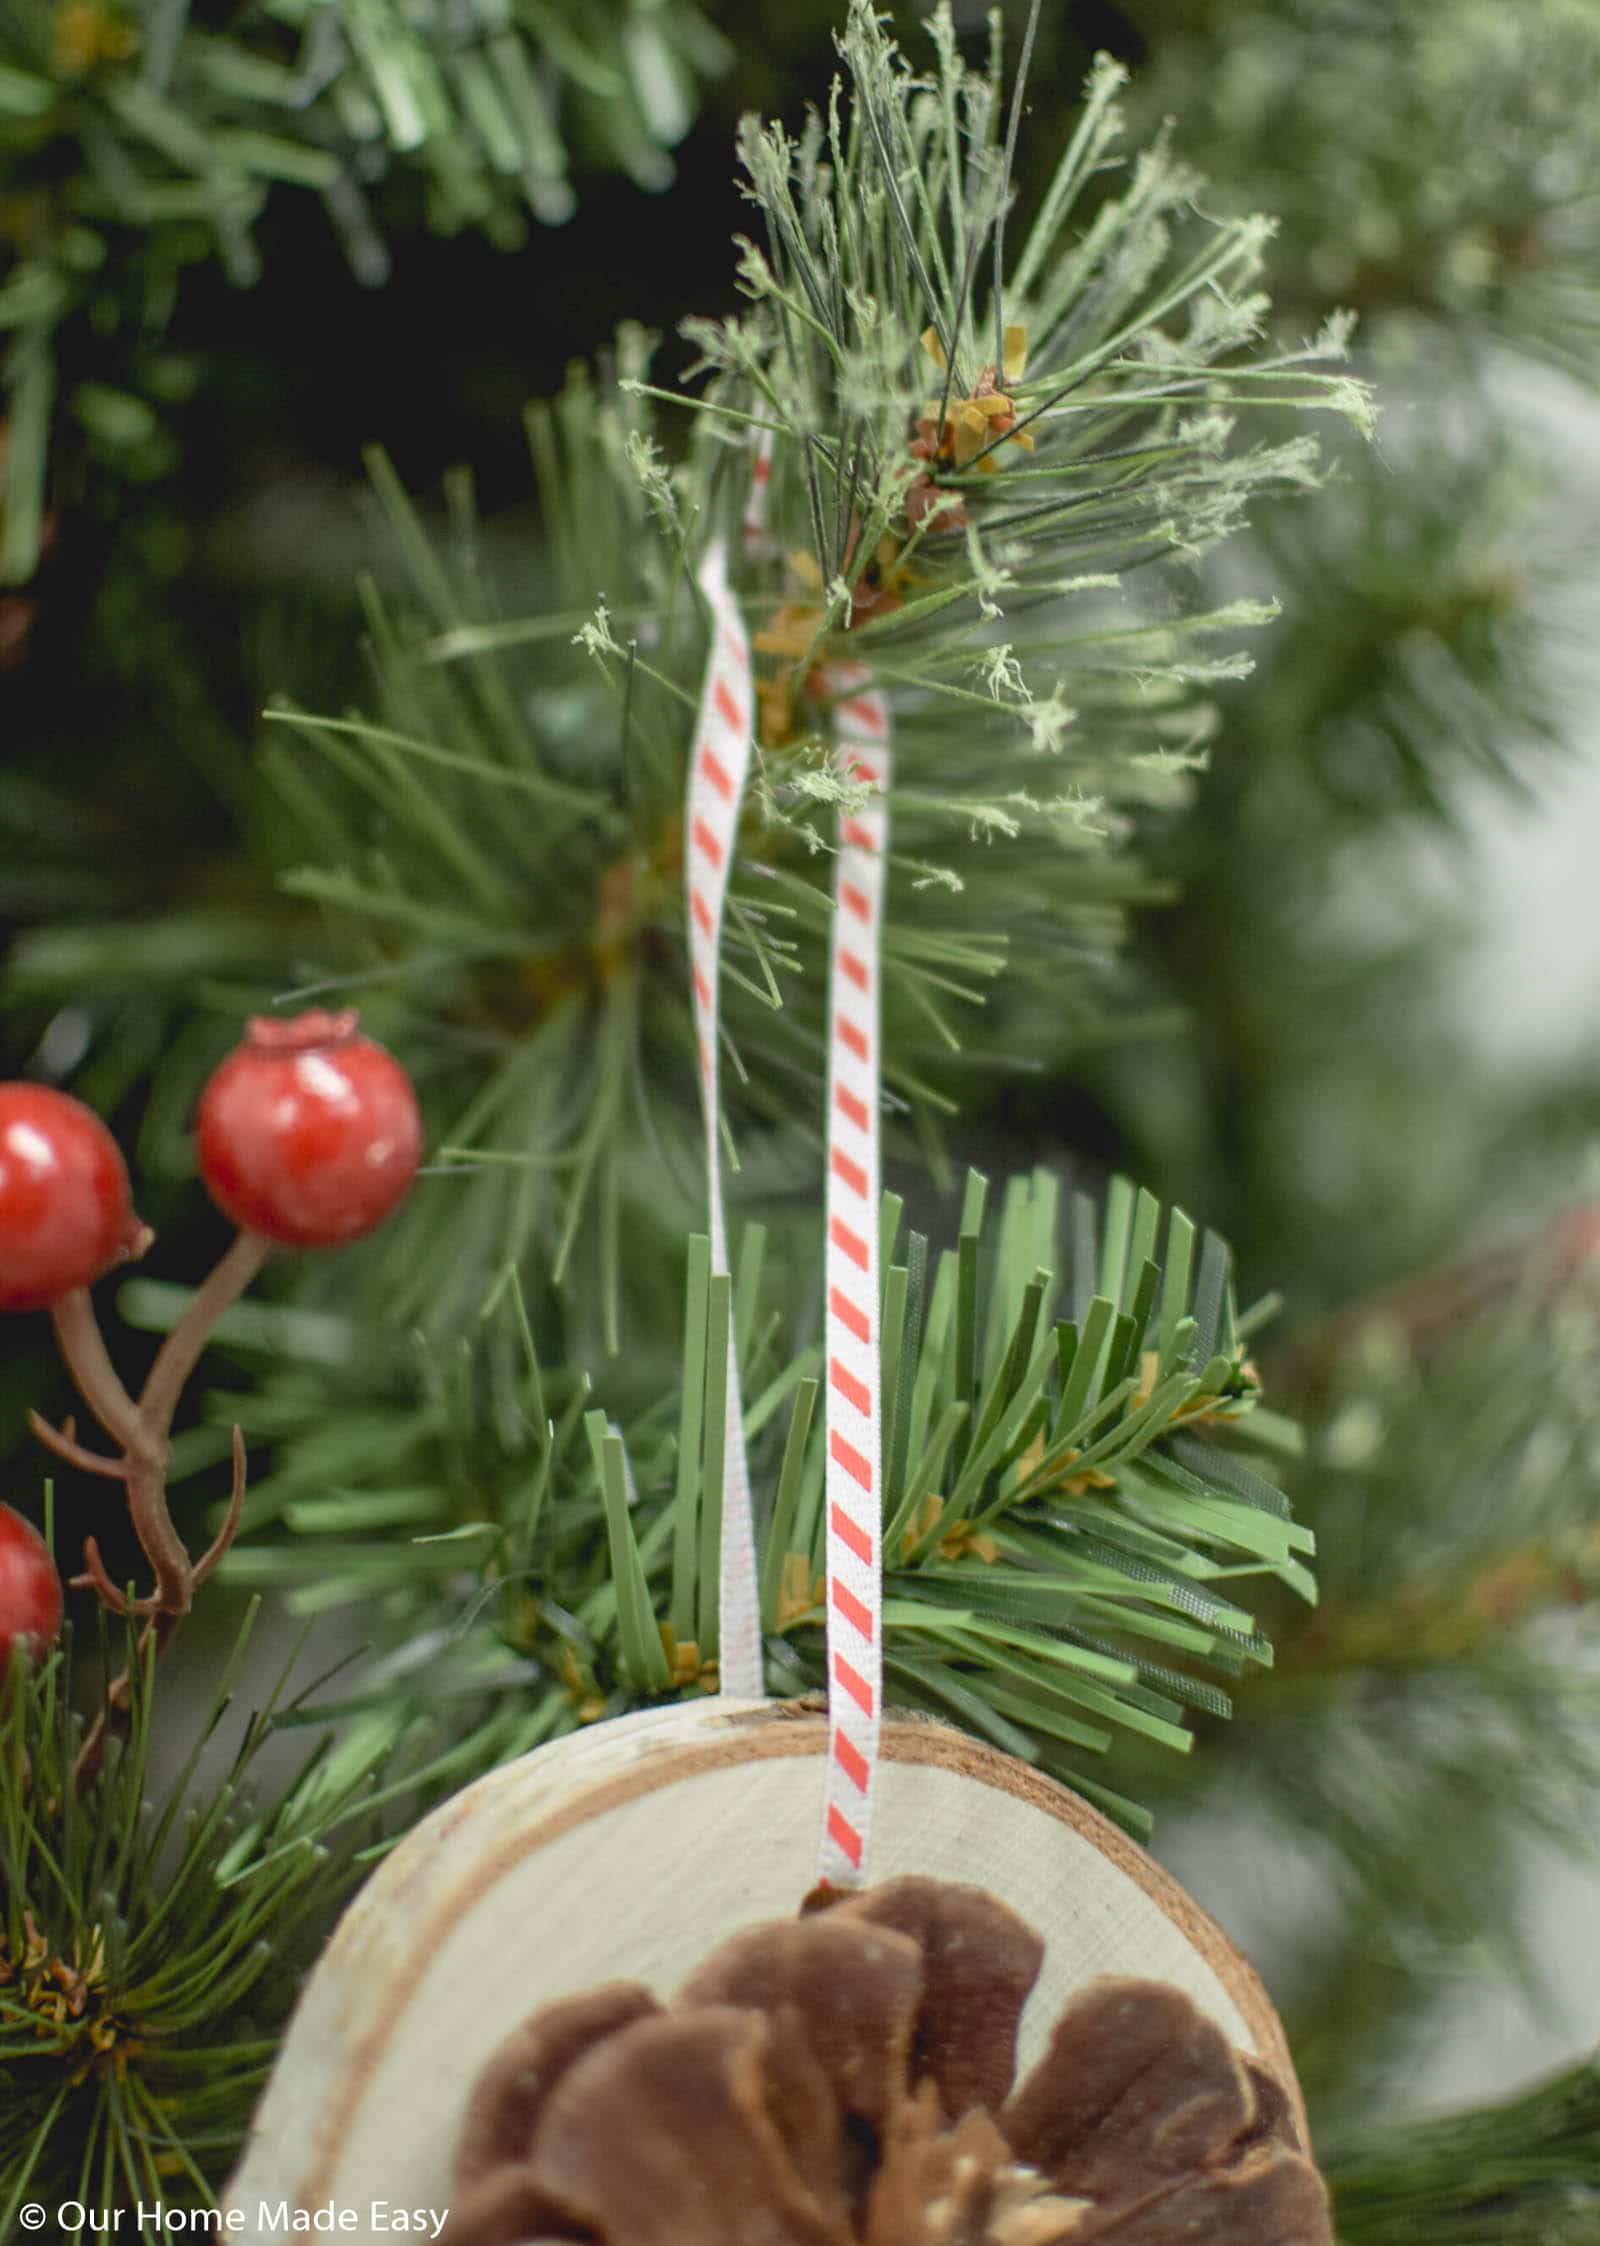
Lastly, swap out the twine for a cute ribbon!
Wasn’t that super easy? You could easily make several in one sitting and use them to decorate your gifts this year.
Happy crafting!
DIY Rustic Wood Slice Ornaments
These rustic wood slice ornaments are made with scented pinecones and pre-made wood slices. This is a super simple DIY that will add a fabulous rustic touch to your Christmas decor.
Materials
- Pinecones
- Wood Slices
- Thin Ribbon
- Hot Glue
- Shop Snip Shears
Instructions
- First, you’ll want to slice the pinecone. Since I used the scented pinecones you can find just about anywhere, my slices are much larger than the inspiration. Diane used smaller, narrower, pinecones that made for a pretty flower effect.
- Decide where you want to cut your pinecone for the size. Then, go one ‘layer’ below it and start cutting. This will give you more to work with, and in the event, a piece breaks off, you still have an extra layer available.
- Next, take the largest flat ‘face’ of the pinecone and hot glue it to the center of the wood slice. Press the pinecone into place for about a minute or until it cools into place. If it’s not completely even, that is okay! You can fill in any spot or uneven-ness with extra pieces of the pine cone.
- Allow the hot glue to cool.
- Lastly, swap out the twine for a cute ribbon!
WANT MORE EASY AND BUDGET FRIENDLY DECOR IDEAS FOR THE HOLIDAY? GRAB THIS FREE DECOR GUIDE!

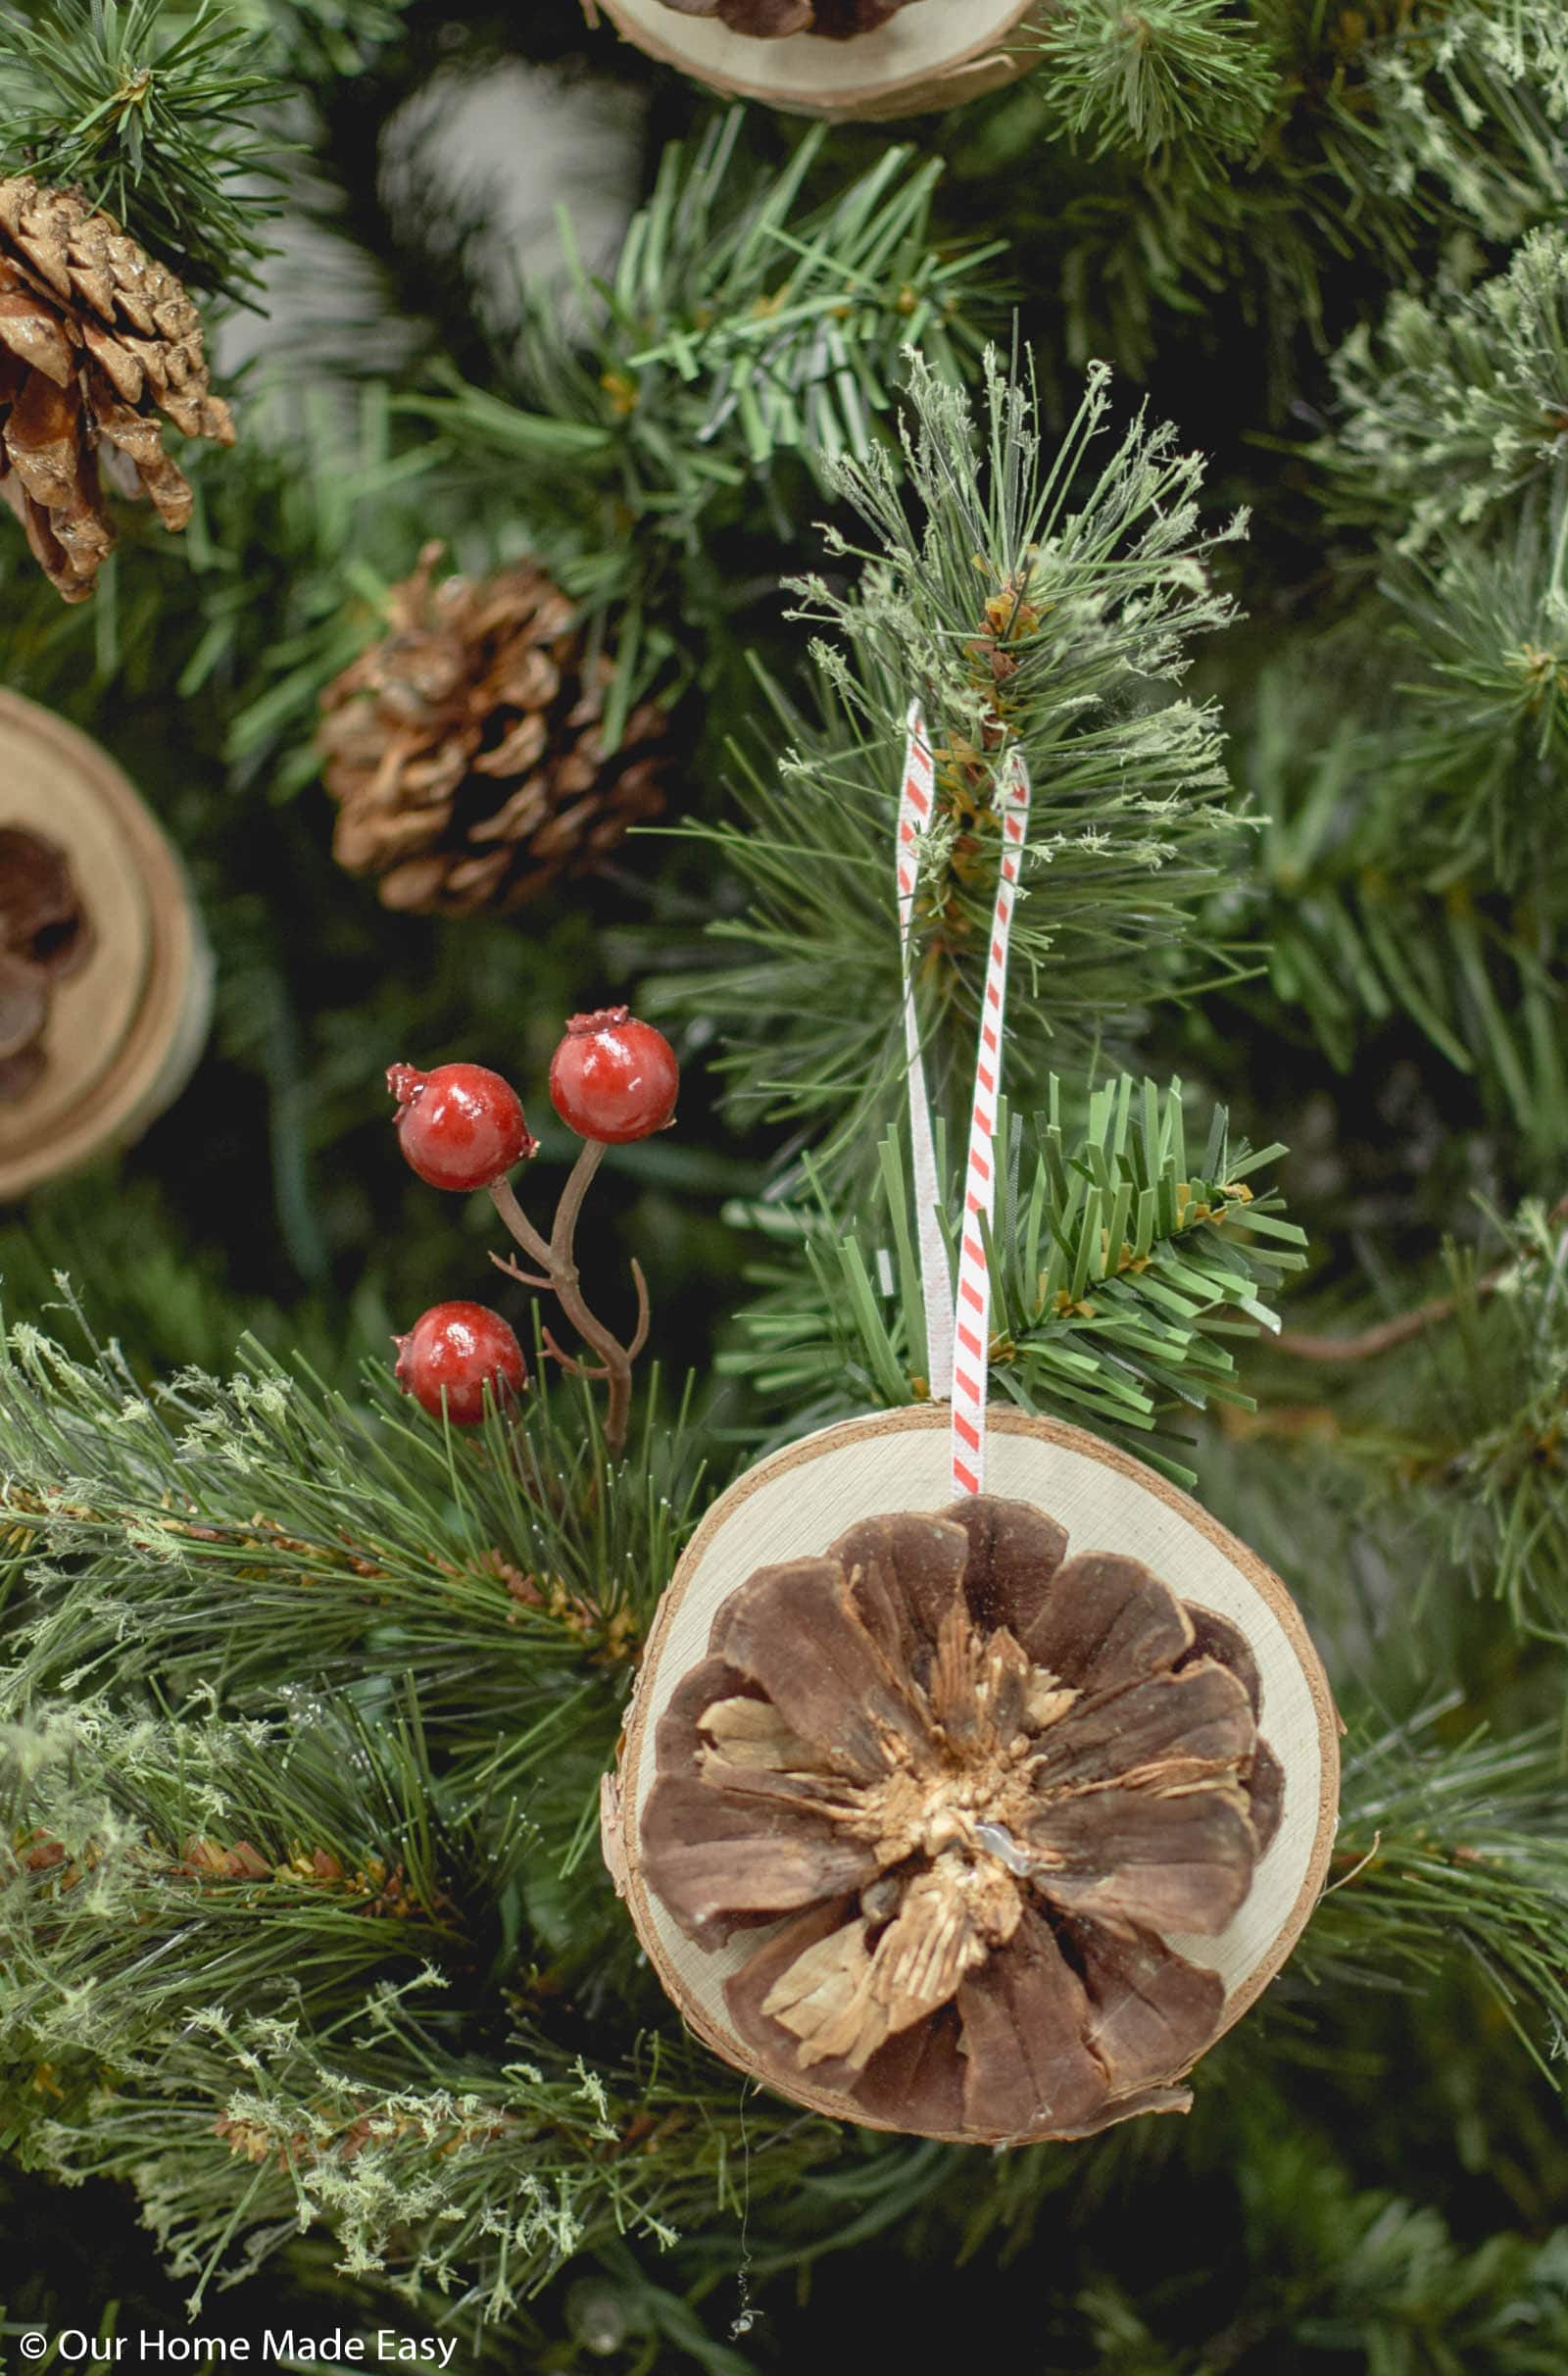
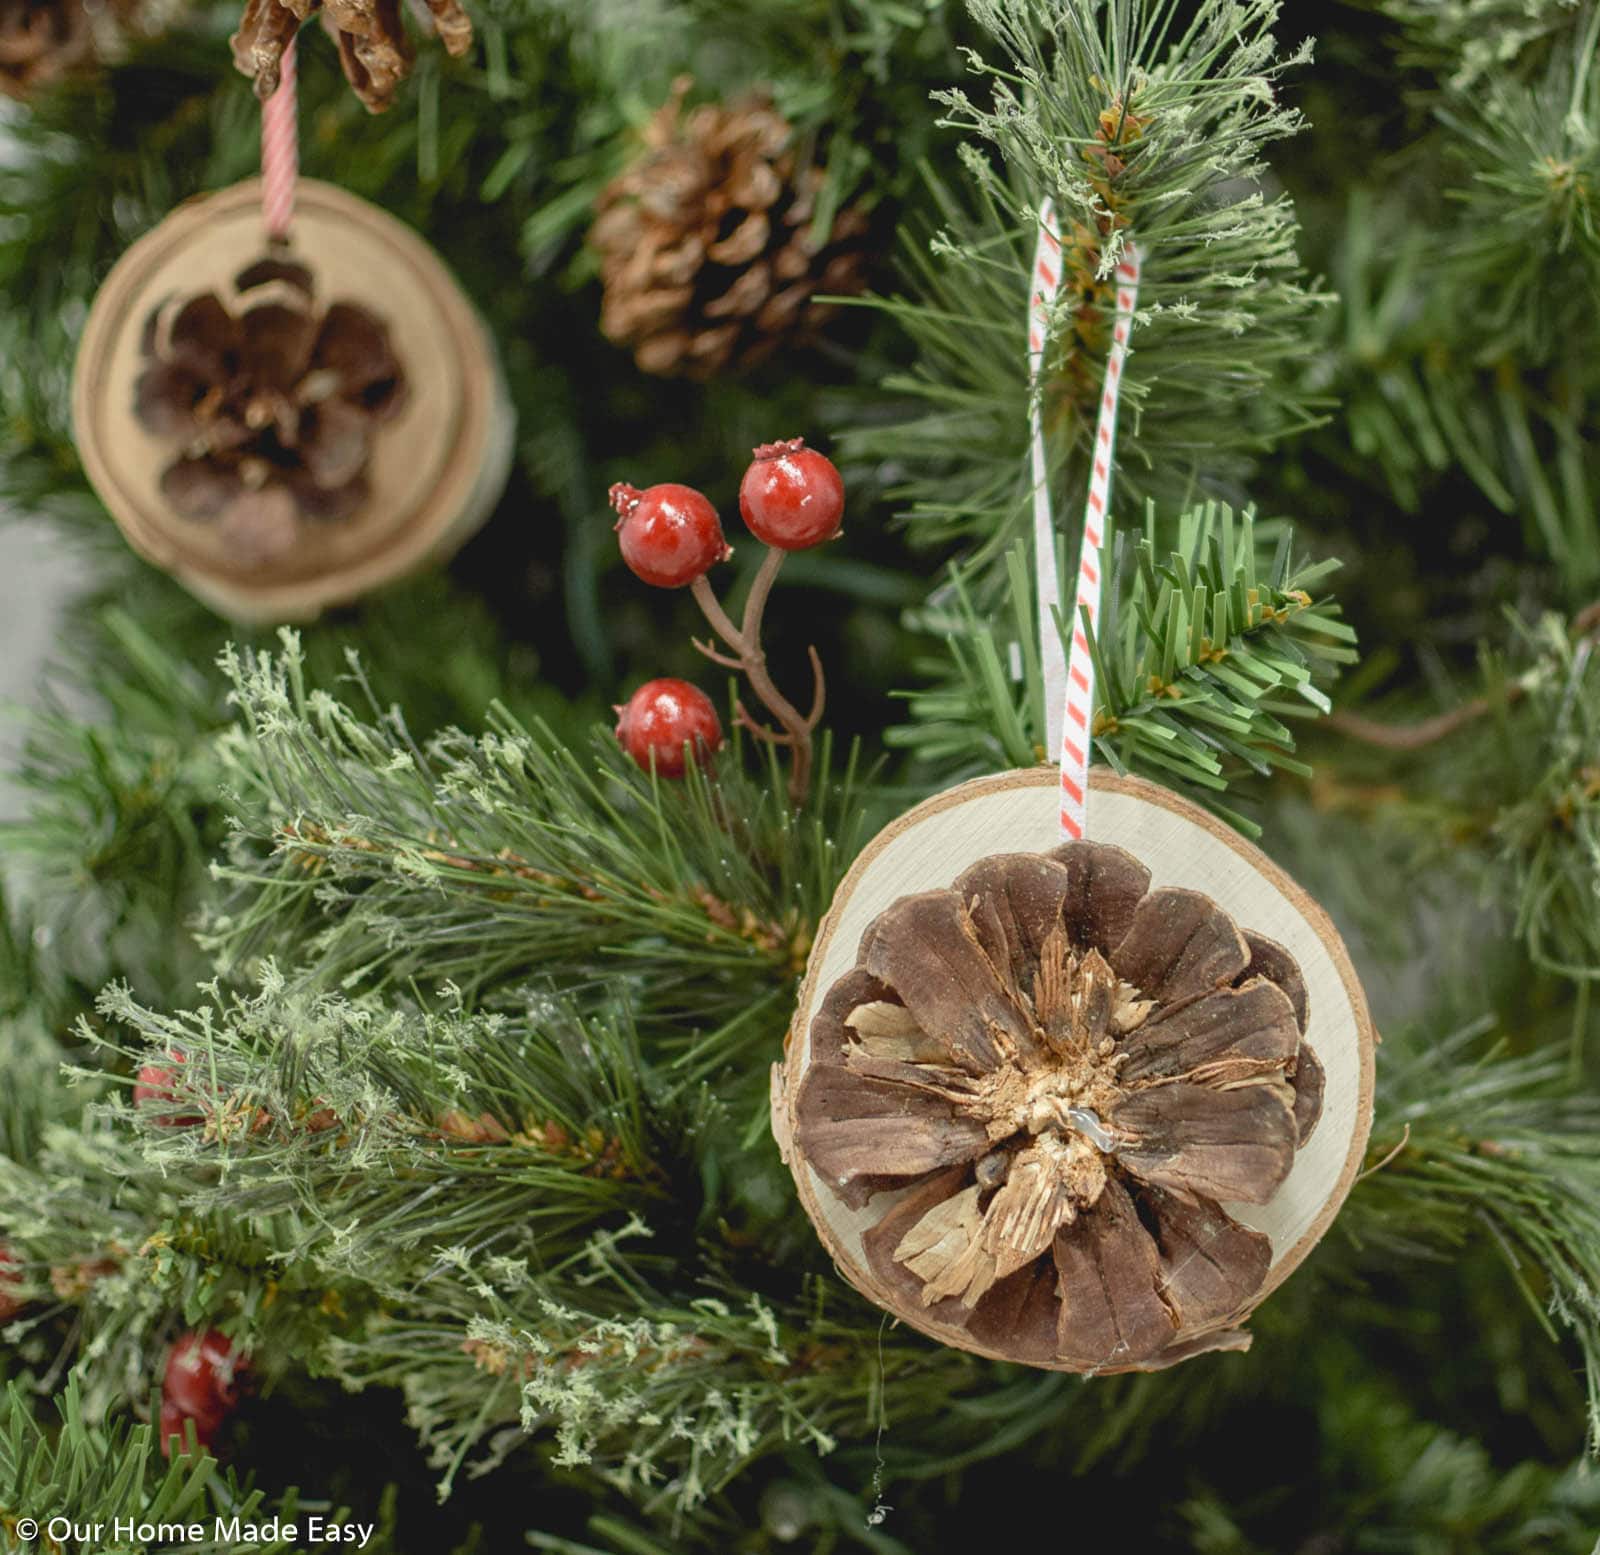
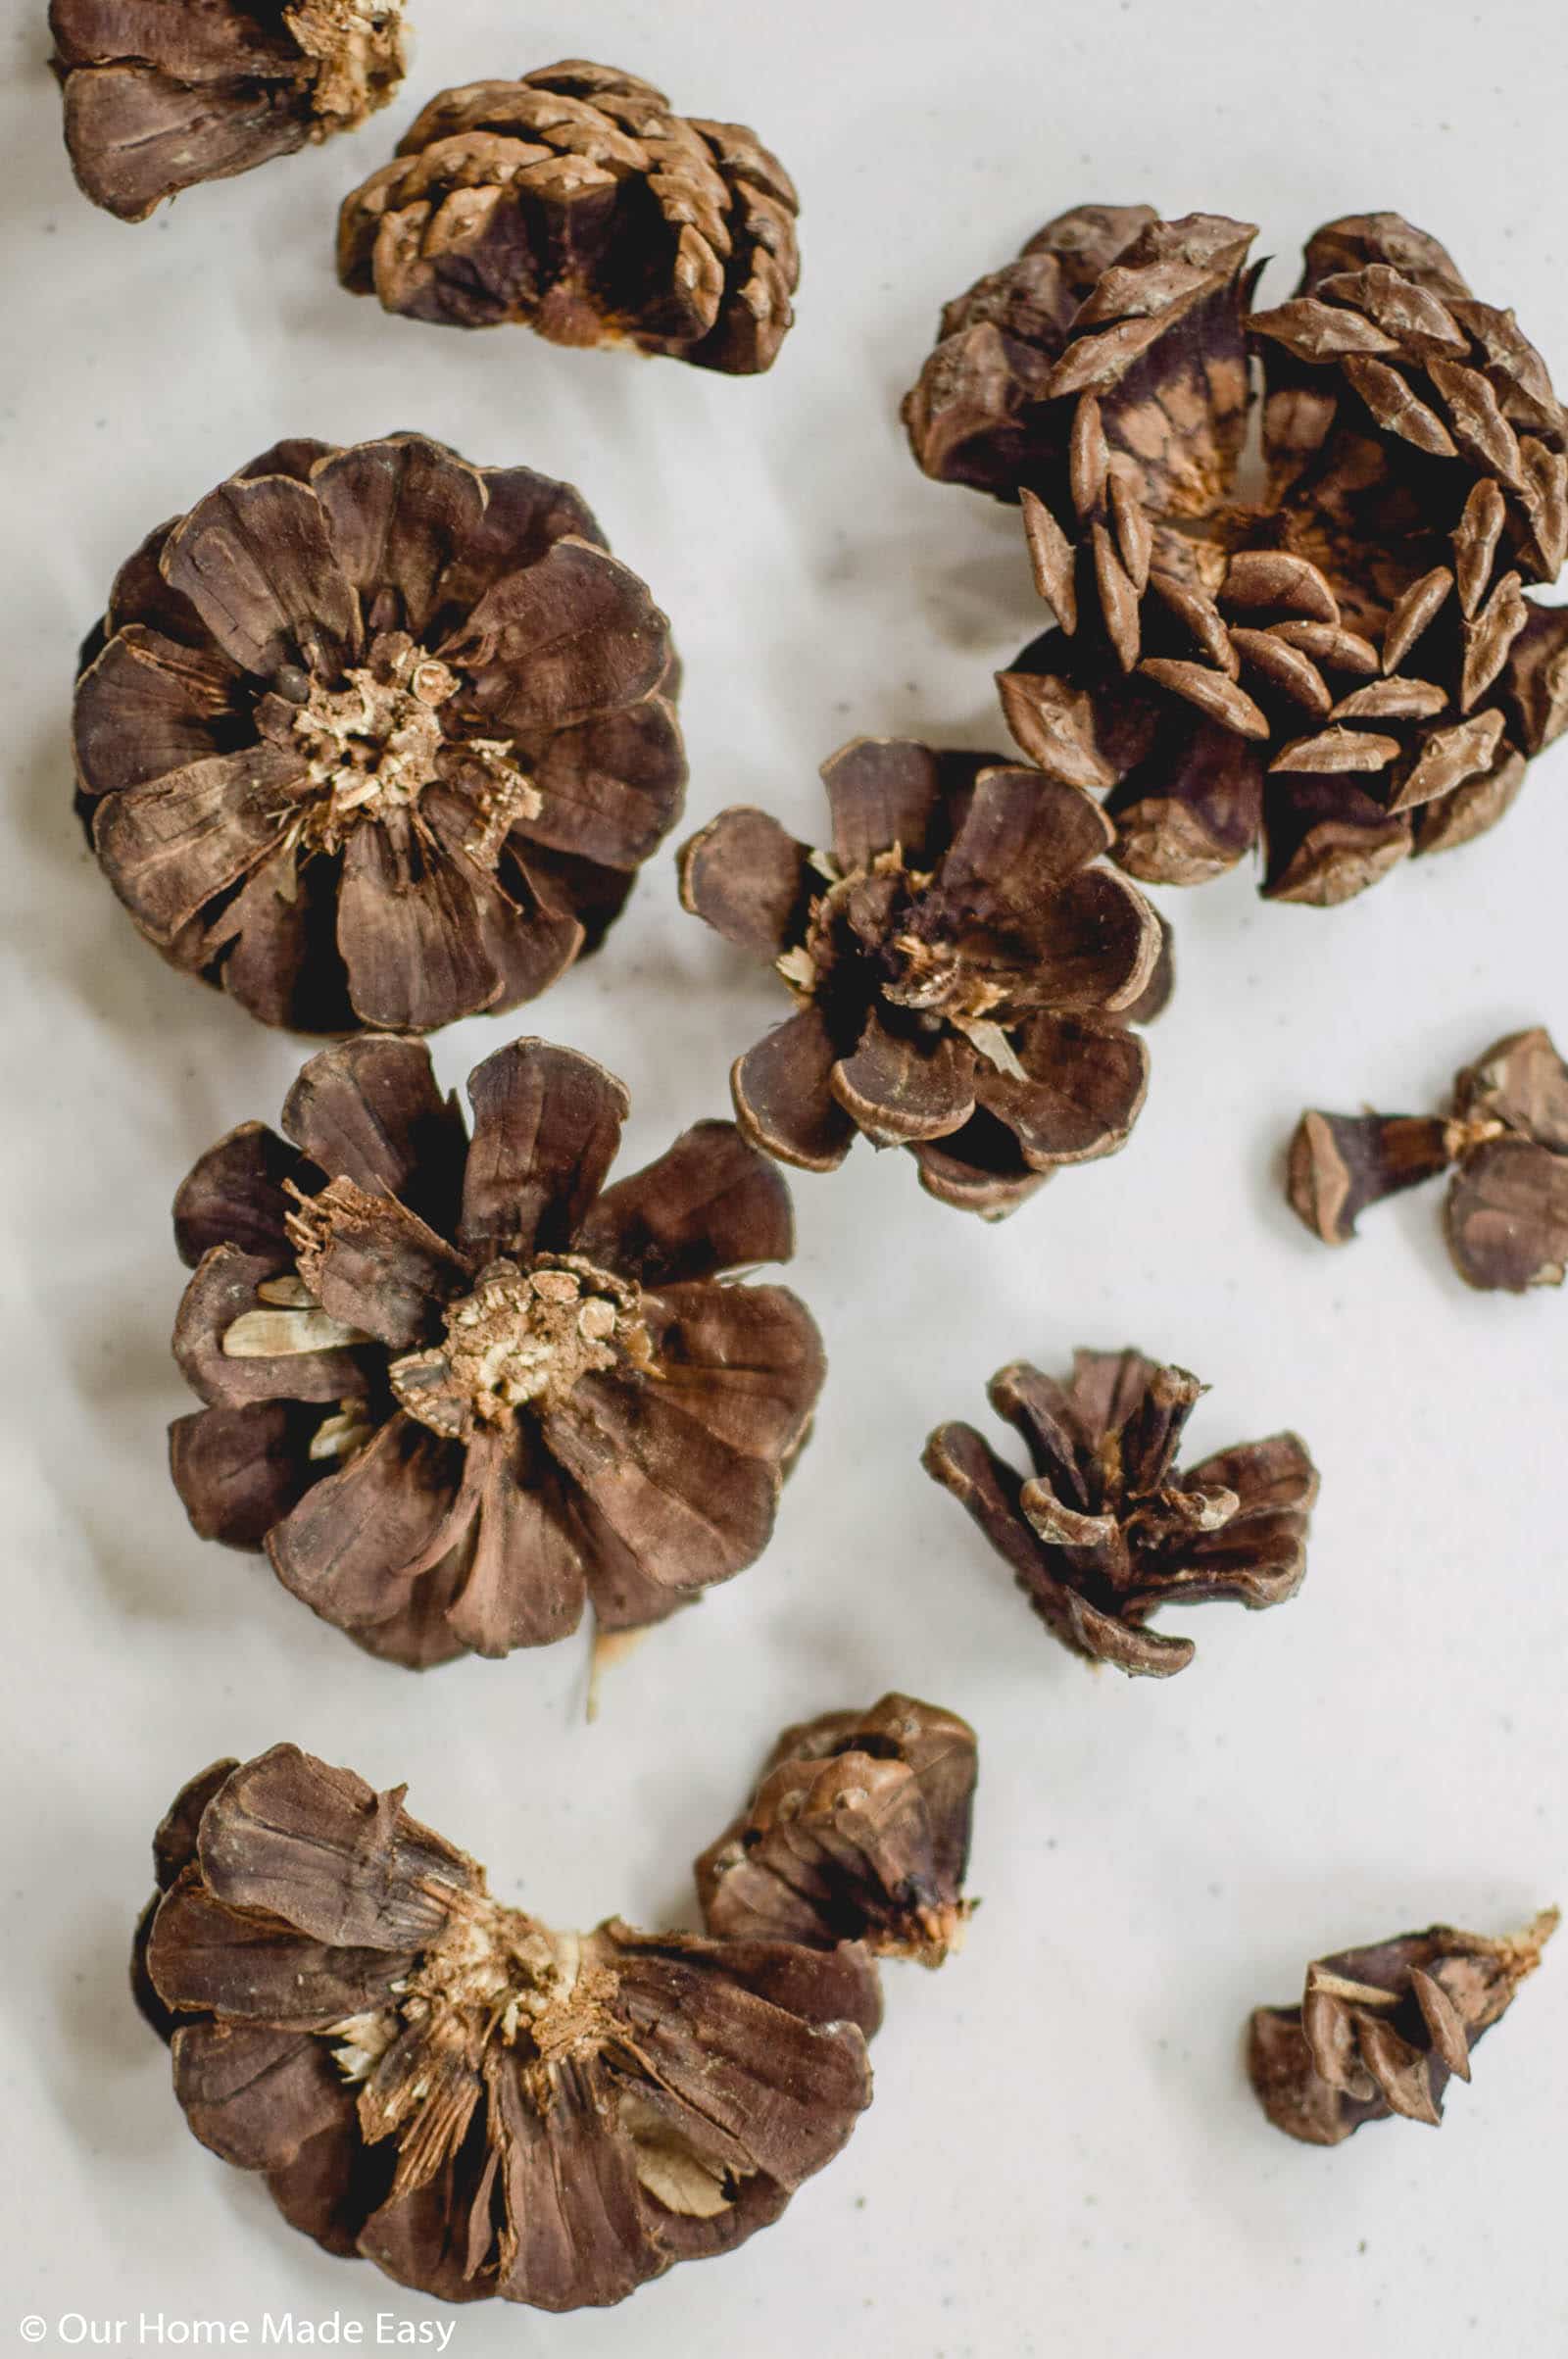
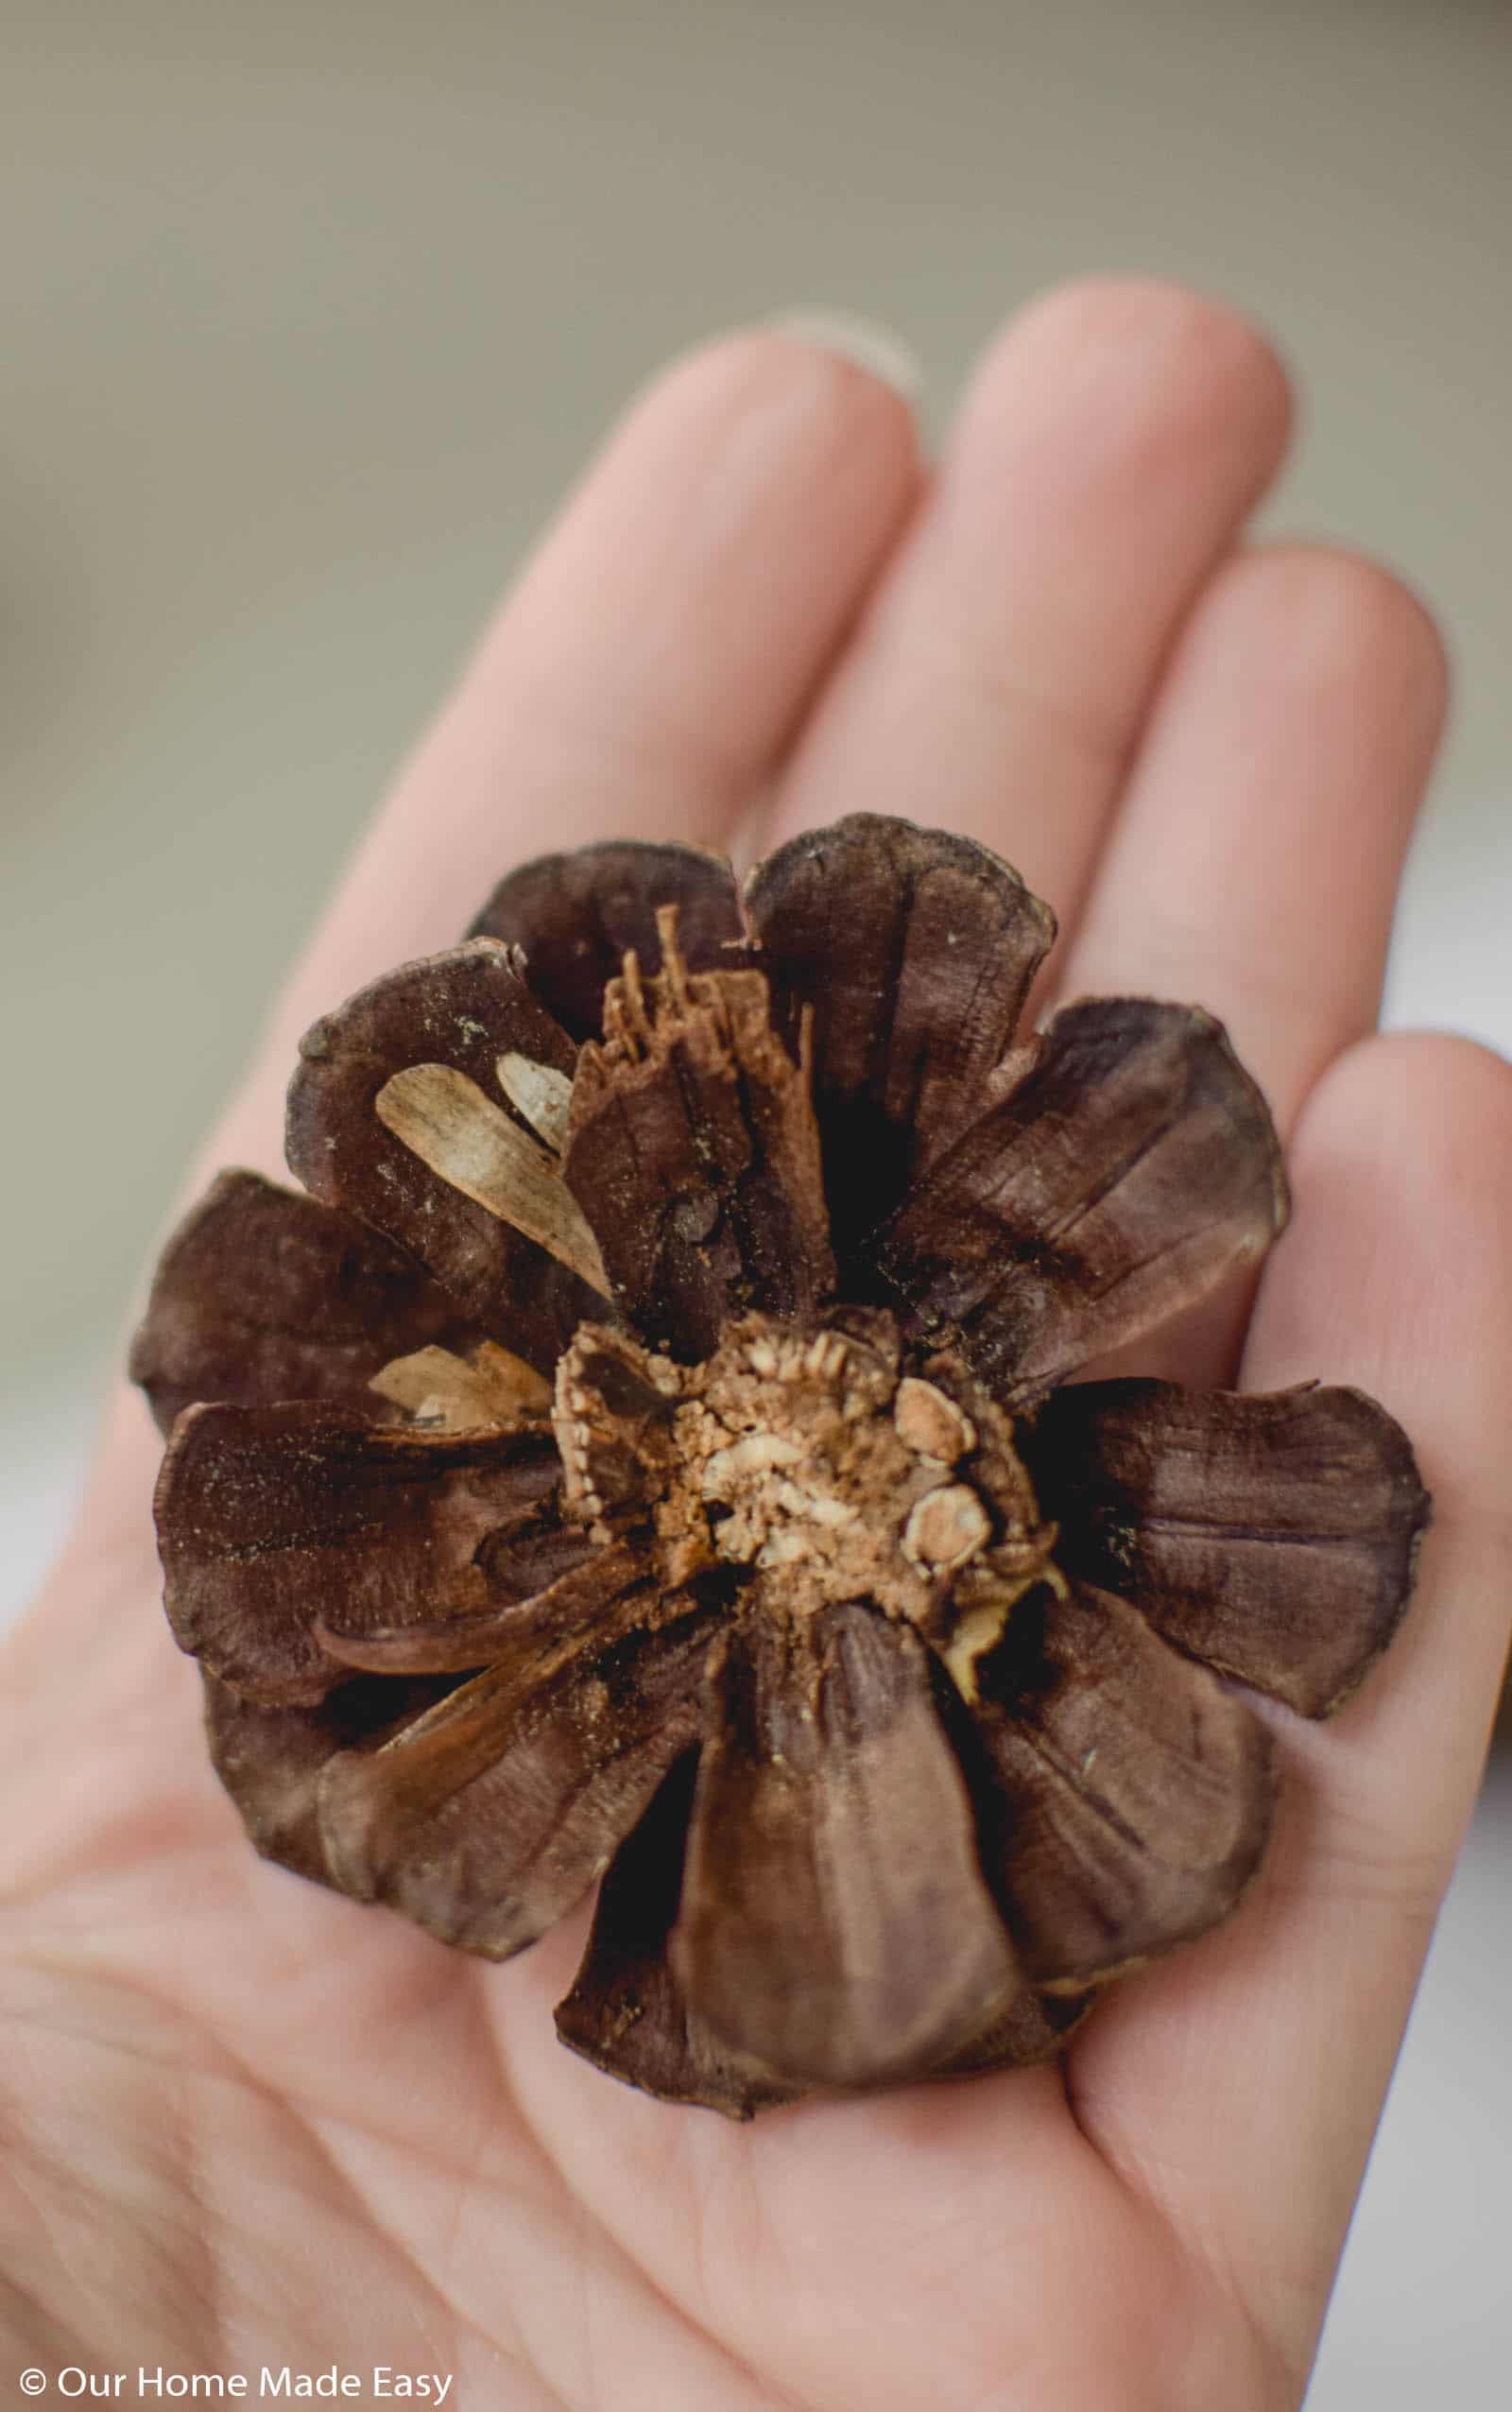
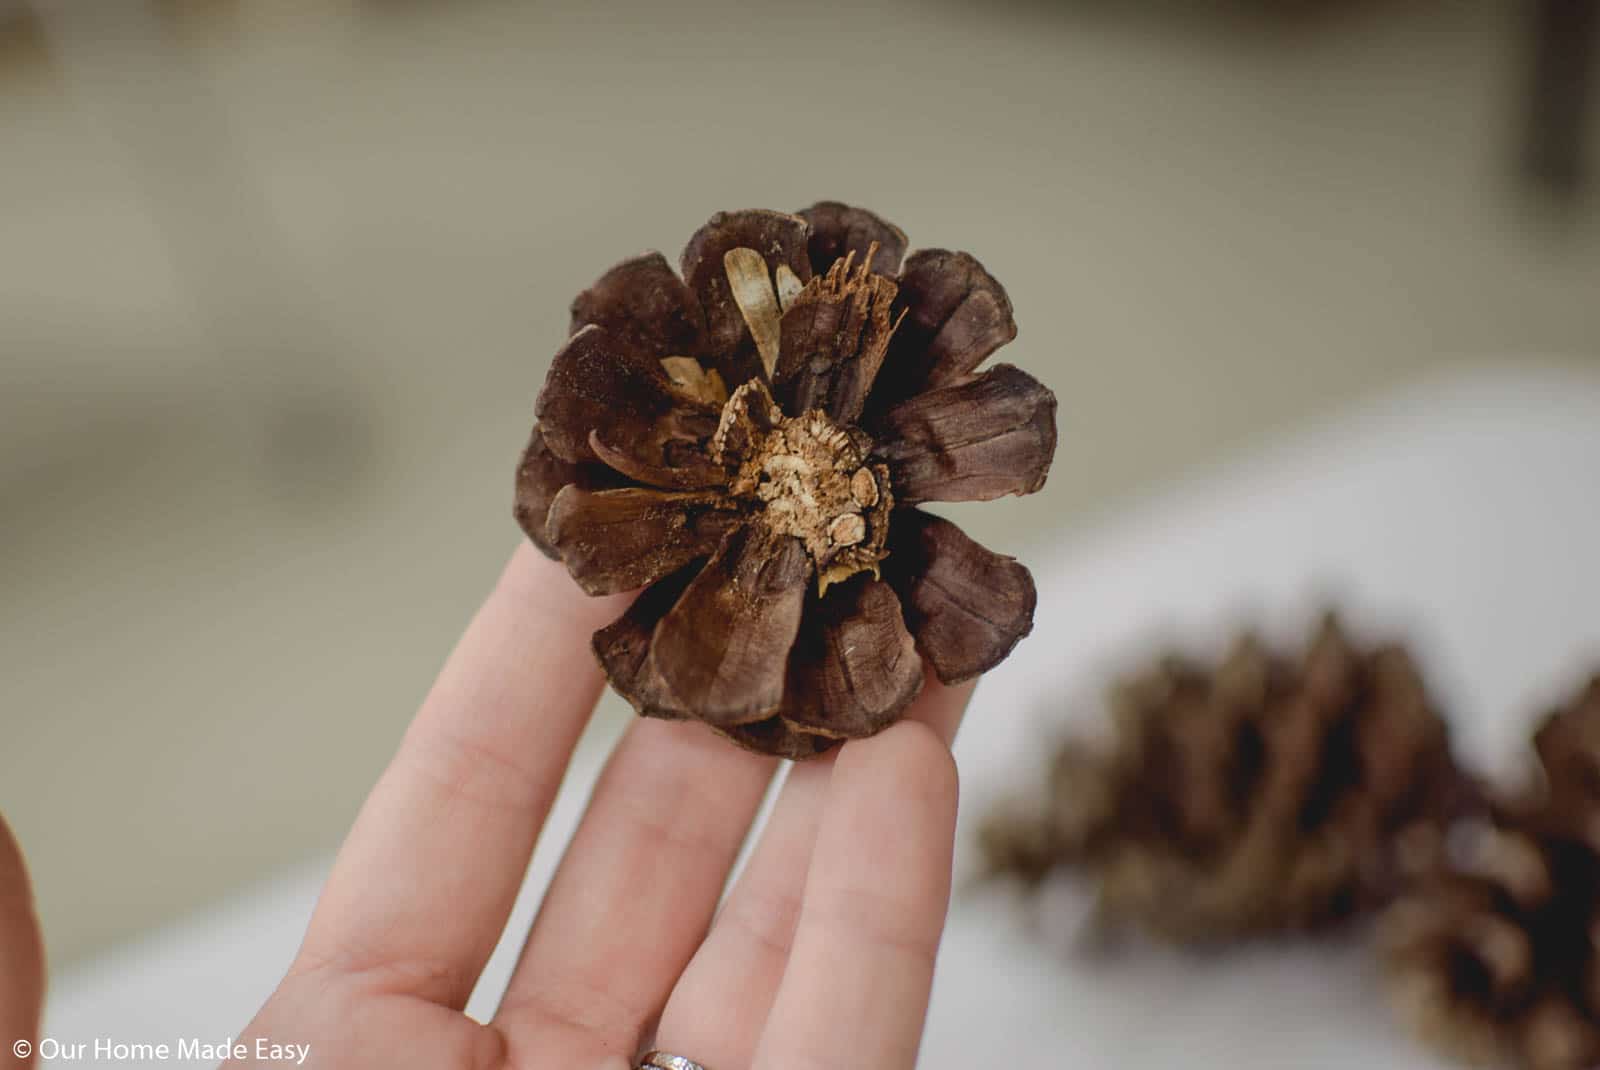
The rustic charm of these ornaments is amazing! I had no idea what a pine cone looked like cut and it makes a pretty flower. I love it and might have to make some.
These ornaments are absolutely gorgeous love love love them!! #2018ornamentexchange
This ornament is so fun and natural! It’s absolutely gorgeous and so is your tree!
These are super cool! I love the natural elements! So pretty!
Kim
Those are cute. I’d love to try making them with the cinnamon scented pinecones they sell in the stores… I just adore the smell of cinnamon at Christmastime. 🙂 Pinned.
I love nature-y ornaments! So cute!
I love this ornament. The pinecone flowers are so special.
It’s so cool that when the pine cone is cut that it looks like a flower. It might be fun to experiment with adding color to them.
I really love this ornament! It’s simple, but so pretty and I have all the supplies to make these too. Thanks for sharing your tutorial on the ornament exchange.