Easy DIY Industrial Shelving
In case you haven’t noticed, I am a home show fanatic. I’m always thinking, “Ohhhhh and & Ahhh” over the rustic/farmhouse/industrial look. Totally make sense for my Midwestern colonial, right? Well, we are trying to merge some style into this new home build. The one thing that was always on our list to try was industrial shelving. Are you a fan, too? It’s super easy to make and looks pretty awesome for the short amount of time required. Plus, it’s totally affordable!
(This post contains affiliate links. If you shop from my blog, I may be compensated for clicks or purchases that you make. Read my disclaimer page for more information.)
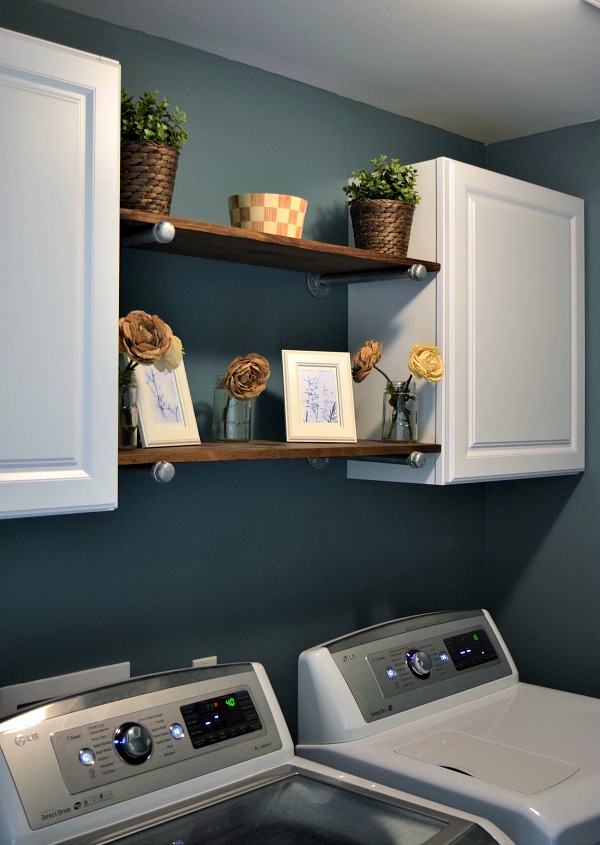
In this DIY, we built 2 industrial shelves in our laundry room. If you want to see the laundry room before & after, check it out here.
Supplies Needed for DIY Industrial Shelving
-
- 1″ x 12″ Wood Board cut to Shelf Length (I used this one from Home Depot)
- Orbital Sander (Optional to lightly soften edge)
- Stain of Choice (I used Minwax Jacobean finish)
- Foam Brushes for Stain
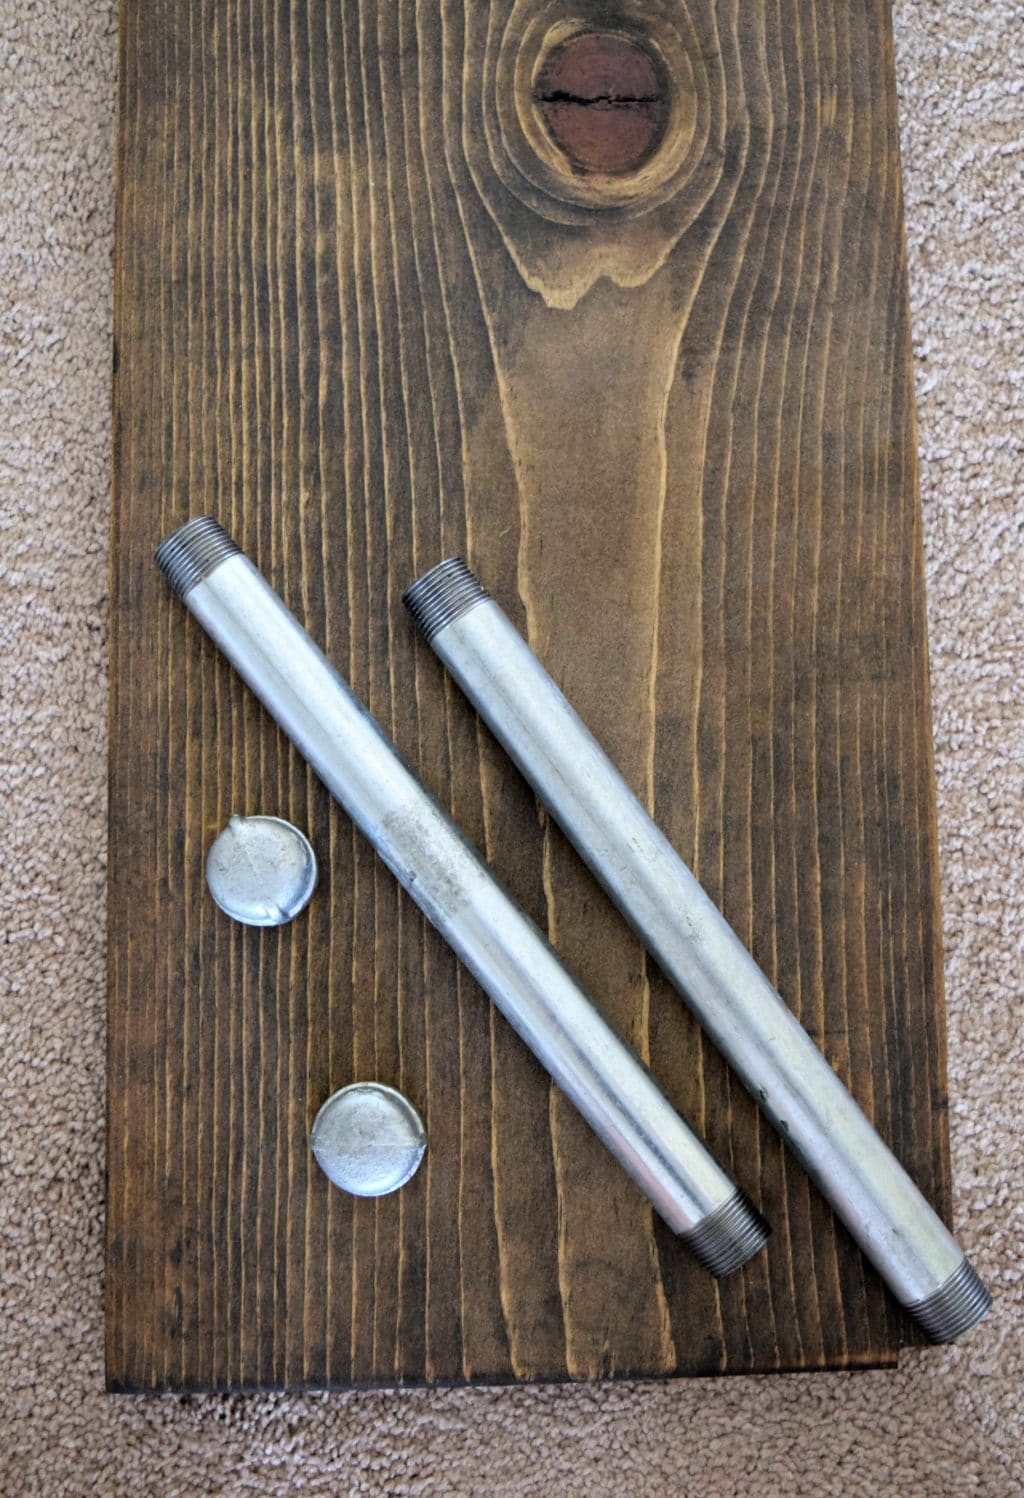
- 2- 3/4″ Metal Flanges
- 2- 3/4″ x 12″ Metal Pipe Nipples (I used the Galvanized Color)
- 2 – 3/4″ Metal Caps
You can pick up the supplies pretty easily at any Home Improvement store like Home Depot or Lowe’s. It is all located in the Plumbing –> Pipe Fitting department. Or you can even order them online. I love convenience!
Start by determining the length you’d like your shelf to be when it’s finished. For us, we made two shelves that went in-between two stock cabinets from Lowes. They were a great way to introduce the idea of industrial shelving and perk up the idea of doing laundry! Since we did not plan on doing heavy storage on these shelves, we decided to have two steel supports that are anchored on wall studs. Depending on the length of your shelf, you may want to do more supports.
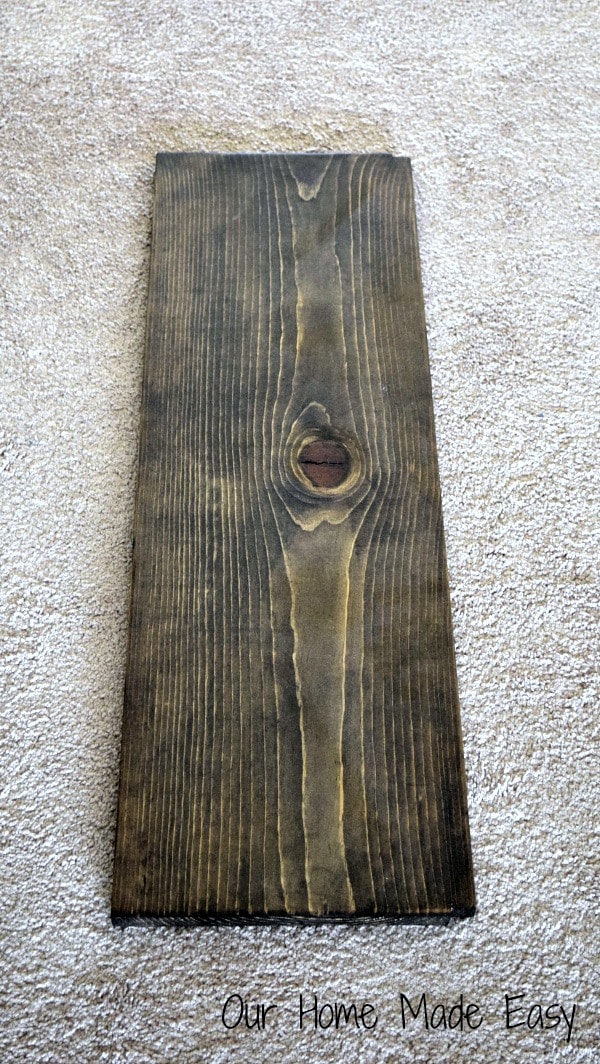
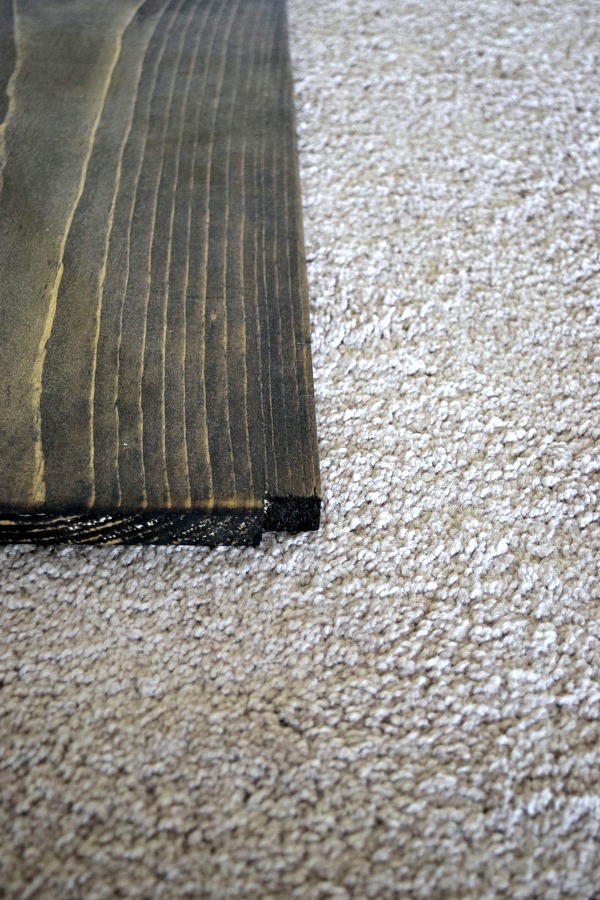
Now that you have your shelf length determined, cut the board down to size. Round off any sharp corners (probably the mom in me). And then stain the board in your choice. We used Jacobean because its one of my favorites and always on-hand. Since the shelving is hugging the cabinets, we had to notch out a small corner on the front face to accommodate the moulding of the cabinets. Like this:
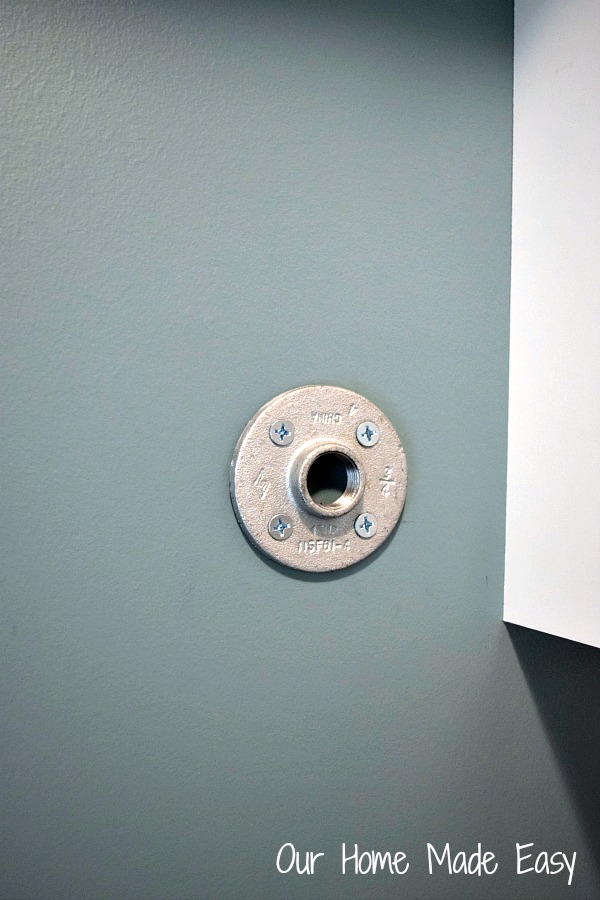
Next comes the fun part! Mark the location of your flanges. Ideally you’ll want them on a wall stud. Once you have the first one marked, pencil it’s place and level up the remaining flanges. This laser level has been a life saver over the past 10 years. We analyze & analyze more what is level around the house! Drill in the flanges.
The hardest part is done!!! Yay! I chose the galvanized finish because I wanted to brighten up the space. It’s a small laundry room at the end of the second floor hallway. While I love the look of bronze or black, I thought it we be too dark in such a small space (with bold paint).
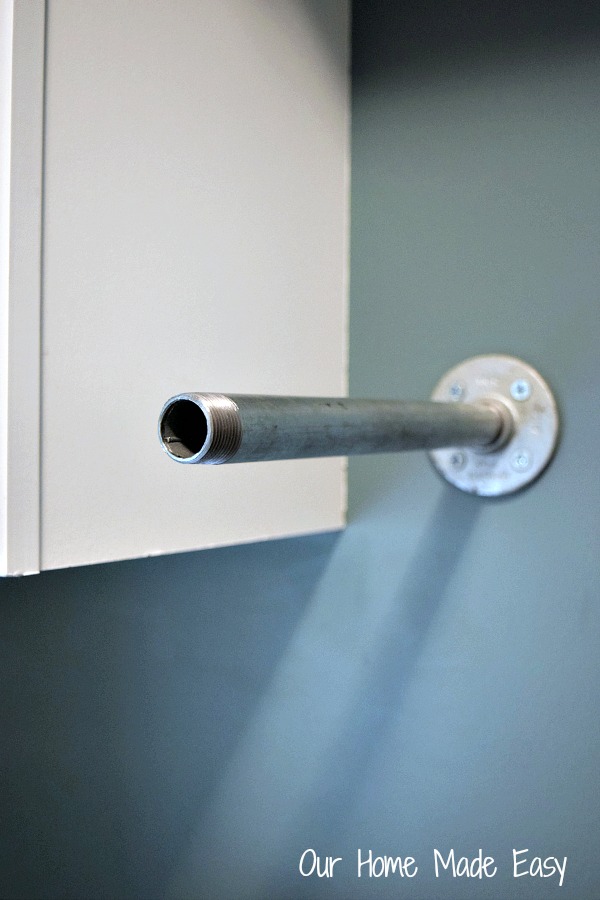
Once the flanges are installed, screw in your metal nipples. The great part about the project is that it all fits really well together. The nipples are 12″ long and the board is 11.5″ wide. Once the cap goes over the nipple, it becomes a perfectly fitting system.
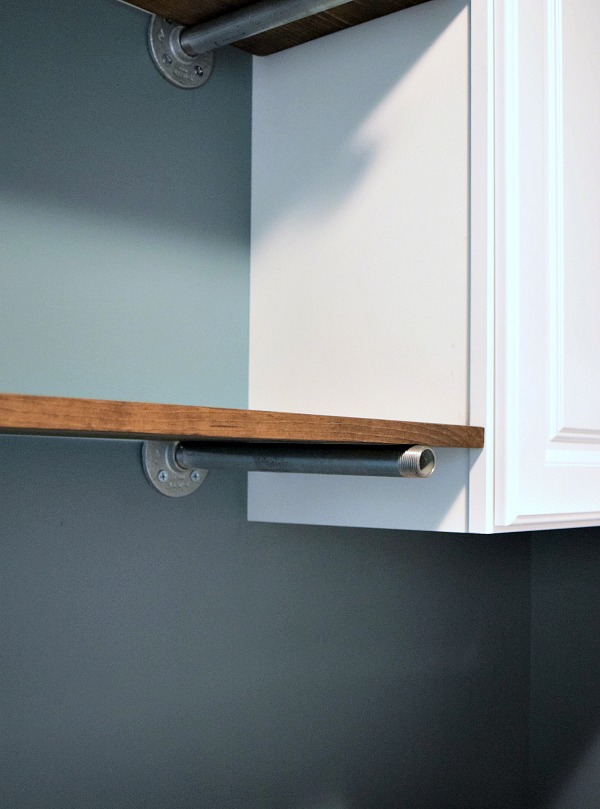
Now things are really coming along. Once all the nipples are hand screwed into the flanges, carefully place your board across the top.
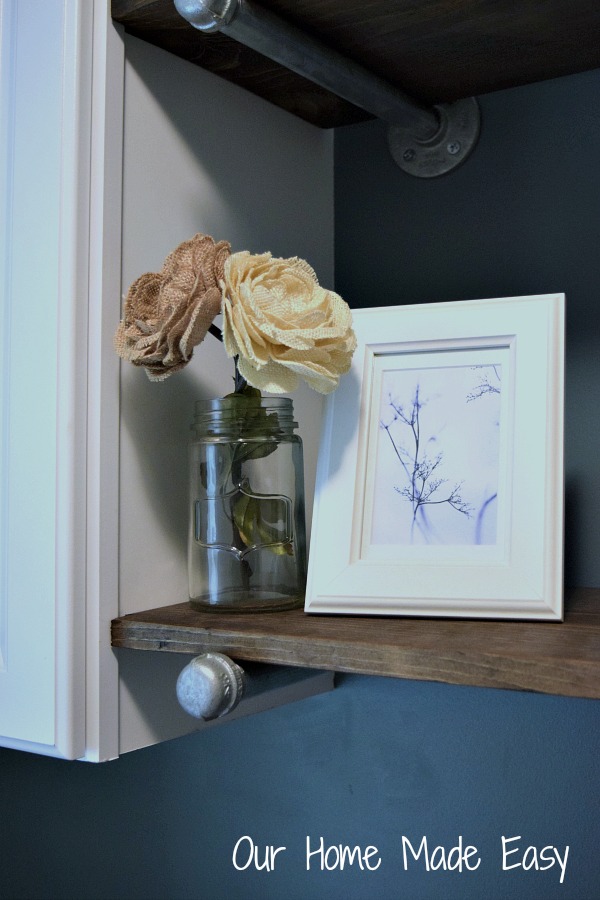
You can see the moulding that caused the need for the notch in the board. For the last step, screw on the caps by hand. Screw on until you have a secure fit on the board.
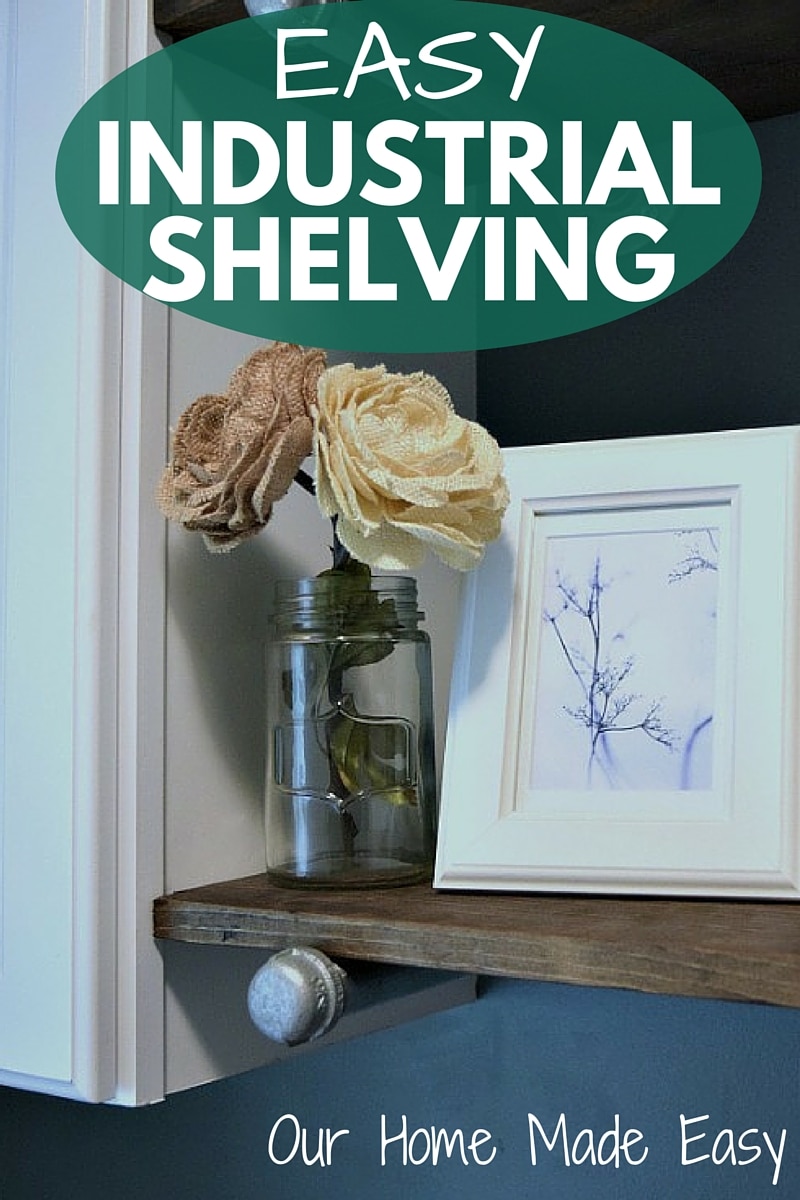
And for a super affordable project, you can make some adorable custom industrial shelving!

This is neat and beautiful ♥
summerdaisy.net
Thank you, Summer!