Fabric Pumpkins On Wood Board
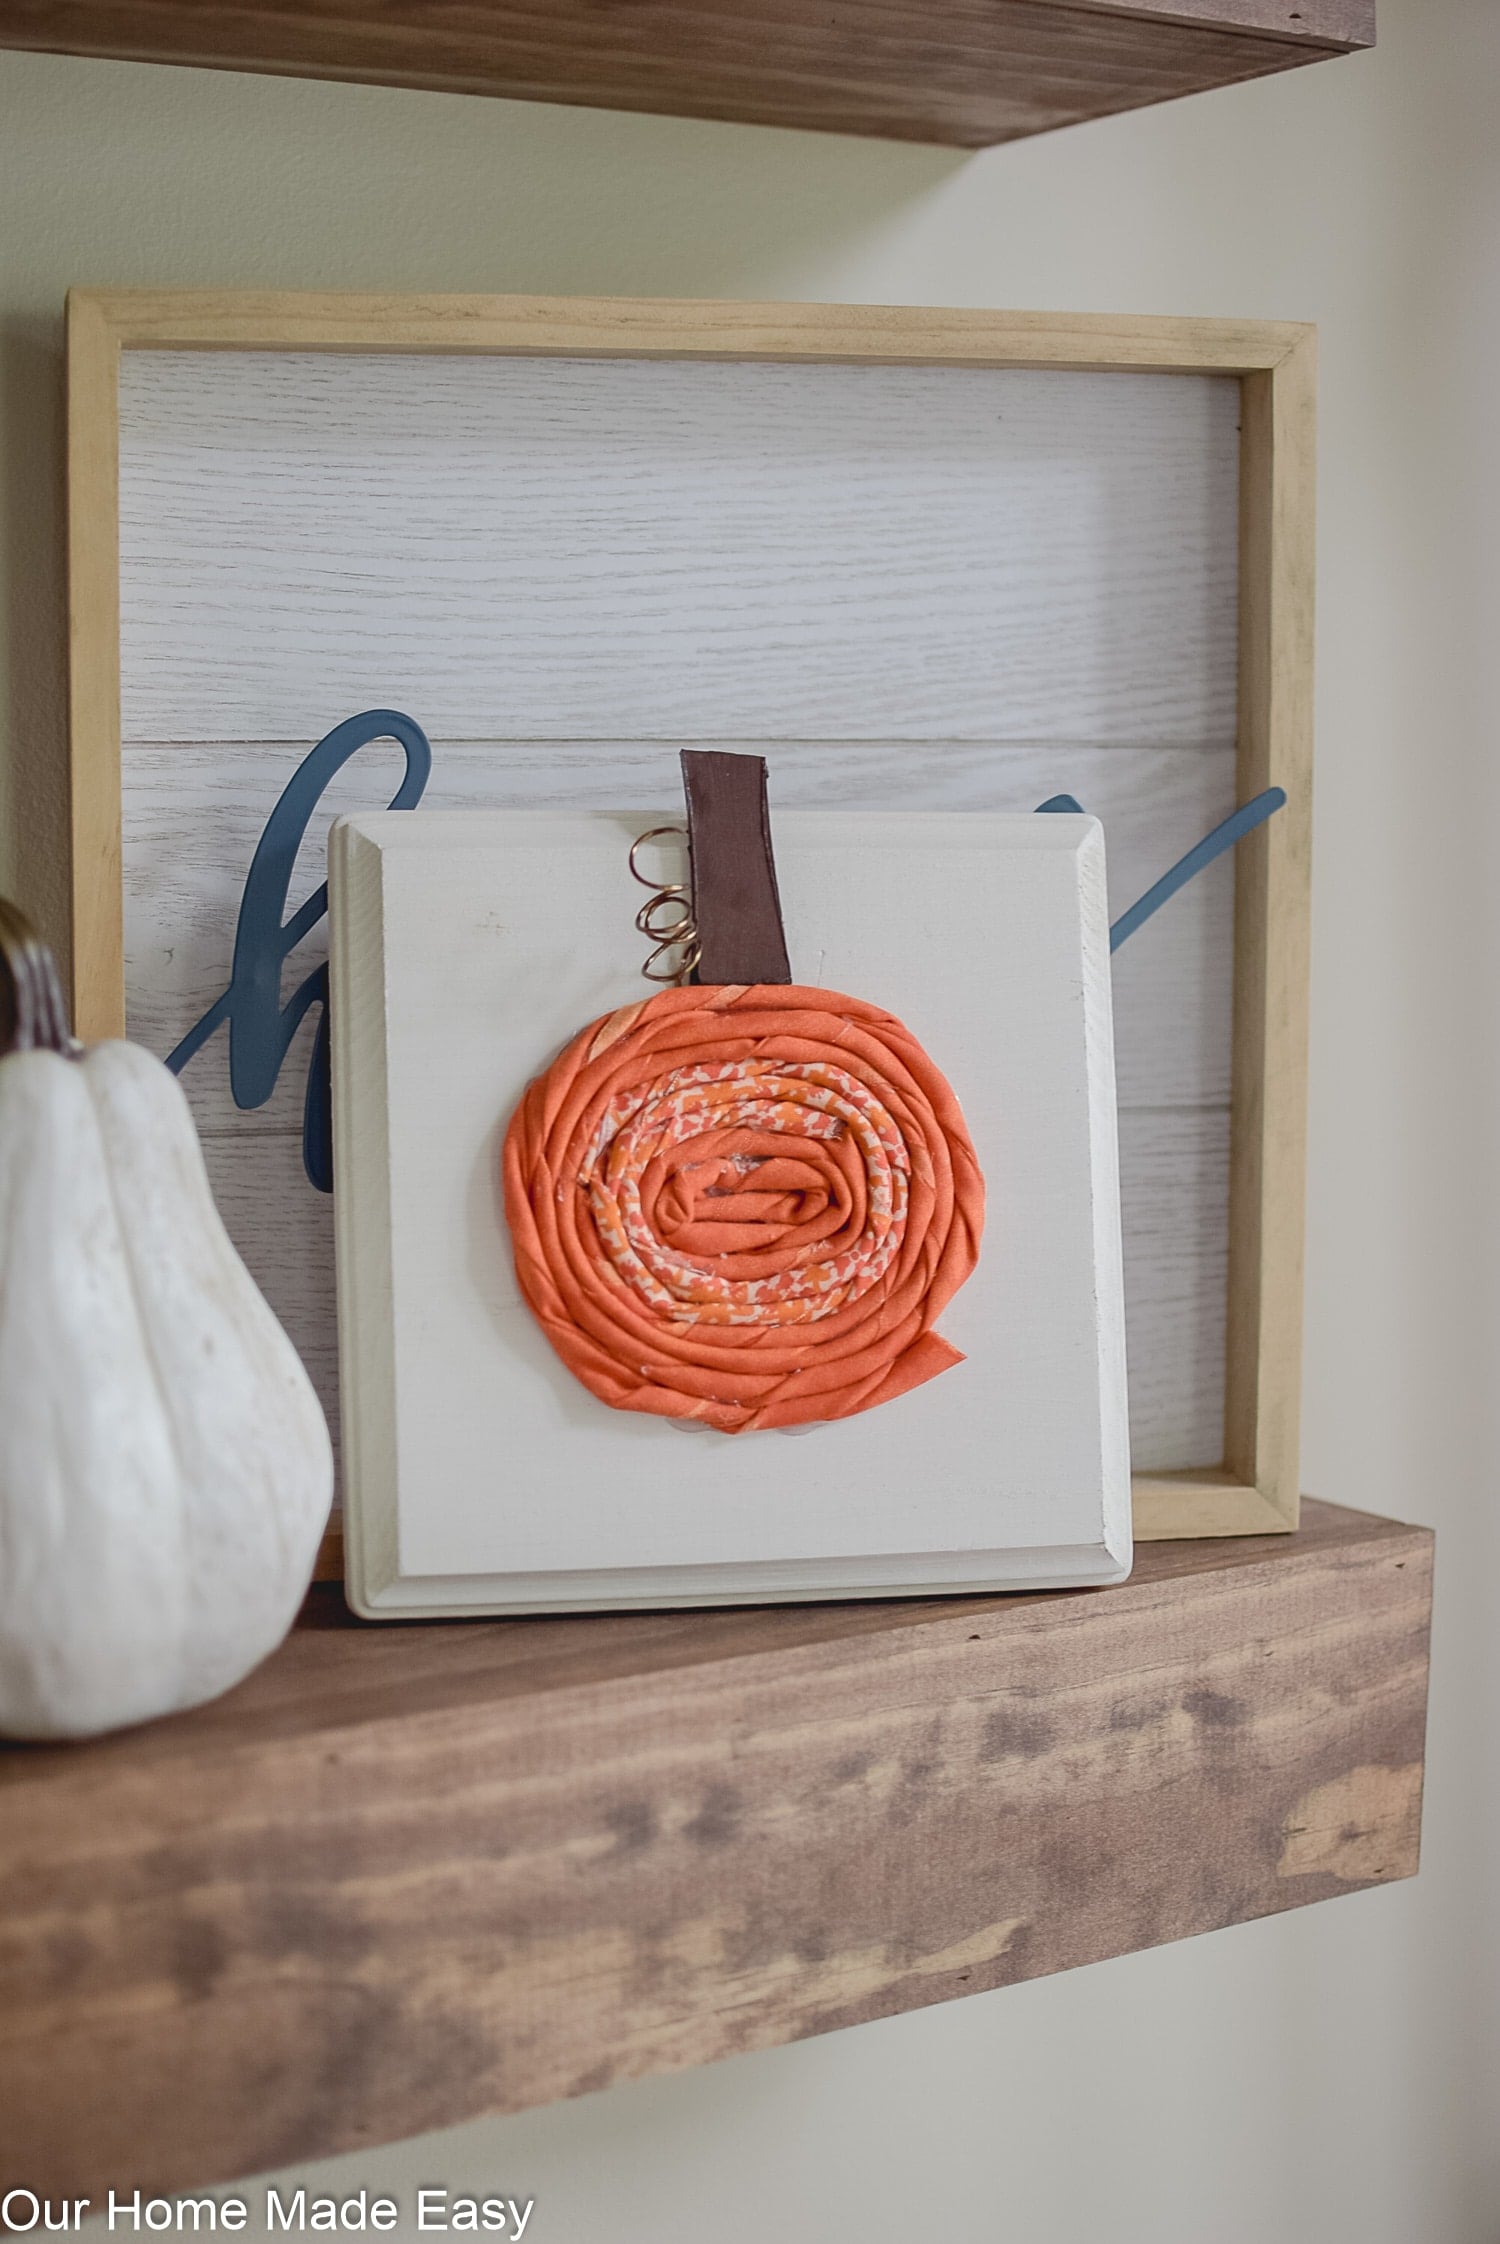
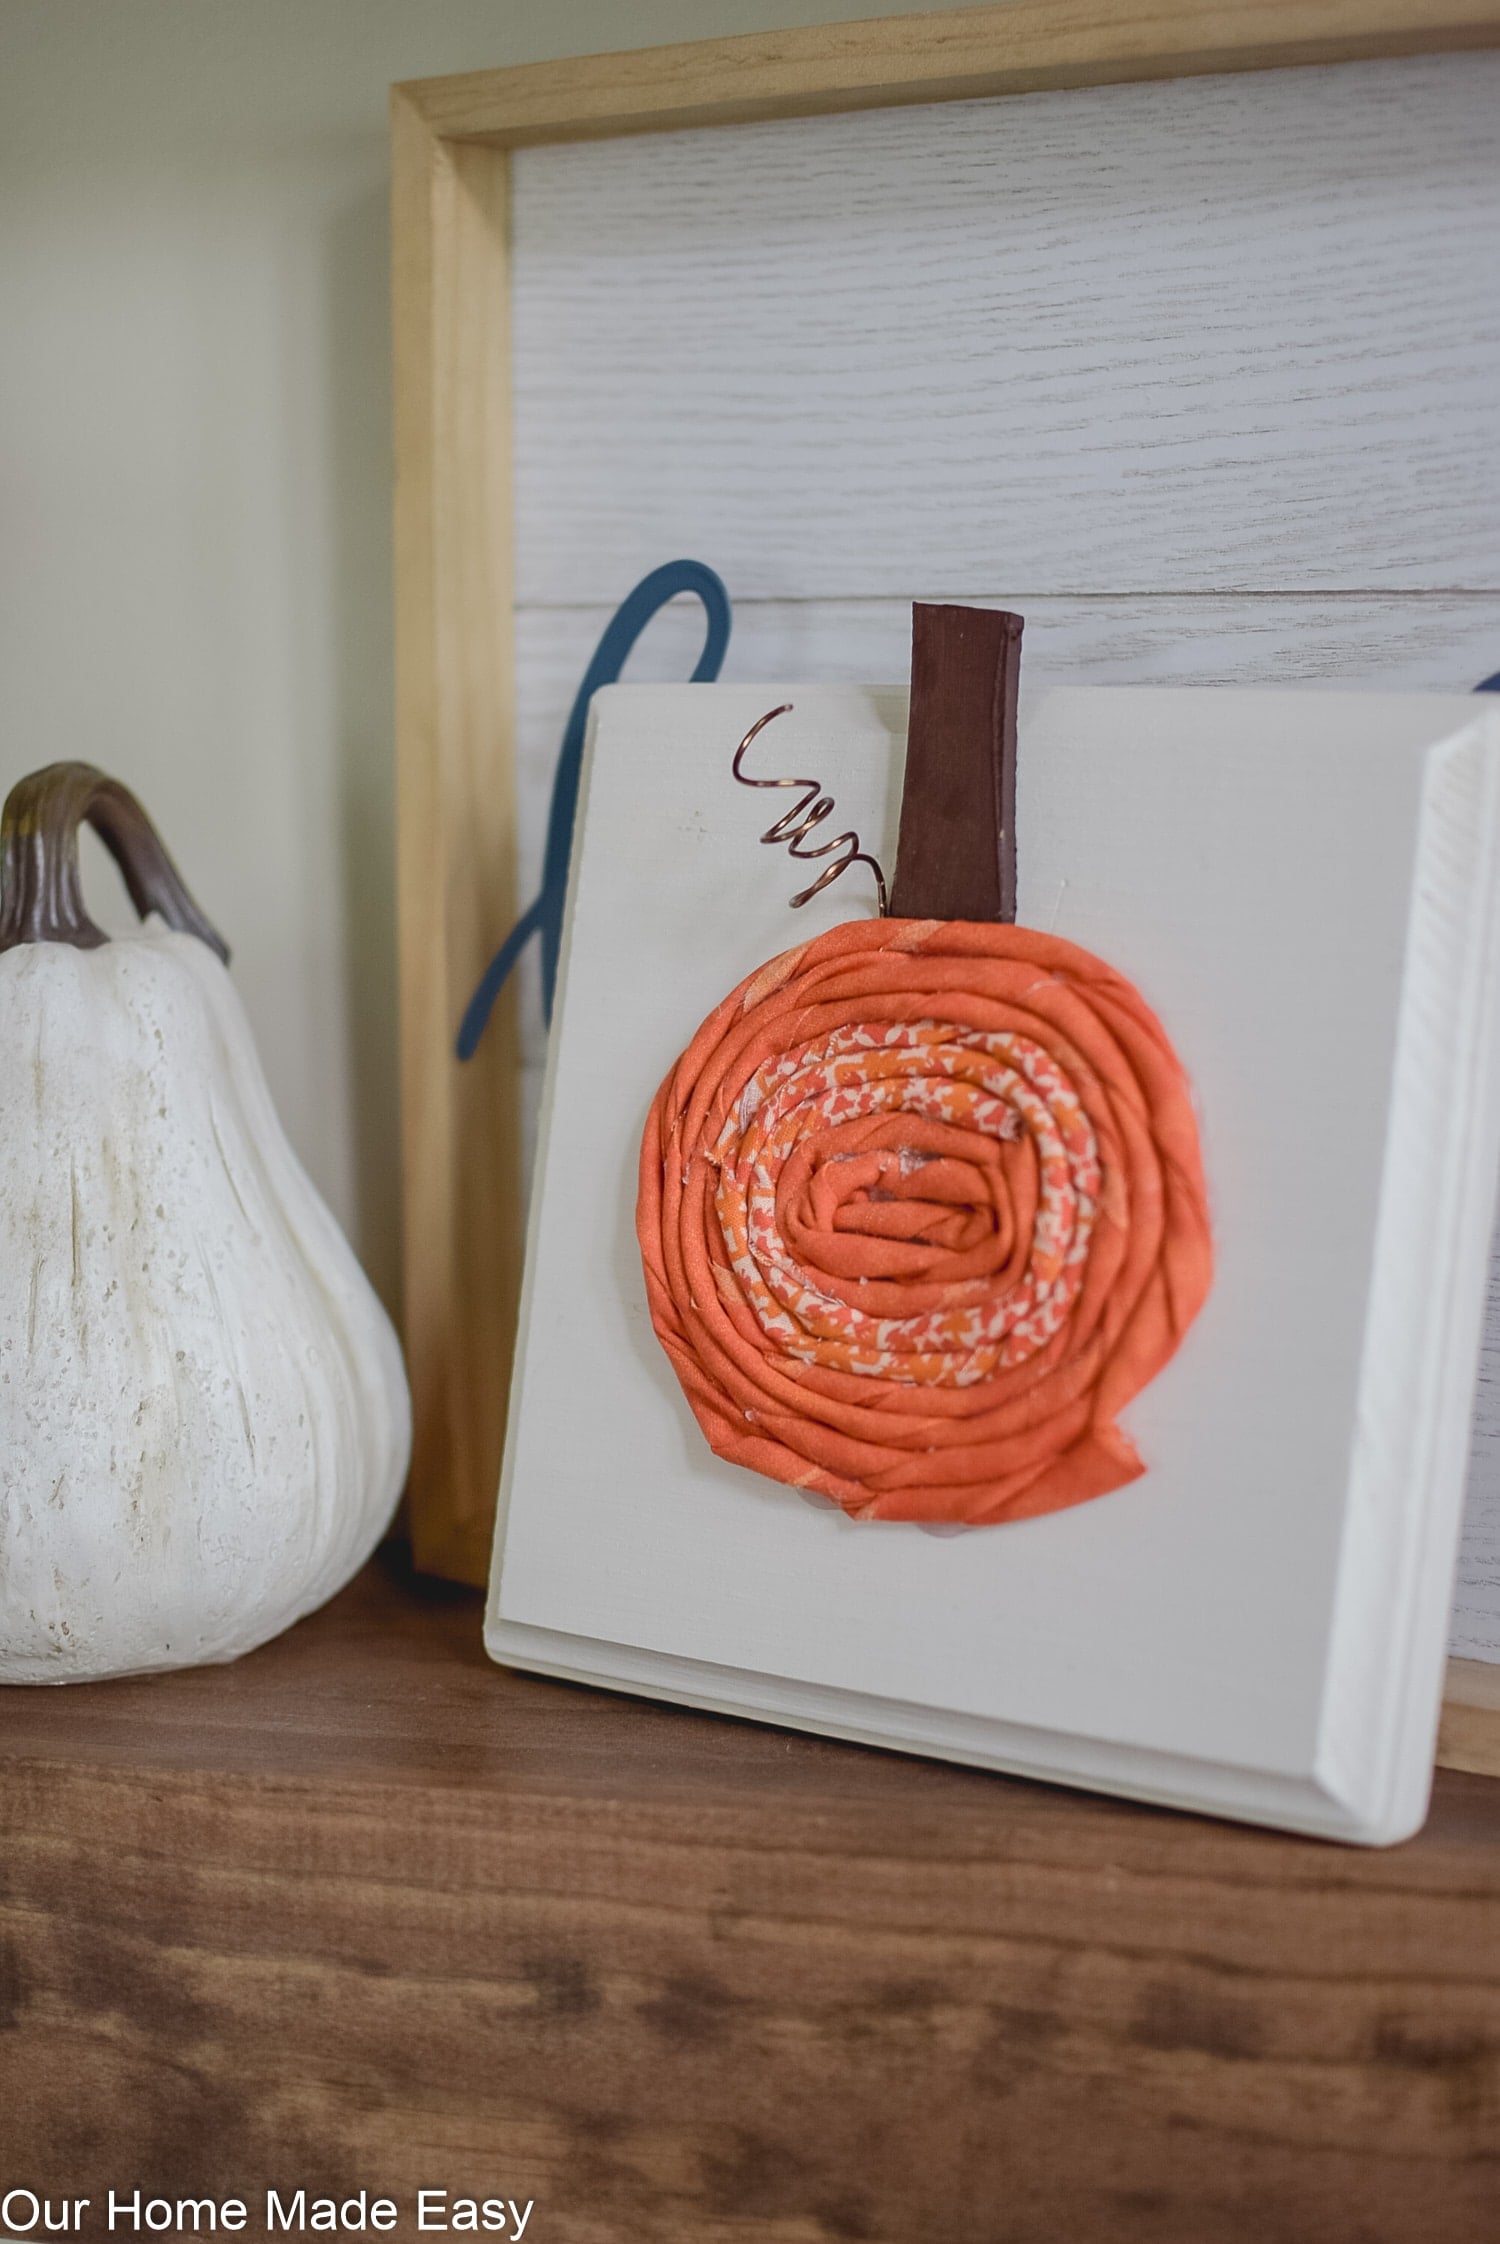
These fabric pumpkins are a fun way to use fabric that requires zero sewing! Simply twist and glue for a cute decor that is super easy to make!
PIN THIS POST FOR LATER READING! Catch it later when you are ready to craft!
(Affiliate links are used in this post. Please see my Disclaimer for more information)
I know that I haven’t posted any sewing tutorials lately. In reality, I usually only sew when I absolutely need something that I know I can make a whole lot cheaper than buy outright. In the works are a new set of curtain panels for our living room, but I’m not ready quite yet to start them!
In the meantime, I wanted to share a fun craft for Fall that uses fabric (oh how I’ve missed you!) but doesn’t require any sewing, just a hot glue gun!
- Related: Simple Wine Cork Pumpkins
How to Make DIY Fabric Pumpkins
These little pumpkins are the cutest way to craft and decorate your home! Choose your fabric choices based on your own tastes.
Supplies Needed for Fabric Pumpkins
- Wood Board (We used this one)
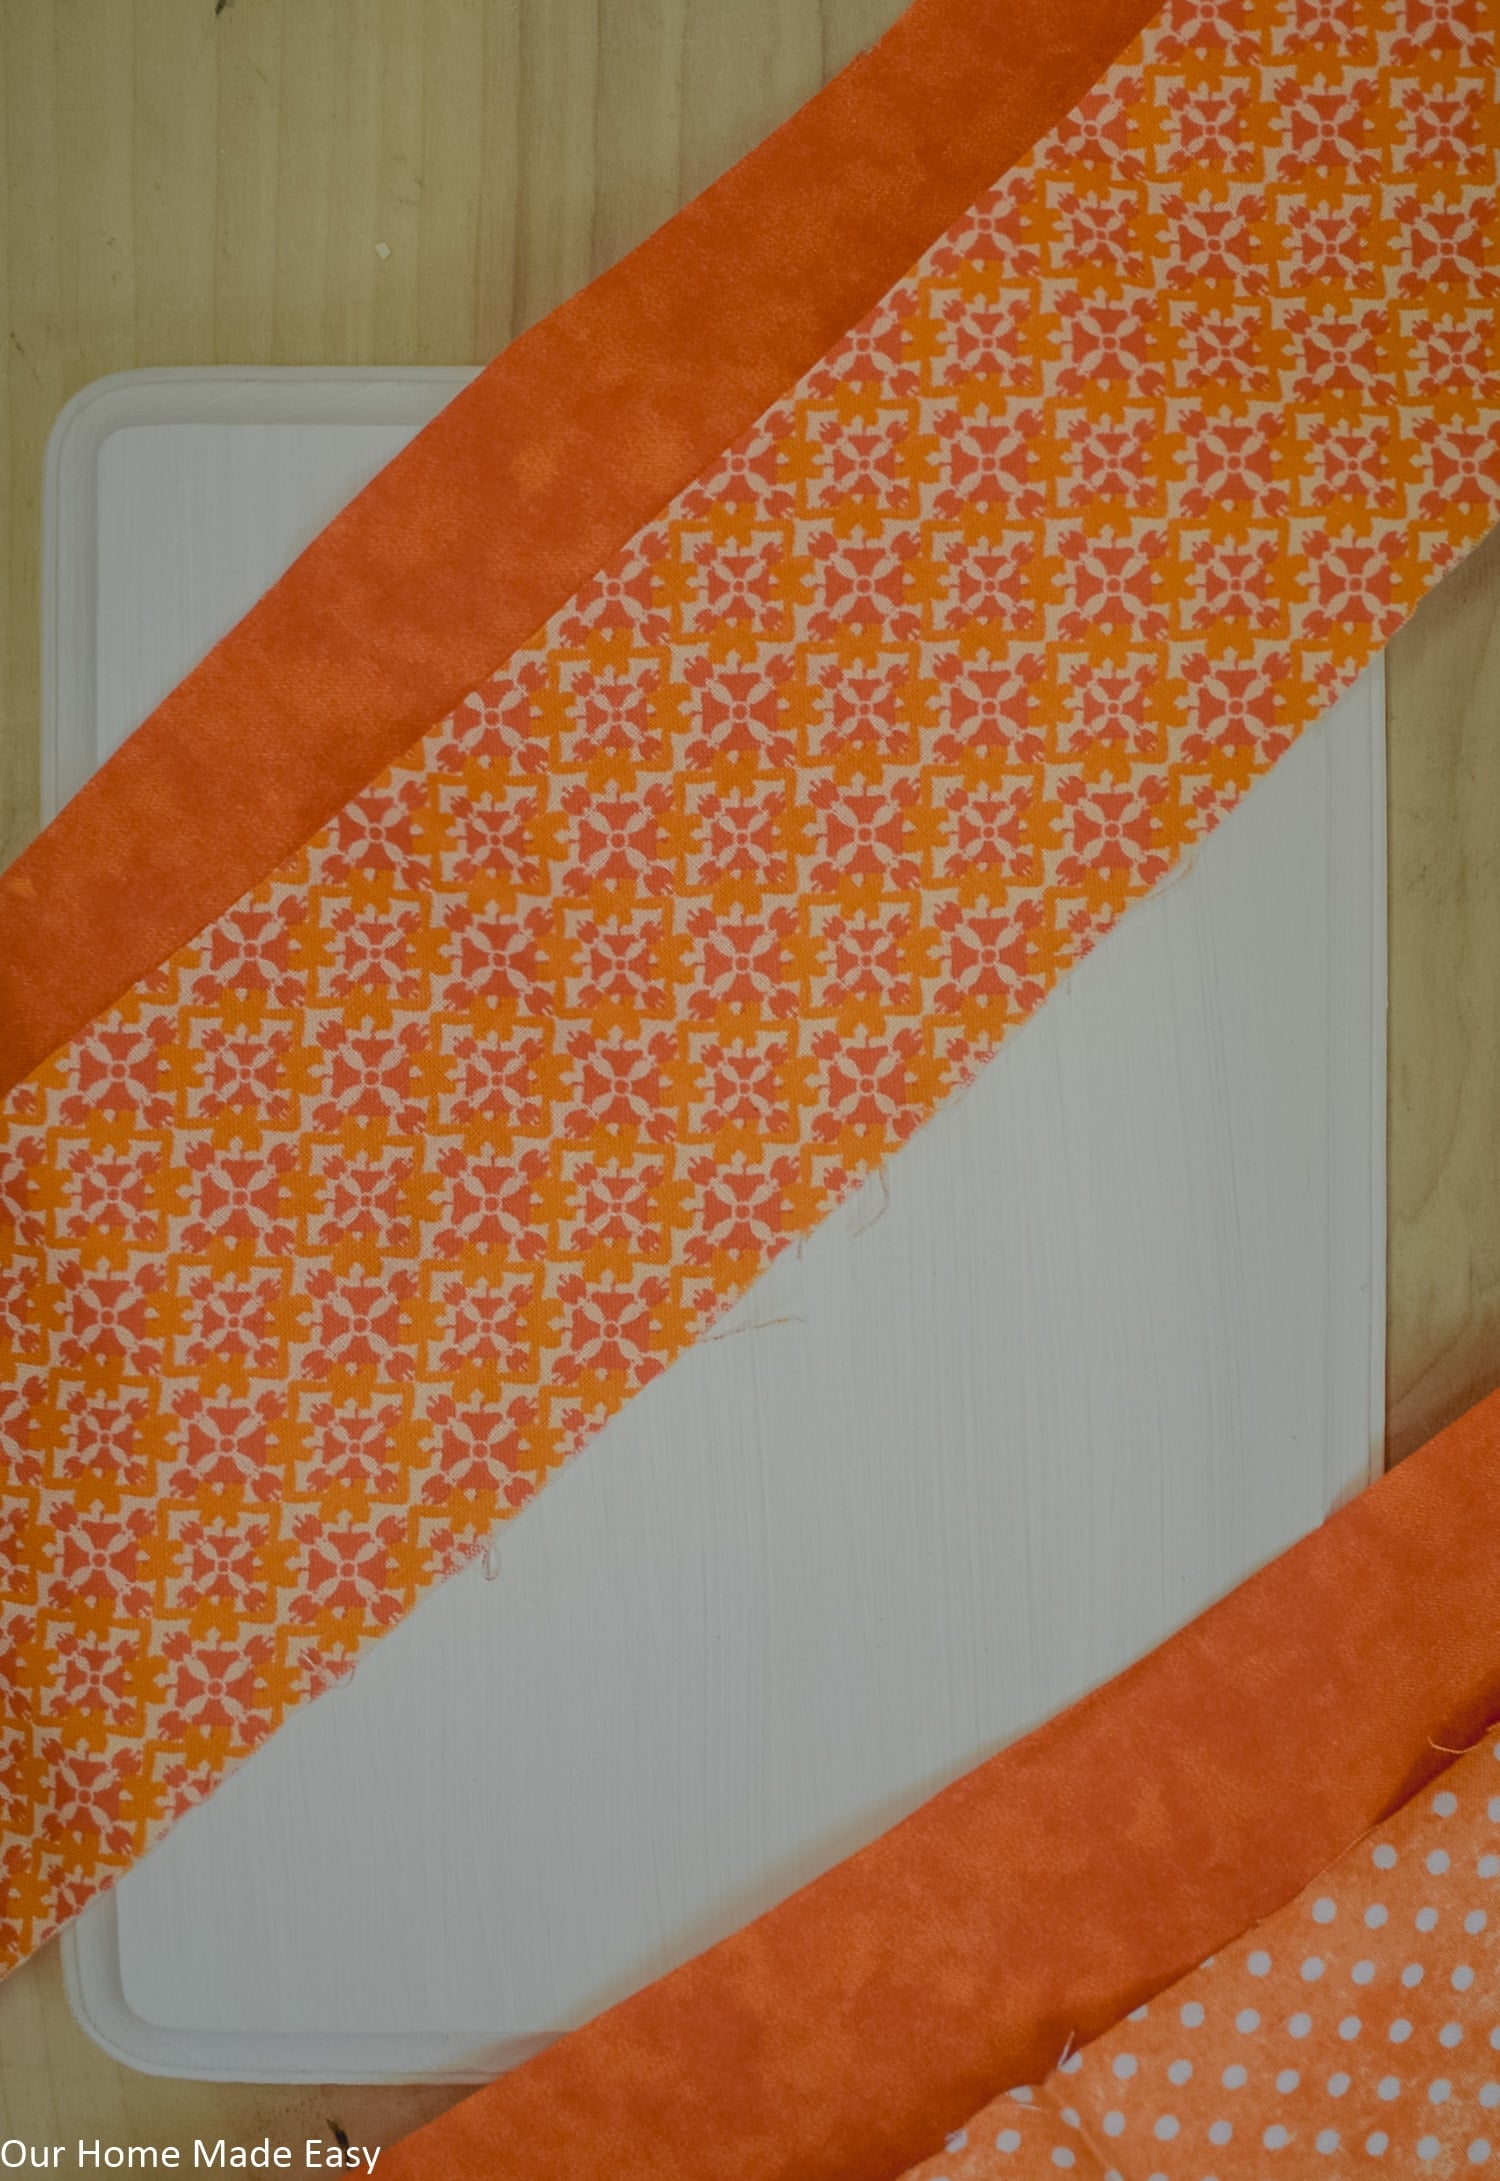
- ¼ Yard Fabric in 2 Different Colors
- Craft Paint
- Hot Glue
- Wood (or small sturdy board)
- Thin Wire
Paint Your Board
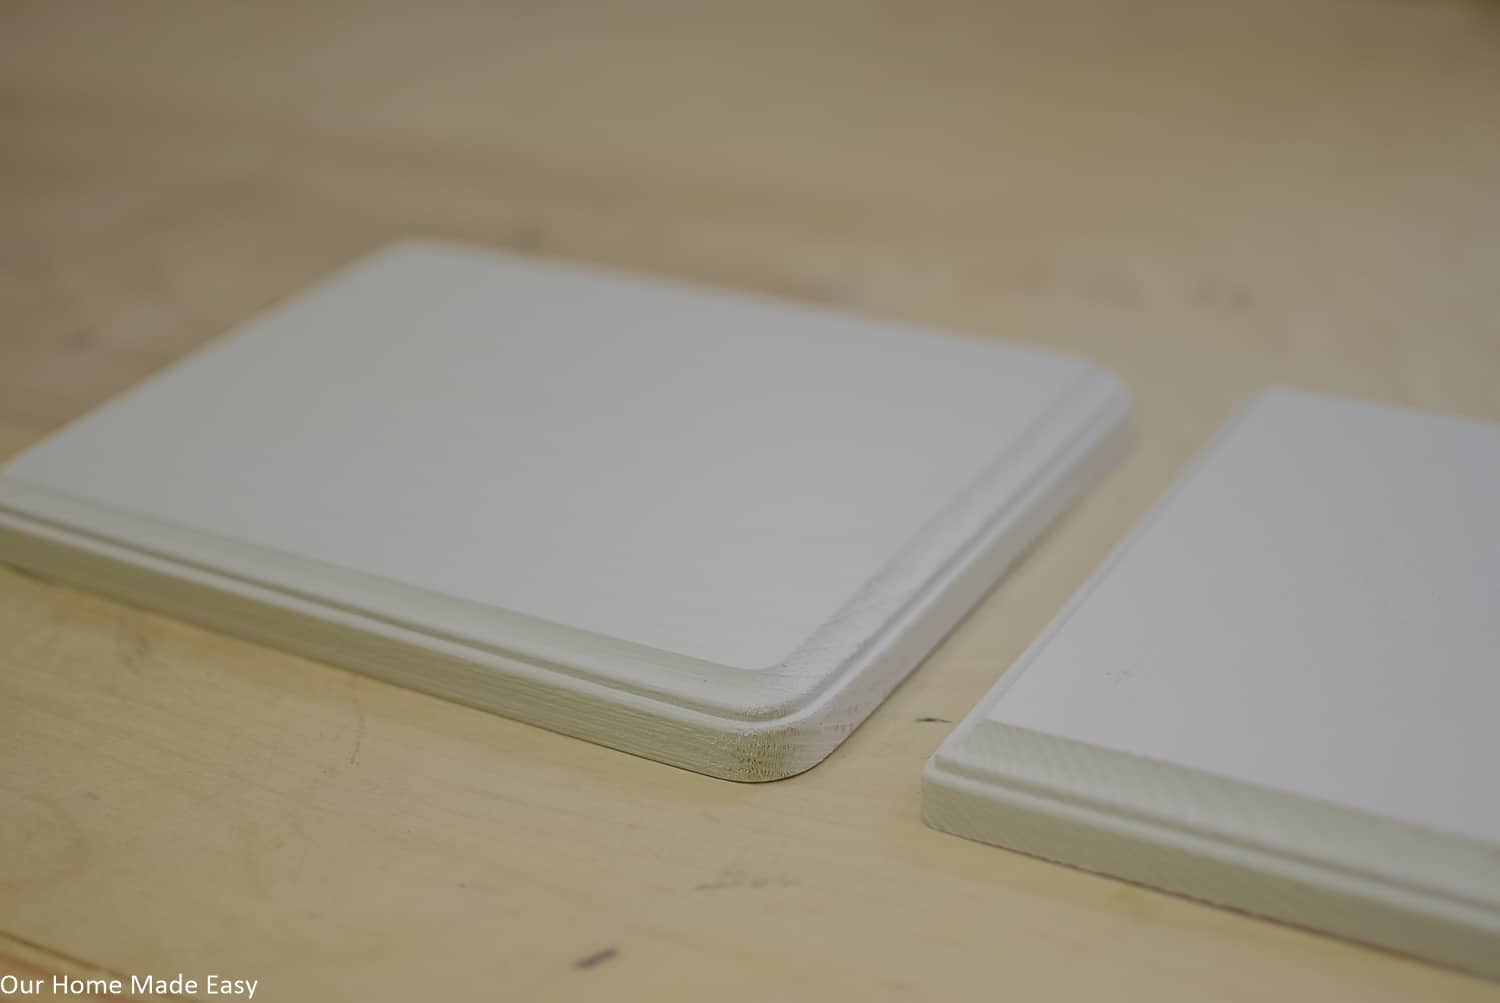
Using craft paint, coat your wood plaque/board with 2 coats of paint. I chose a light color so that my orange pumpkin would ‘pop’ against it. Let it dry.
- Related: 15 of the BEST 1-Hour Fall Crafts
Twist Your Pumpkin Fabric
Cut your fabric about 2.5-3 inches wide and 42” long (the full width of the bolt). Take a piece of painter’s tape or masking tape and tape one end of the fabric to your table.
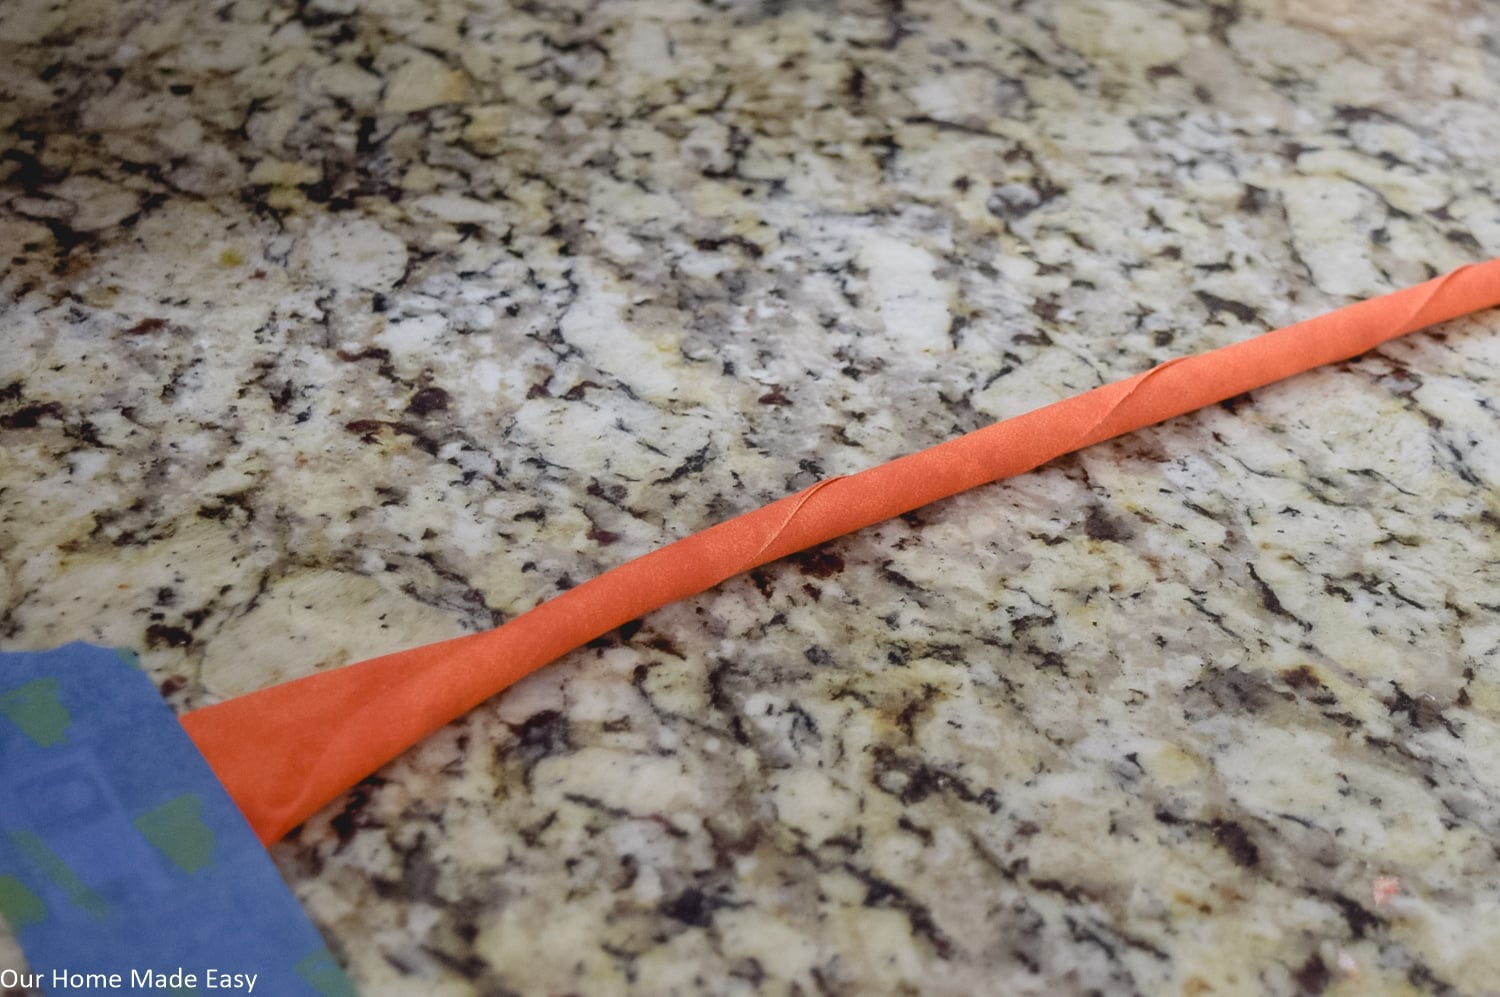
Slowly twist your fabric to create the rolls. Repeat for the entire length of the fabric.
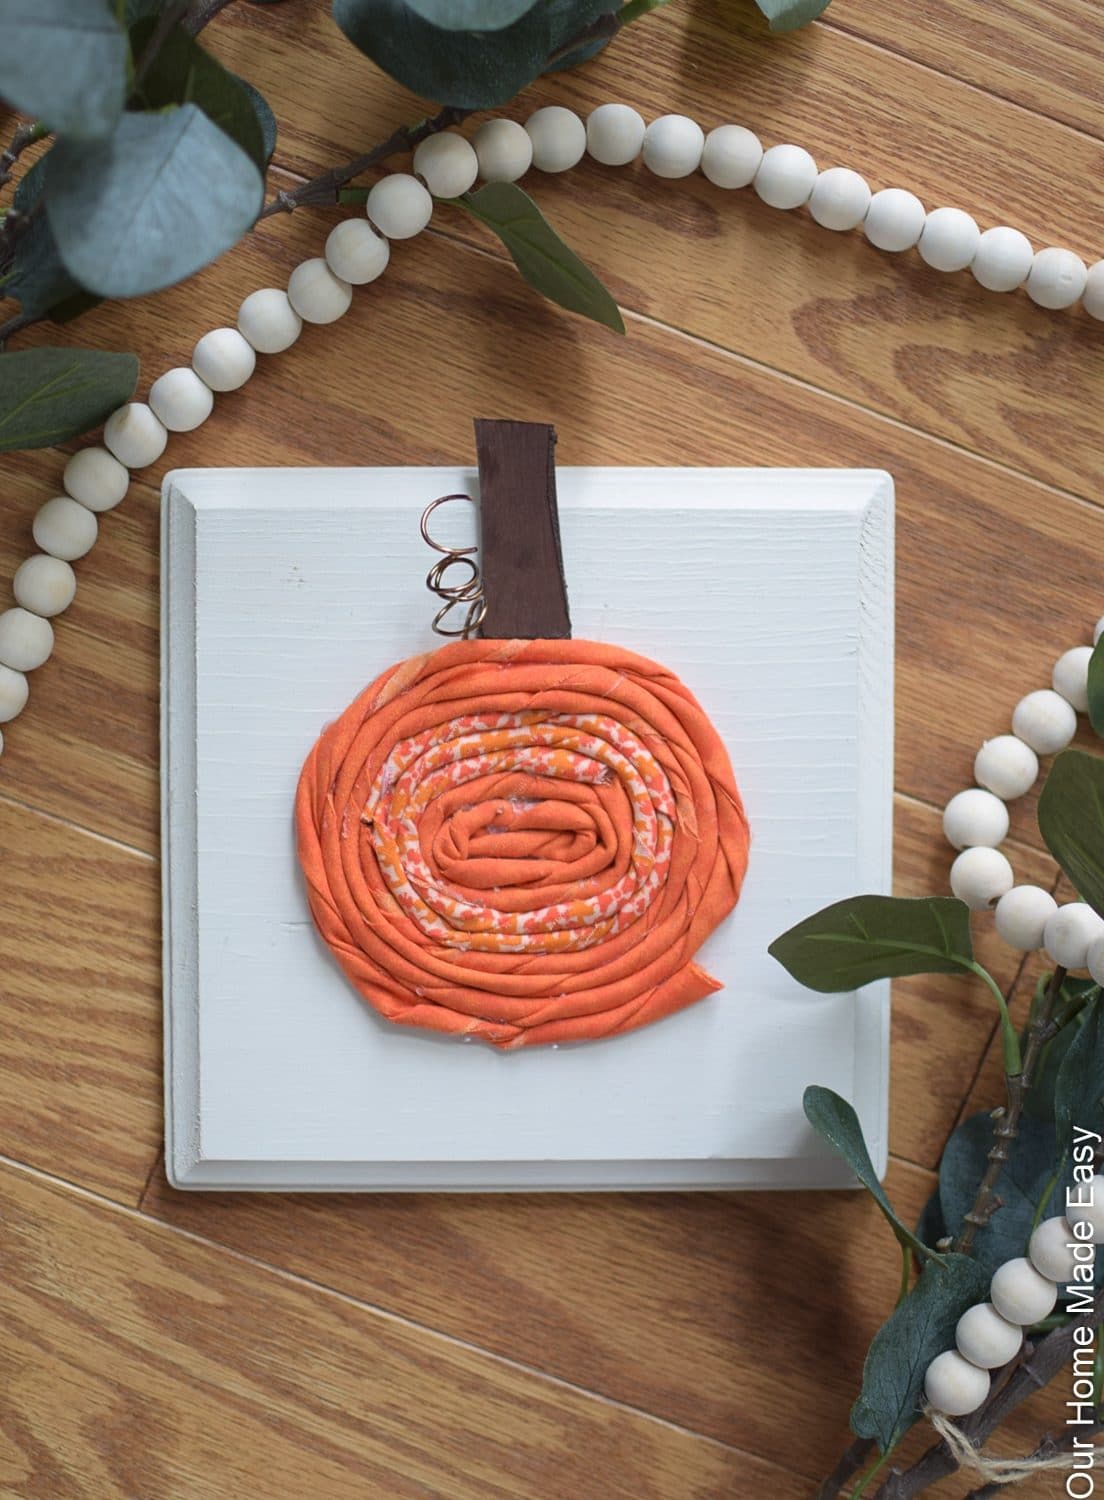
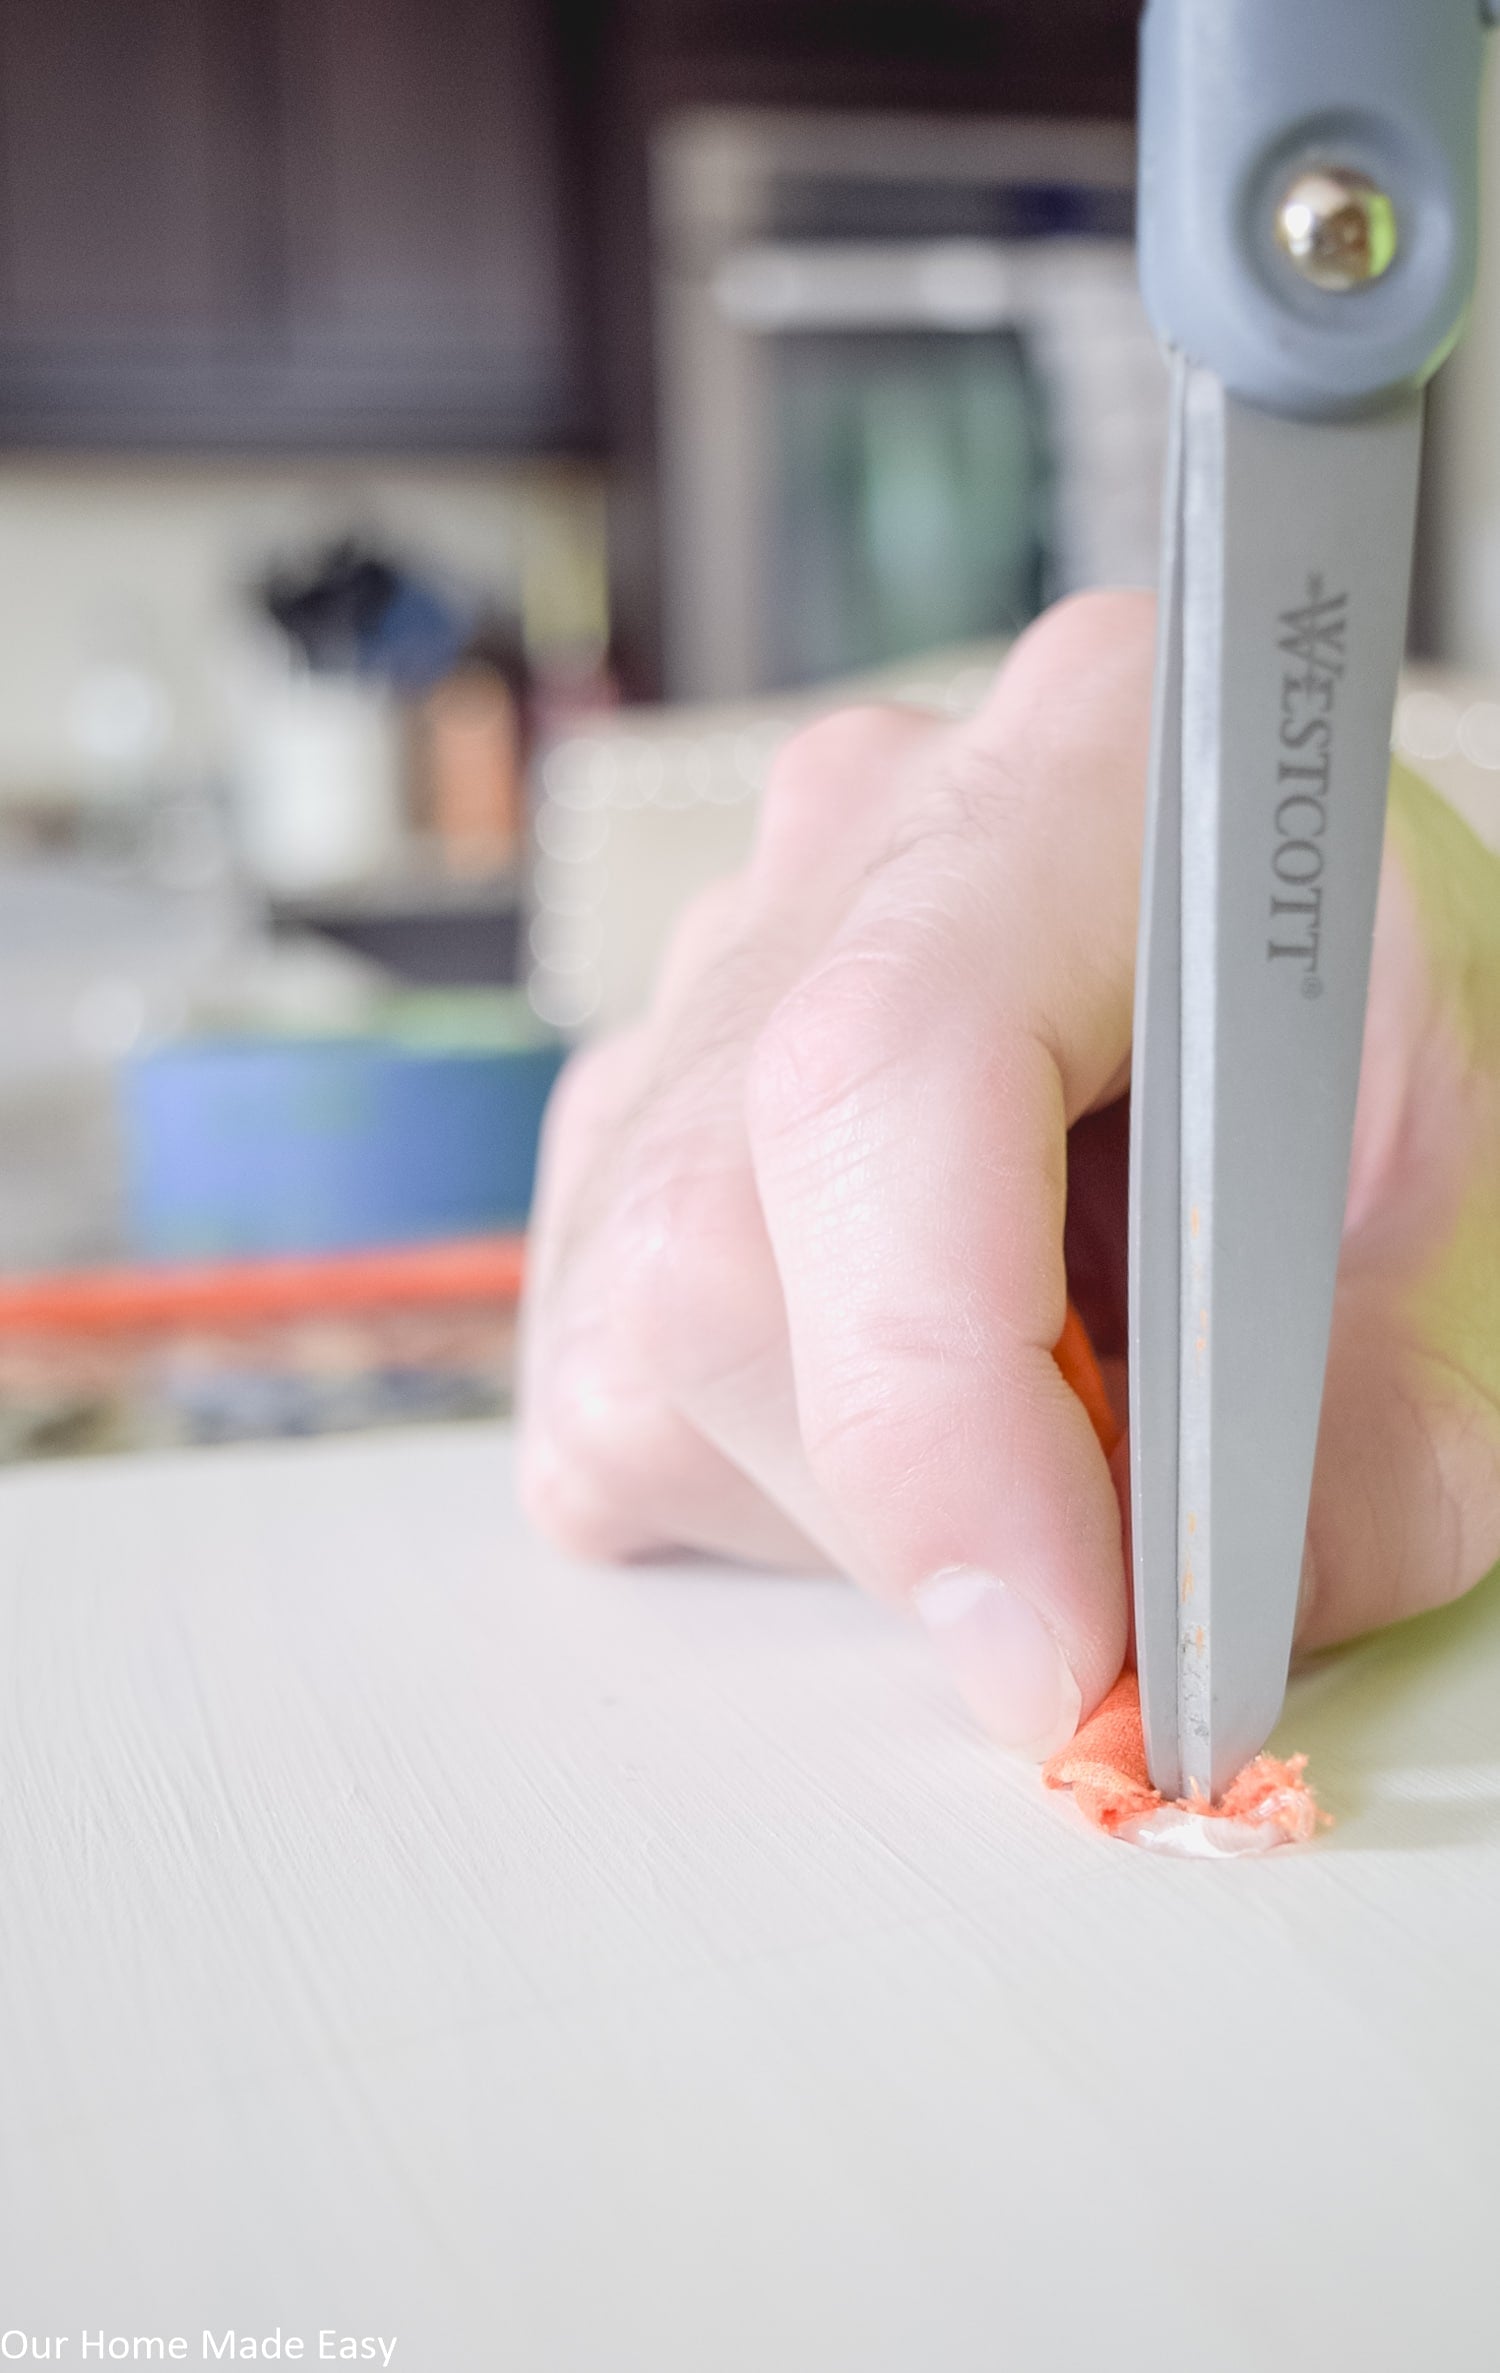
Starting in the center of your board, hot glue the open (non-taped) end of your fabric to wood board. Twist the fabric in a circle. Once you have 2-3 rotations, trim the fabric and hot glue the end to the wood board.
Repeat for the second fabric. Complete your pumpkin by gluing 1-2 rotations of your first fabric and you’ve finished your pumpkin!
Making the Stem
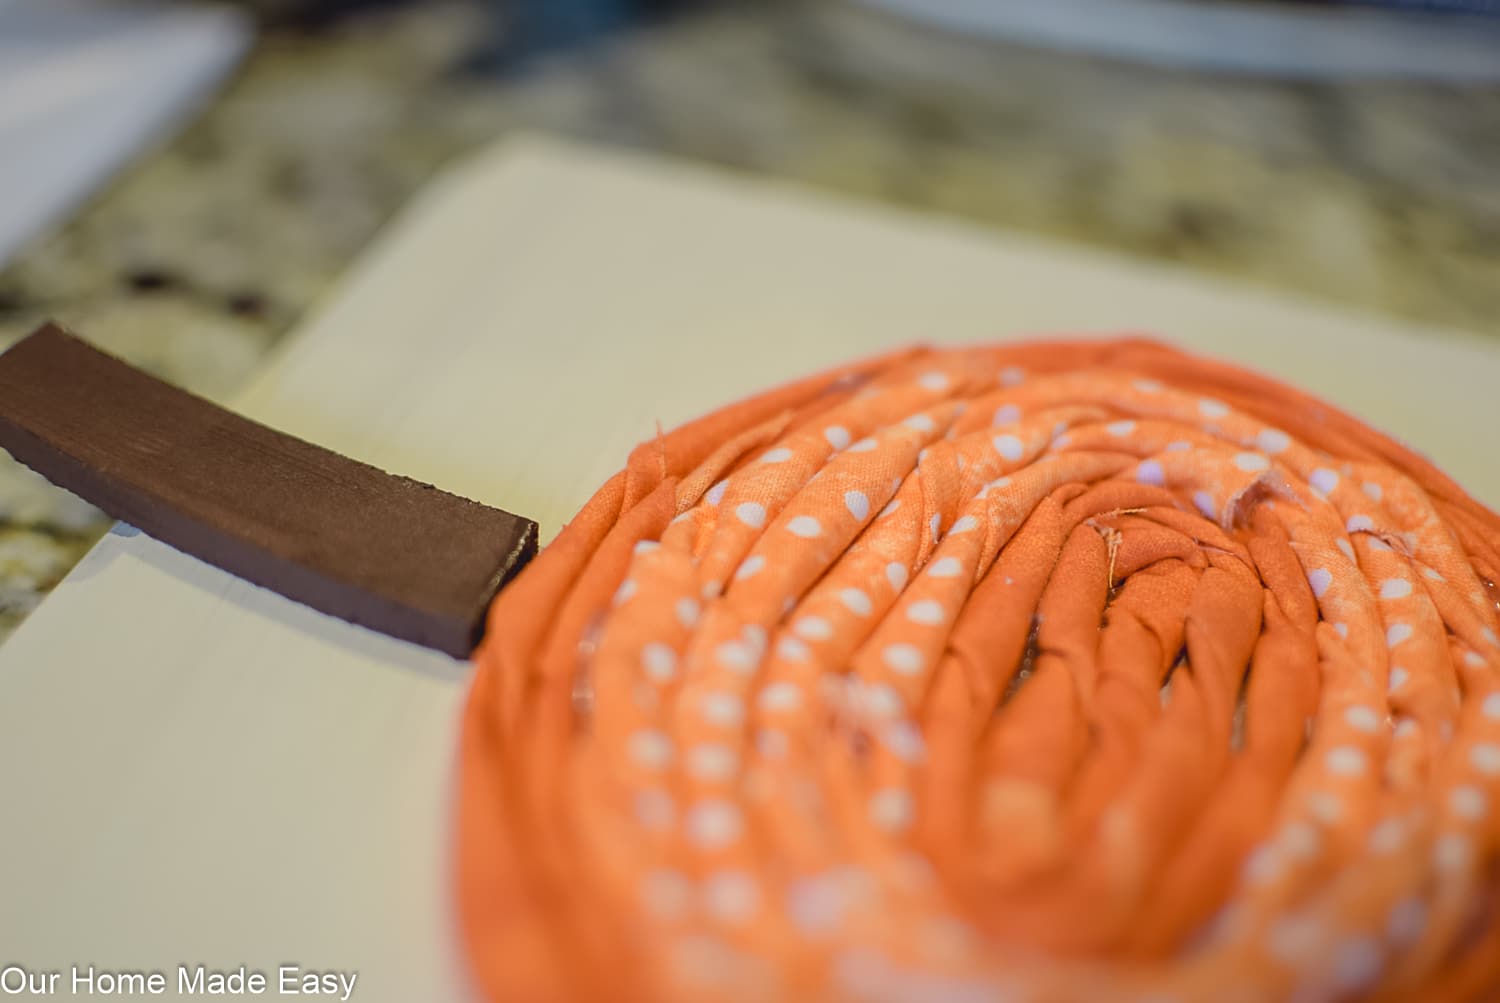
We used a leftover piece of MDF, but a sturdy material will work. Cut out a stem shape. Paint it brown with craft paint. Allow to Dry. Hot glue the stem on top of your fabric pumpkin.
Adding the Wire
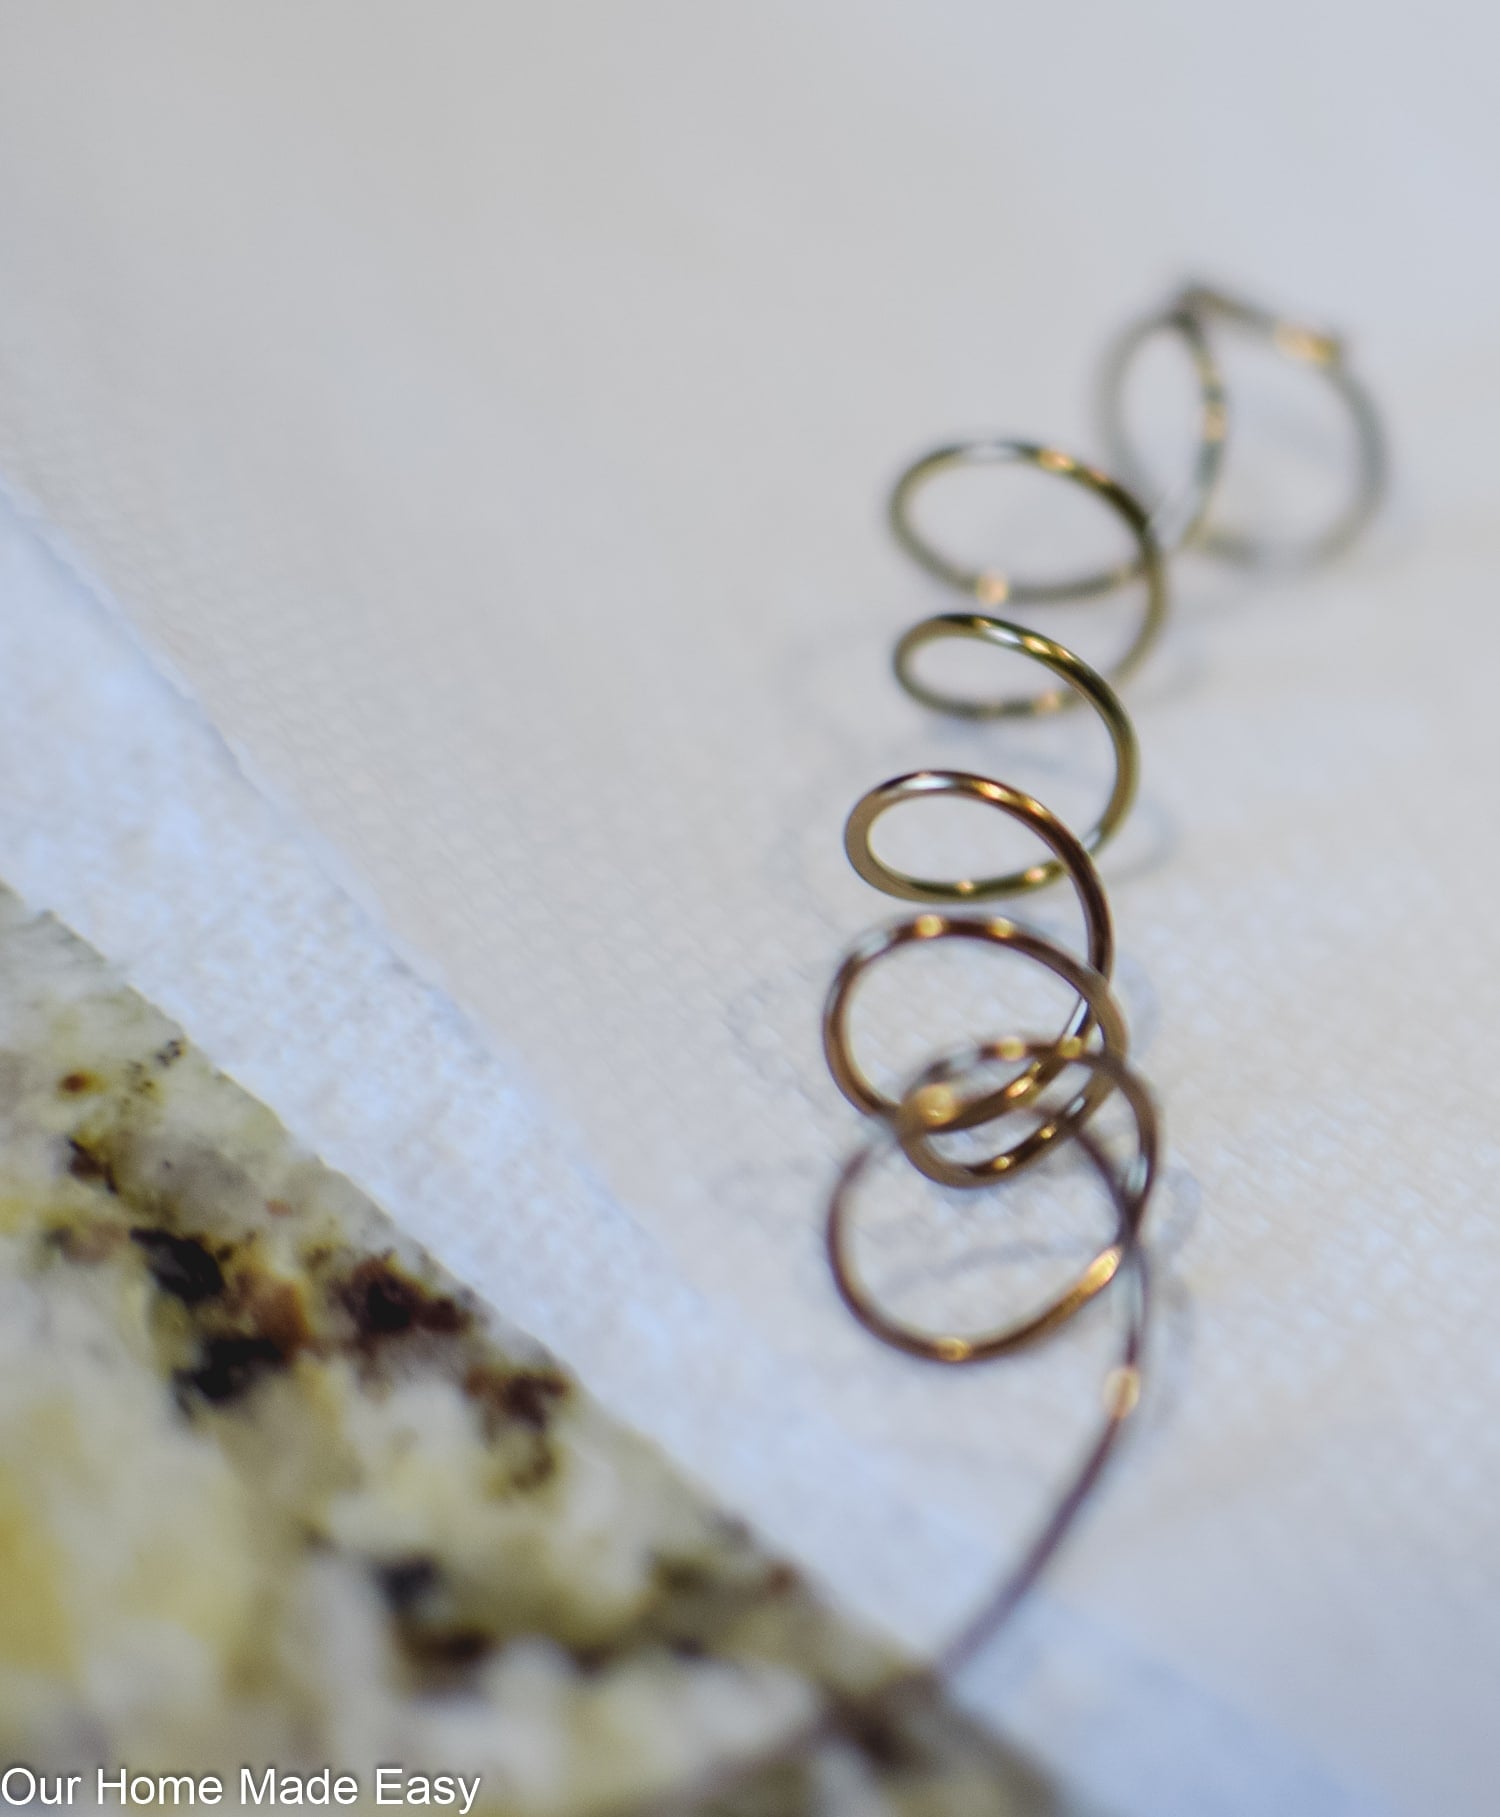
Using thin wire, twist it in a coil with pliers. Snip it to size. Tuck one end into the fabric and hot glue into place.
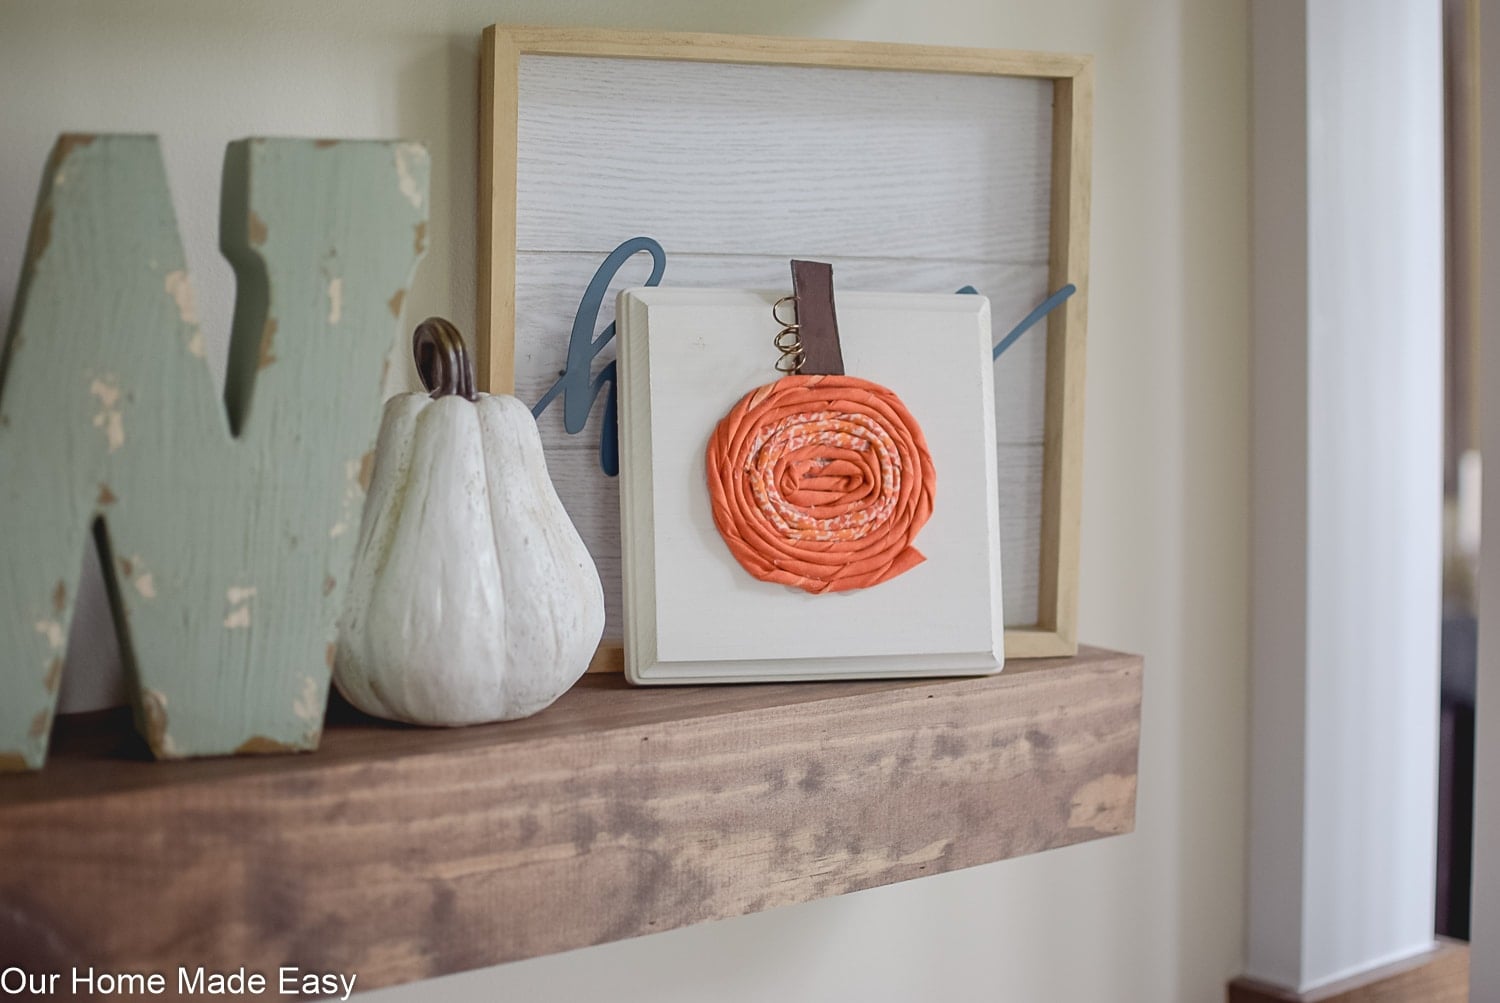
If you wanted the wood boards to stand on their own, you could glue a little wood dowel on the back. Right now, mine are officially “leaners.” I like the option of being able to tuck them anywhere in the house.
These fun little pumpkins are a great way to add decor anywhere in the house. I think they’ll look great in your home too!
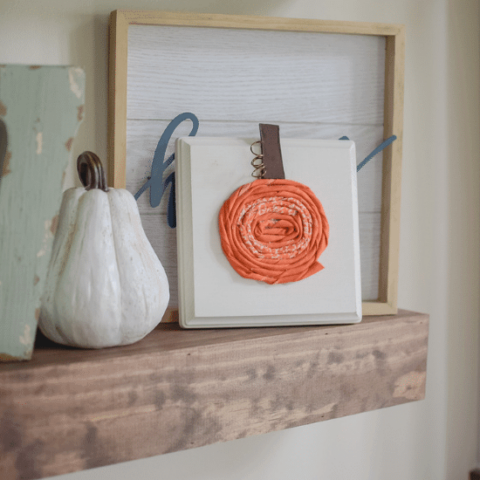
Fabric Pumpkins On Wood Board
These adorable DIY fabric pumpkins are a simple craft that adds a fun, rustic touch to your Fall home decor.
Materials
- Wood Board (We used this one)
- ¼ Yard Fabric in 2 Different Colors
- Craft Paint
- Hot Glue
- Wood (or small sturdy board)
- Thin Wire
Instructions
Paint Your Board
Using craft paint, coat your wood plaque/board with 2 coats of paint. I chose a light color so that my orange pumpkin would ‘pop’ against it. Let it dry.
Twist Your Pumpkin Fabric
Cut your fabric about 2.5-3 inches wide and 42” long (the full width of the bolt). Take a piece of painter’s tape or masking tape and tape one end of the fabric to your table.
Slowly twist your fabric to create the rolls. Repeat for the entire length of the fabric.
Starting in the center of your board, hot glue the open (non-taped) end of your fabric to wood board. Twist the fabric in a circle. Once you have 2-3 rotations, trim the fabric and hot glue the end to the wood board.
Repeat for the second fabric. Complete your pumpkin by gluing 1-2 rotations of your first fabric and you’ve finished your pumpkin!
Making the Stem
We used a leftover piece of MDF, but a sturdy material will work. Cut out a stem shape. Paint it brown with craft paint. Allow to Dry. Hot glue the stem on top of your fabric pumpkin.
Adding the Wire
Using thin wire, twist it in a coil with pliers. Snip it to size. Tuck one
end into the fabric and hot glue into place.
GET YOUR FREE FALL DECORATING GUIDE HERE!

This is such a cute idea! I think we’ll do this as a church activity. The link for the boards is not active anymore. What’s the size of the boards?