Pottery Barn Pumpkin Filler Hack
Have you checked out my fall décor around our house yet? If not, check it out here! You guys, I love Pottery Barn style! I however, cannot justify spending so much money all the time and need to reign in what is worth the $$ versus what isn’t. You know what is not worth the money? Holiday items! I feel like trends come and go each year that I won’t love an item in 5 or 6 years.
(This post contains affiliate links. Read my disclaimer page for more information.)
However, this year’s Pottery Barn fall collection has some super cute items. Like really cute. One in particular that caught my eye was this set of filler. But at $24 for two pieces, I knew I could make them for cheaper. Turns out, I made the set of 2 (and 3 more, plus 2 sets of leaves, plus 10 extra pieces) for $14! Here is how I DIY-ed the 17 pieces for less than a dollar apiece!
The Inspiration
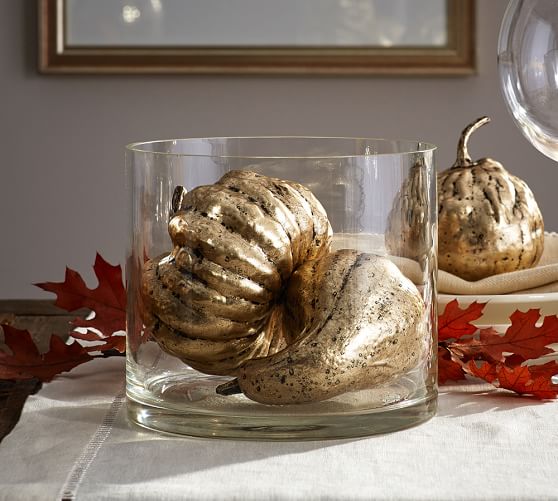
Aren’t these little pumpkins lovely? But at $24.50 per duo, I can think of better ways to spend my money. Especially with something that shiny looking really enticing to little ones. Maybe I’ll have nice things in 5 years (a mom can dream)!
Where it began
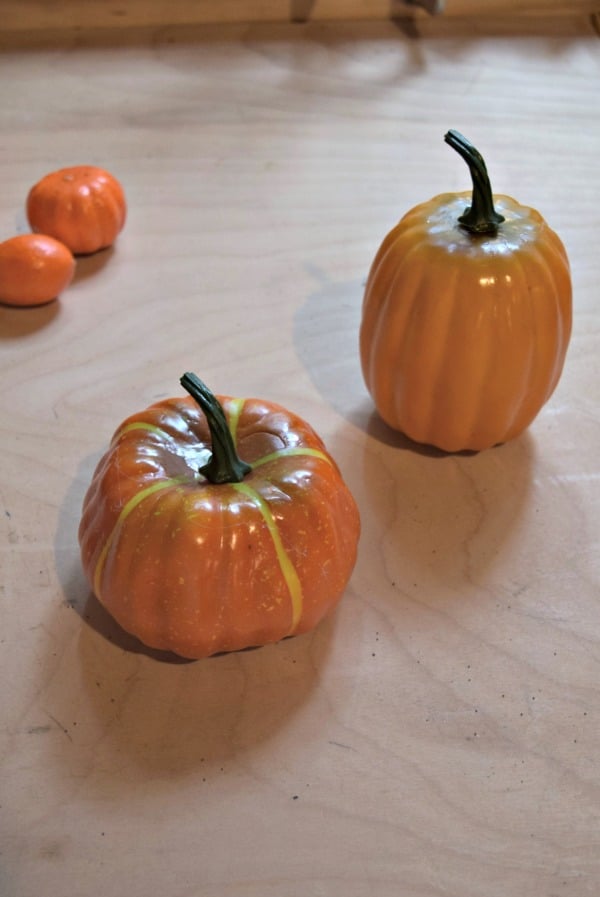
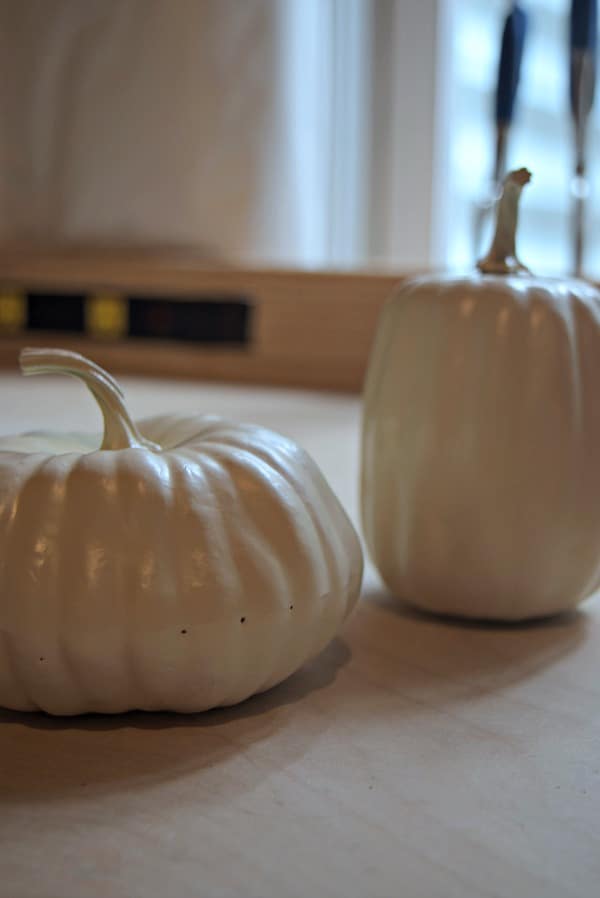
I picked these pumpkins up for one dollar apiece. I bought five. Because, you know that’s reasonable. 😉
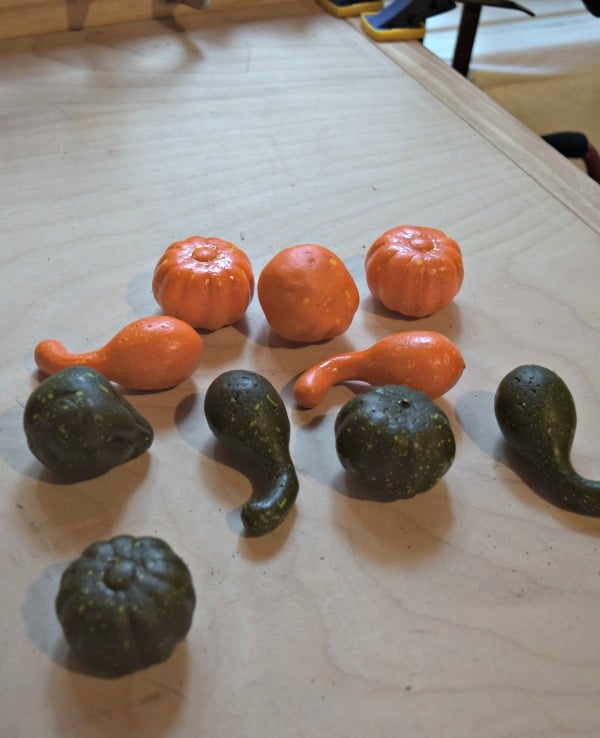
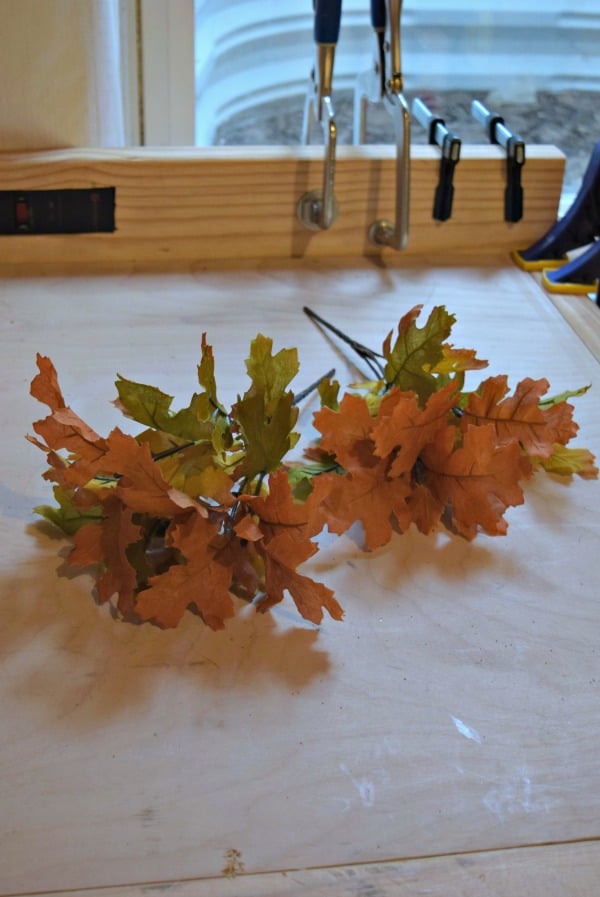
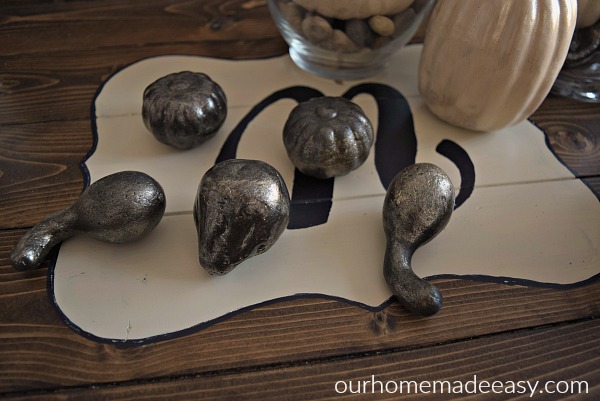
I bought the little gourds for 5 for $1. I ended up 10 total pieces. Lastly, the leaves were a $1 a stem. I thought 2 packs would give me enough to begin this project!
I know it’s far reaching, right? But I’m going to make them less dollar store looking and more Pottery Barn-like!
Supplies Used for Pottery Barn Pumpkin Filler Hack
A collection of fall goodies. They can be any material, even glass. <– But not in this house!
Spray Paint ( I used this color and this one)
Acrylic Paint ( I used this one bottle for all items)
Small Paint Brush (I used this size)
Begin with a well covered space. You will want to lay out your goodies and space them apart.
Lightly coat each one with spray paint. While this process may only take you a minute or two, let them dry in their place for at least 2 hours. If you can do overnight, even better. I worked on these while the kids napped and right after bedtime. Each step only requires a minute or two.
Once they are completely dried, turn them over and paint the other side. Allow dry and apply a second coat over the entire item. For this process I stuck my leaves in the wire trash can so that they could dry without touching any surface.
Now you should have some lovely looking items!
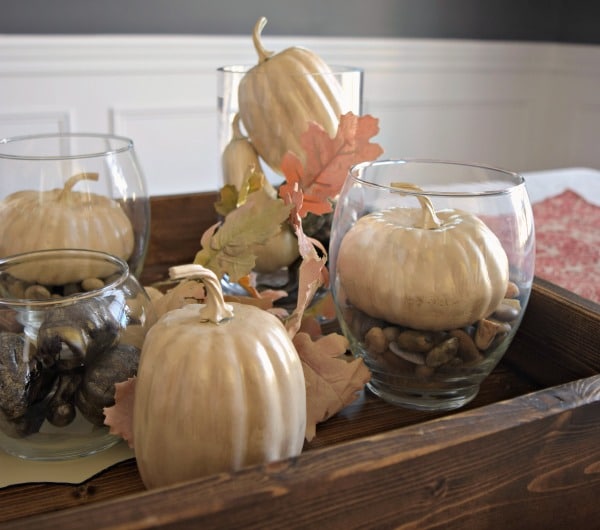
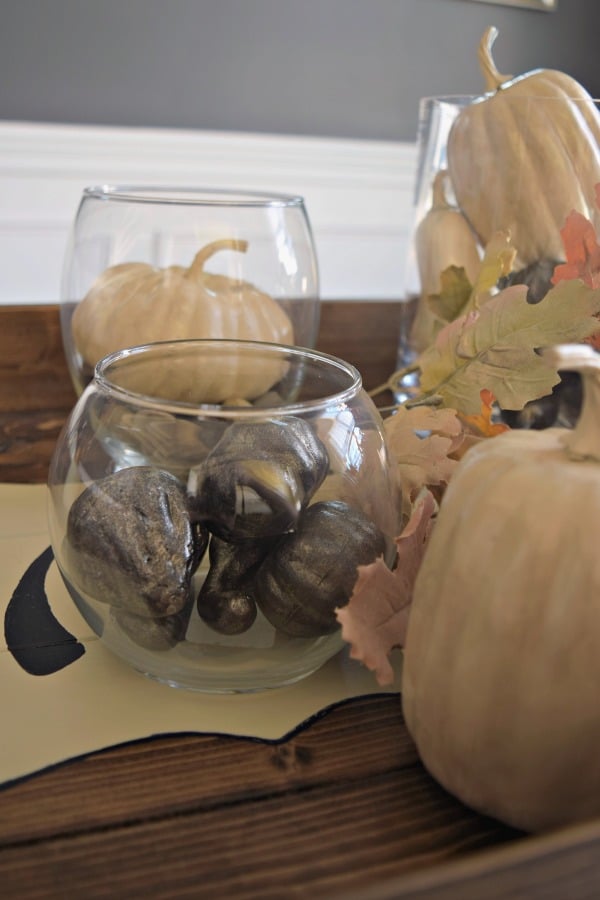
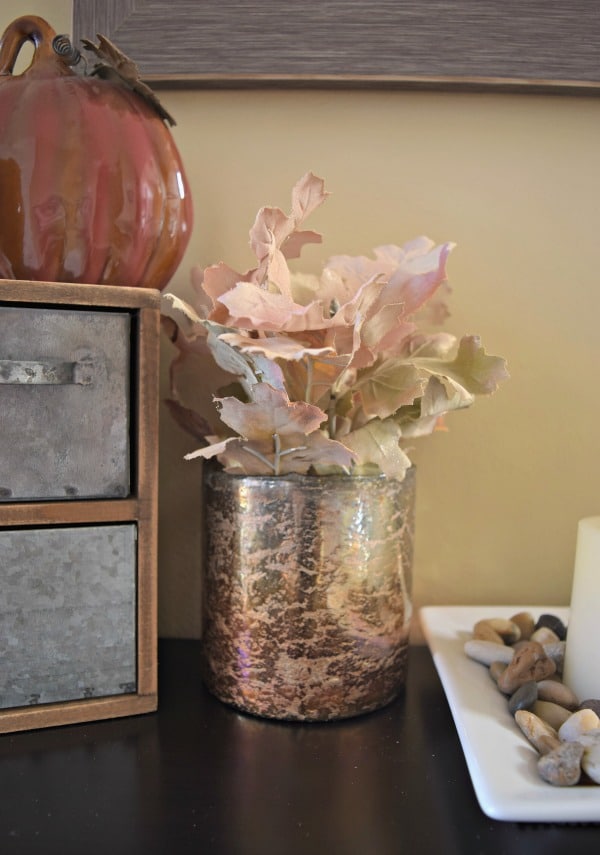
I went a step further and took a small paint brush and lightly coated everything with translucent metallic paint. I think it gave it more of a mercury glass effect that drew me to the Pottery Barn ones. They now have a home with these hurricanes and rocks that are also from the Dollar Tree.
When you choose your spray paint, think of building the color. For example, if I wanted to obtain a near identical Pottery Barn look, I would paint them the Bronze Metallic and then add a thick layer of gold acrylic OR use mercury glass spray paint (yes, it’s a real thing!).
For the leaves, I lightly painted the acrylic over the veins of the leaves. Since I only had a few minutes to spare, it wasn’t an exact science.
What colors would you paint your pumpkins or leaves? Don’t forget to check out the fall décor for this year!

