How to Install Recessed Lighting Like a Pro!
Electrical work seems scary for any weekend DIY-er. It’s inherently daunting, because it’s not a project that many of us know much about or even want to tackle. However, once you learn how to plan your project, and learn where your breaker box is, it’s so easy! In a few easy steps, you will see how to take an old light and turn it into recessed lighting that works better for your home.
You guys, some times less is more…. way more! I’ve recently described the multitude of flushmount lights hanging around the house. The home builder was gracious to give us the same light for every room despite its intention.
It’s maddening. Some of the lights are in a small space together. Rather than spend lots of money to replace them to something more visually appealing, I thought that we should take a step back and just remove the flushmounts! Jordan probably thought I was 110% weirder than usual. My request?
Changing the flushmount lights into recessed lighting!
The Home Builder’s Light
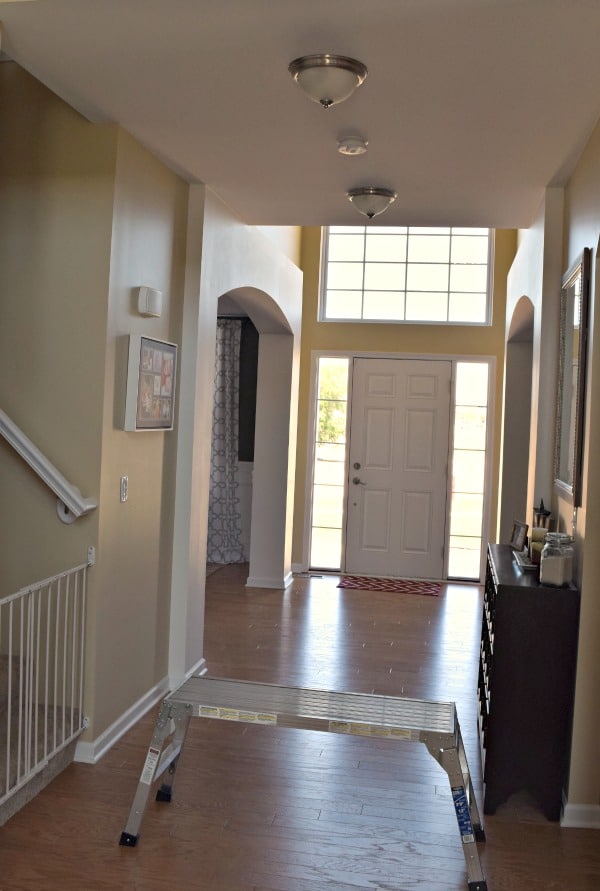
First, we need to take a look at the before. These lights are in the hallway leading to our family room. See the absurdity of the two lights only a few feet from one another? Sheesh. While I love pretty new lighting, the thought of two lights so close to each other seems distracting.
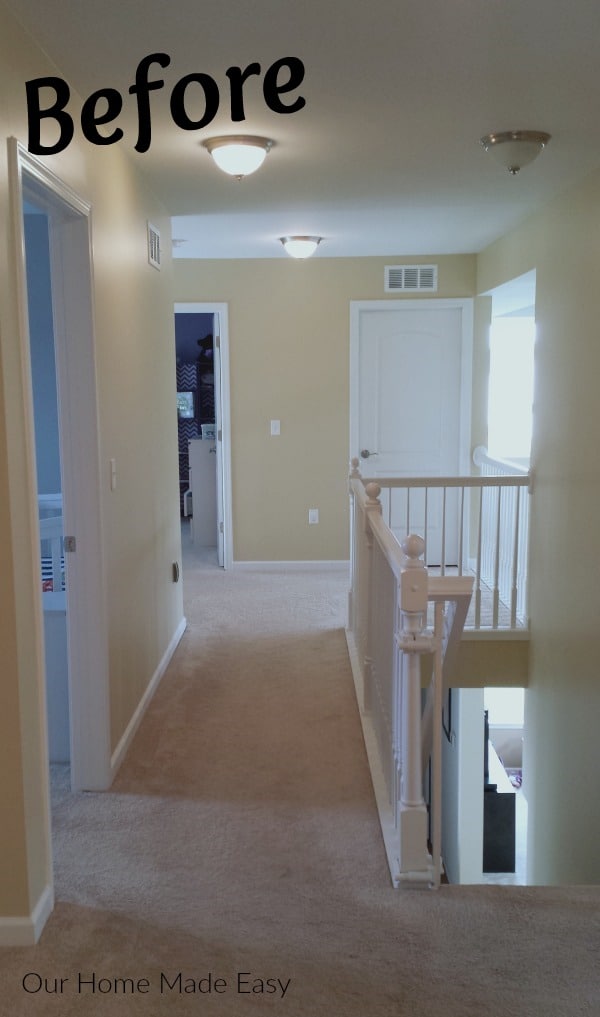
The second floor hallway has 4 flushmount lights installed. You can see 3 of the 4 below. The 4th light is behind me and to my right.
We decided to change out the two middle upstairs hallway ones into recessed lighting, too. Now, future plans include upgrading the lights on either end of the hall way rather than replacing all 4 with the same pretty new lights.
Jordan wouldn’t let me document him changing out the light over the stairs. Just so you know, it was pretty terrifying watching him change out the lighting 18 feet in the air… over the stairs!
This post contains affiliate links. If you shop from my blog, I may be compensated for clicks or purchases that you make. Thank you for supporting ‘Our Home Made Easy!’ Read my disclaimer page for more information.
Supplies Needed for Replacing an Old Light
-
- Remodel Recessed Lights (We used these ones for the Downstairs, Upstairs used these ones)
- Recessed Light Housings (We used these ones for the Downstairs, Upstairs used these ones)
- Drywall Saw
- Extra Wire Nuts
- Electrical Tape
- Drill
- Wire Strippers
Optional: For things around the house, we rely heavily on this little platform. It raises us 3 feet in the air and then we can reach everything! Jordan used it for both the downstairs and the upstairs hallway lights. The platform is just one of those nice to haves that we never expected to use so much.
Remove the Old Light
First you need to cut the power to the source. This seems like such common sense, until you forget it. Do not forget turning off the power! That is one thing I love about living with an engineer, he always remembers these silly steps that I sometimes forget about!
Next, remove the current light. This is easier than you think! Start by loosening the screws of your current light. Then, twist the fixture slightly until is comes loose from the ceiling (your model may require removing the screws completely).
Then, remove the current installed mounting bracket (the small flat rectangular piece) and keep all the brackets and screws with the light in case you need it later for another project. Once the light is physically separated from the ceiling, carefully lower the fixture.
Now you will want to remove the electrical connections. Be careful to support the light so that when you remove the connections, the light does not fall to the floor.
Remember, typically, your hot wire is black, neutral is white, and or bare is your ground. Your color scheme may be different based on where you live or when your home was built. Always consult with a licensed electrician if you are unsure!
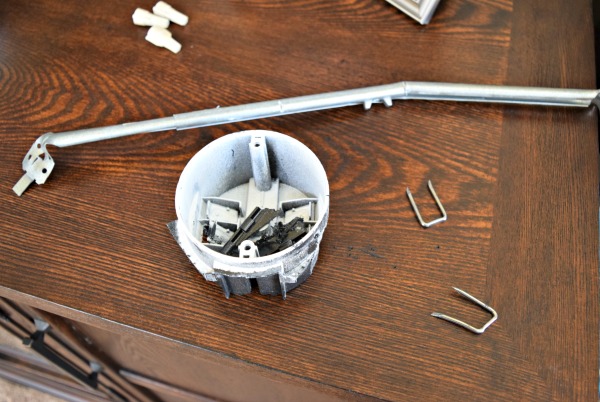
Next, you need to remove the ceiling electrical box. Depending on the light’s location and mounting type, this can be easy or a touch more difficult. The easier way? Attic access to pull out the electrical box and adjustable hanger (shown below).
The more difficult route? Removing the housing from under the light, especially since you may have to cut some of the electrical box away or cut more drywall than desired.
Next, you will want to decide if you need an insulation housing or not. For example, our first story retrofit did not use an insulation housing because it’s not covered by insulation between the two stories. However, the second story recessed lighting housing is covered in insulation in the attic, so it needed the insulation-style housing.
Install the Recessed Lighting Housing
Once you have your housing, open the package and find the stencil for cutting out drywall. Carefully cut the drywall using a drywall saw. When Jordan did this my eyes became huge. The mess was far worse than the hole itself! By the time the fourth light was cut, I was used to it.
Thankfully the drywall & dust cleans up well with a vacuum and baby wipes (on the hard woods).
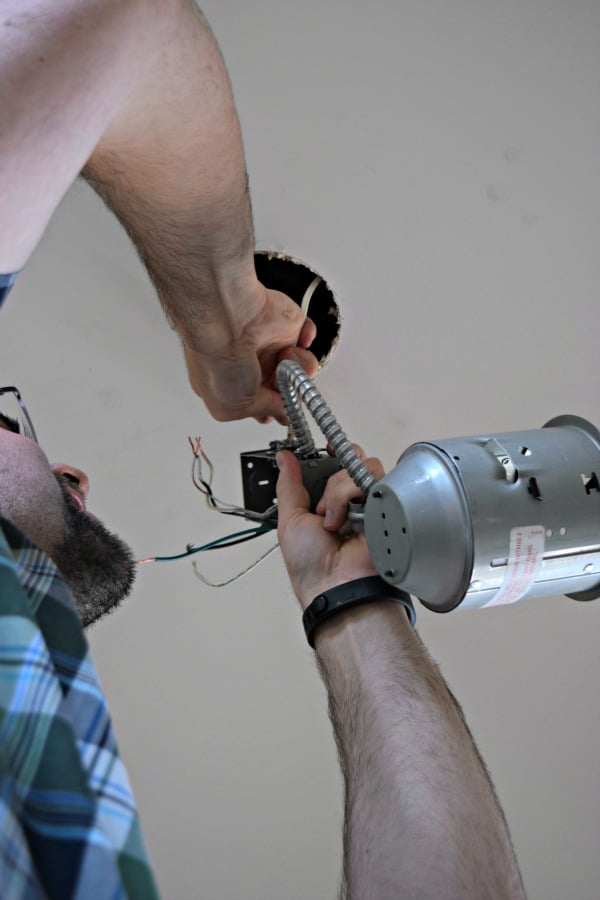
Once you have a hole cut to the proper diameter, its time to begin wiring. First you need to remove one of the knockouts to feed the wiring through.
Make sure you use a NM/SE connector or bushing, per your local code, to protect the wires that will be fed through the knockout. Connect your wiring, black to black, white to white, and green/bare to green/bare.
Next you will insert the housing into the ceiling hole. With the junction box first, push the housing flush to your ceiling. Push the spring clips into place until they snap in place.
Install the Recessed Lighting Trim
And now you are ready to insert your trim. We chose these recessed lights because they are completely enclosed. There are lots to choose from online. Another benefit of the ones we chose are that they are LED. In cases where we have an 18 foot ceiling (like the staircase), we needed to install lights that wouldn’t burn out regularly!
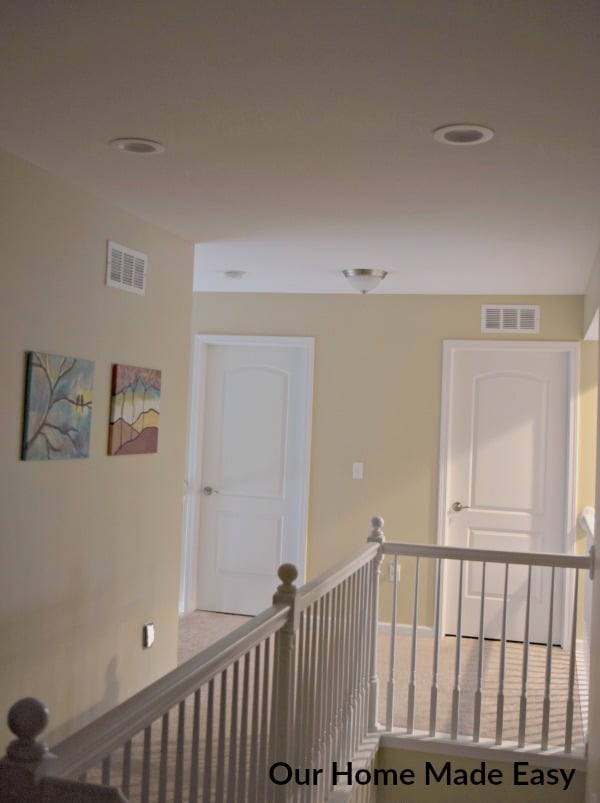
Ta-da! Here is the finished recessed lighting on the second floor! Next project up here will be to replace the flushmounts still remaining.
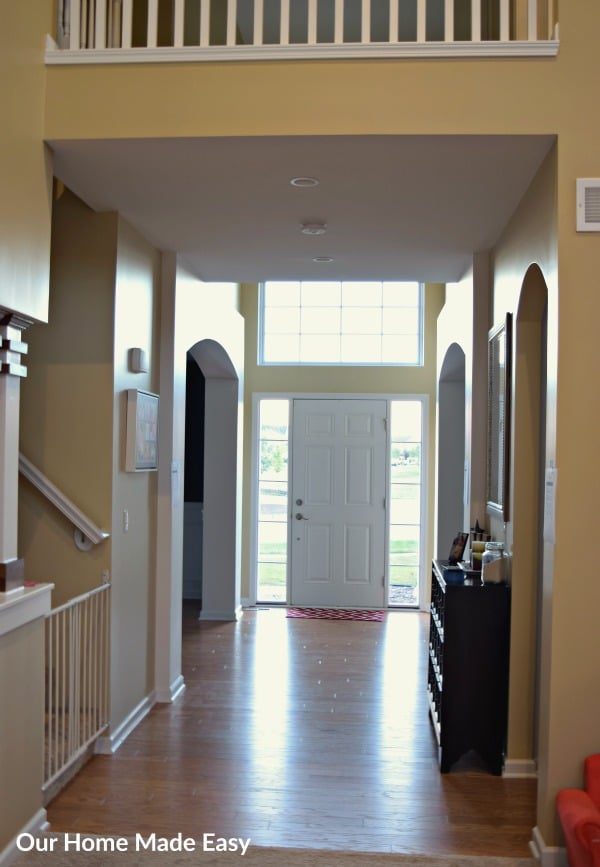
And the after on the first floor. Now the lights aren’t the focal point. Everything seems a little more open!
Hopefully you see that any weekend DIY-er can easily swap out lighting– on their own! Be sure to find which electrical housing you need, turn off the power, and get to changing out the outlets!
Love a great DIY project? Be sure to grab your list of my favorite weekend warrior projects below!



Thank you so much for the detailed tutorial! I’ve been wanting to replace some of our builder lights with recessed lights for a while, but wasn’t exactly sure how to go about it. It makes such a difference to get rid of those builder lights!!
Thank you for visiting, Brandi! -Brittany